Brighten Your Space: Easy Steps for How to Install Under Cabinet Lighting
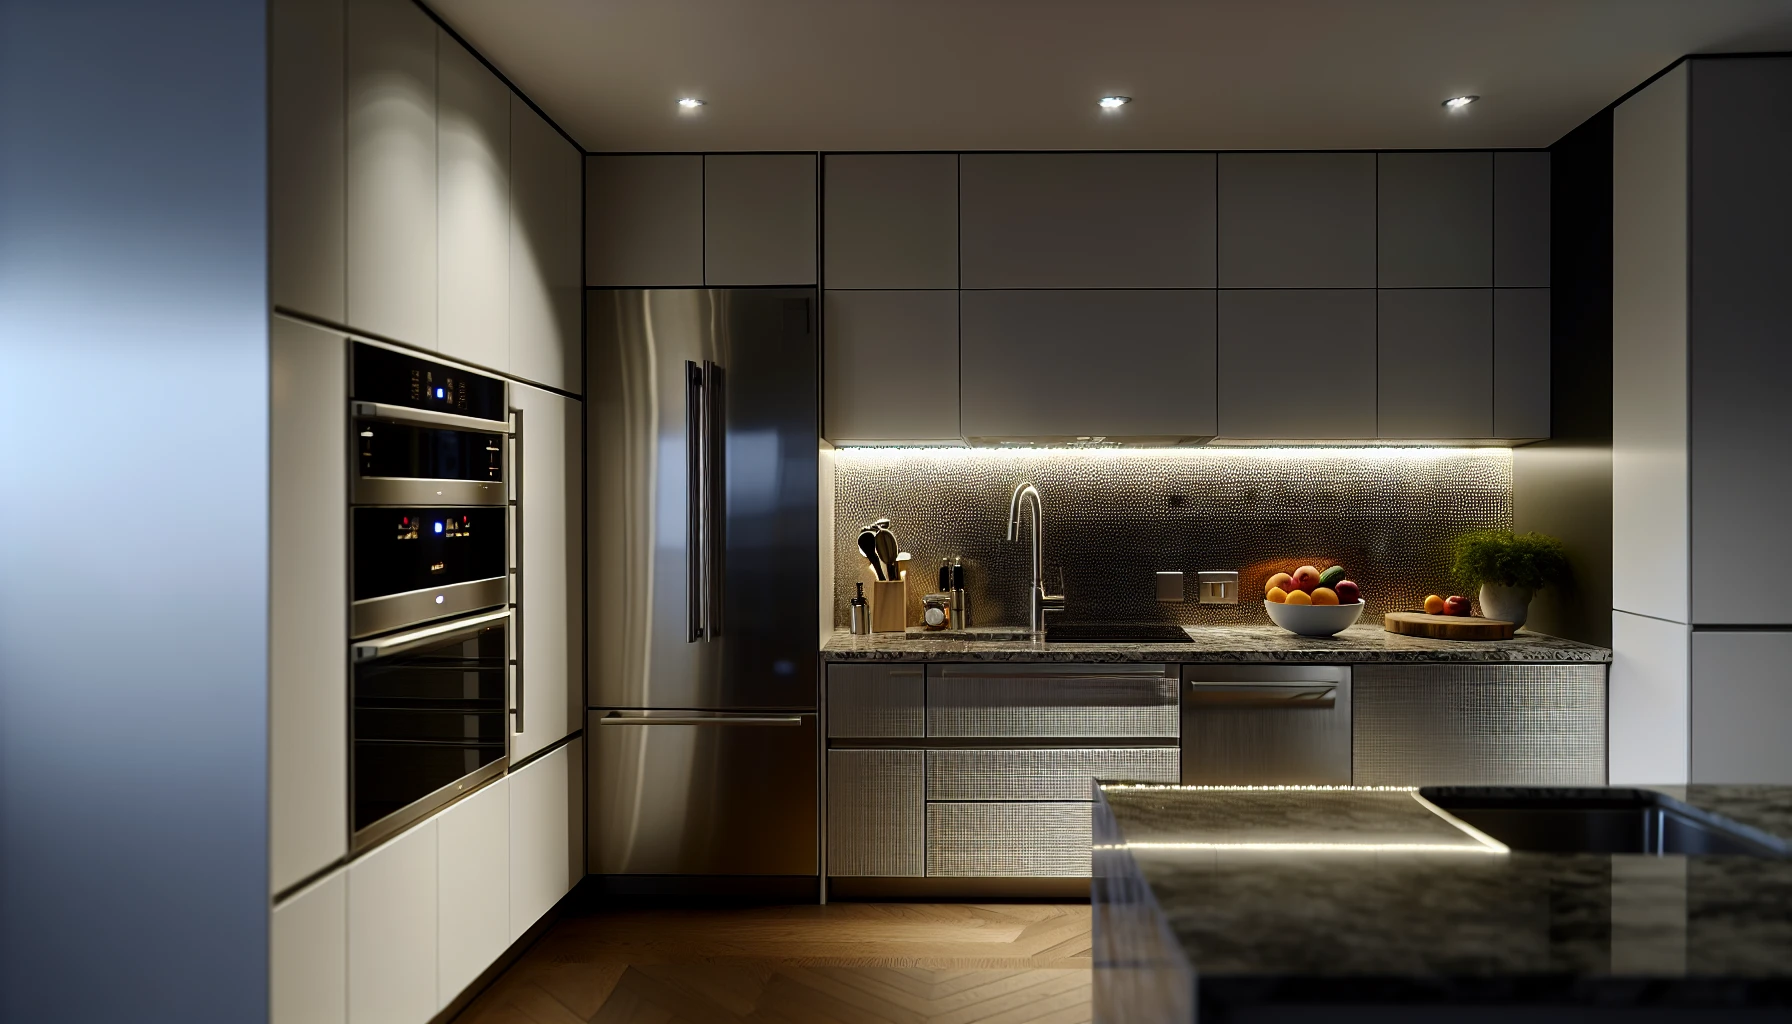
Imagine your dream kitchen with beautiful countertops, sleek cabinets, and stylish appliances. But what if we told you there’s a secret ingredient that can elevate your kitchen’s aesthetic and functionality? Under cabinet lighting is that missing piece, transforming your kitchen into a bright, inviting space. Let’s embark on a journey to discover the world of under-cabinet lighting and learn how to install under-cabinet lighting yourself!
Key Takeaways
- Under Cabinet Lighting is a versatile lighting solution that provides localized illumination with energy efficiency and enhanced aesthetics.
- Consider factors such as brightness, color temperature, and wiring when selecting under-cabinet lighting for optimal results.
- Adhere to safety precautions while installing the lights for an efficient and professional installation. Consider customizing your space with dimmer switches or smart home integration.
What is Under Cabinet Lighting

Under cabinet lighting is a versatile solution that can be installed beneath upper wall cabinets, shelves, or similar surfaces, primarily in the kitchen. It provides localized lighting on work surfaces like countertops, making your kitchen tasks easier and more enjoyable.
Here are some benefits of under-cabinet lighting:
- Increased visibility on work surfaces
- Optimized space utilization
- Simplified installation process
- Energy efficiency
- Enhanced aesthetics of your kitchen
There are various under-cabinet lighting options available, including:
- Pucks
- Strips
- Tape
- Ropes
These options cater to your unique cabinet lighting project. Installing under-cabinet lighting can range from $480 to $611 per fixture, with the entire project’s average cost falling between $1,500 and $2,500, depending on factors like site conditions, upper cabinet dimensions, and available options.
Choosing the Right Under Cabinet Lighting
Selecting the right under cabinet lighting involves considering factors such as:
- Brightness
- Color temperature
- Energy efficiency
- Type of electrical wire needed for installation
For example, EShine LED Under Cabinet Lights are highly recommended and can be powered by separate power supplies. When assessing the brightness of a light, referring to the Lumen rating is highly advised, especially for under-cabinet lighting in kitchen cabinets.
Under cabinet lighting brightens your kitchen and creates an inviting atmosphere by illuminating counters and backsplashes with hidden electrical wires. When choosing your under-cabinet lighting, keep in mind your personal preferences and the overall design of your kitchen. This will help you select the best light fixtures for a seamless and visually appealing result.
Measuring and Planning
Before beginning the installation process, ensure you measure the length of the cabinets and the distance between the cabinets and the countertop to prevent any wires from sticking out. A good general rule of thumb is to ensure that a light fixture is centered beneath each set of cabinet doors in your kitchen. This will provide an optimal light pattern when installing under cabinet lighting, especially if using tape lights.
Thorough planning is critical to a successful under-cabinet lighting installation. This includes deciding on the placement of the wall plate for the switch, which should be near the kitchen entrance, where the ceiling light switches are situated. By measuring and planning, you’ll set yourself up for a smooth installation process and a beautiful, well-lit kitchen.
Safety Precautions
Safety should always be a top priority when working on any DIY project, especially when it involves electricity. For the installation of under-cabinet lighting, you’ll need:
- Safety goggles or glasses
- Work gloves
- Non-slip shoes
- A ladder or step stool
- A voltage tester to ensure optimal safety, mainly when working with upper cabinets.
Before installing, turn off the power and use a voltage tester to verify that the wires are not live. Wearing the appropriate safety gear and following the necessary precautions will protect you from potential accidents and ensure a successful and safe installation of your under cabinet lighting.
Installing Plug-In Under Cabinet Lighting

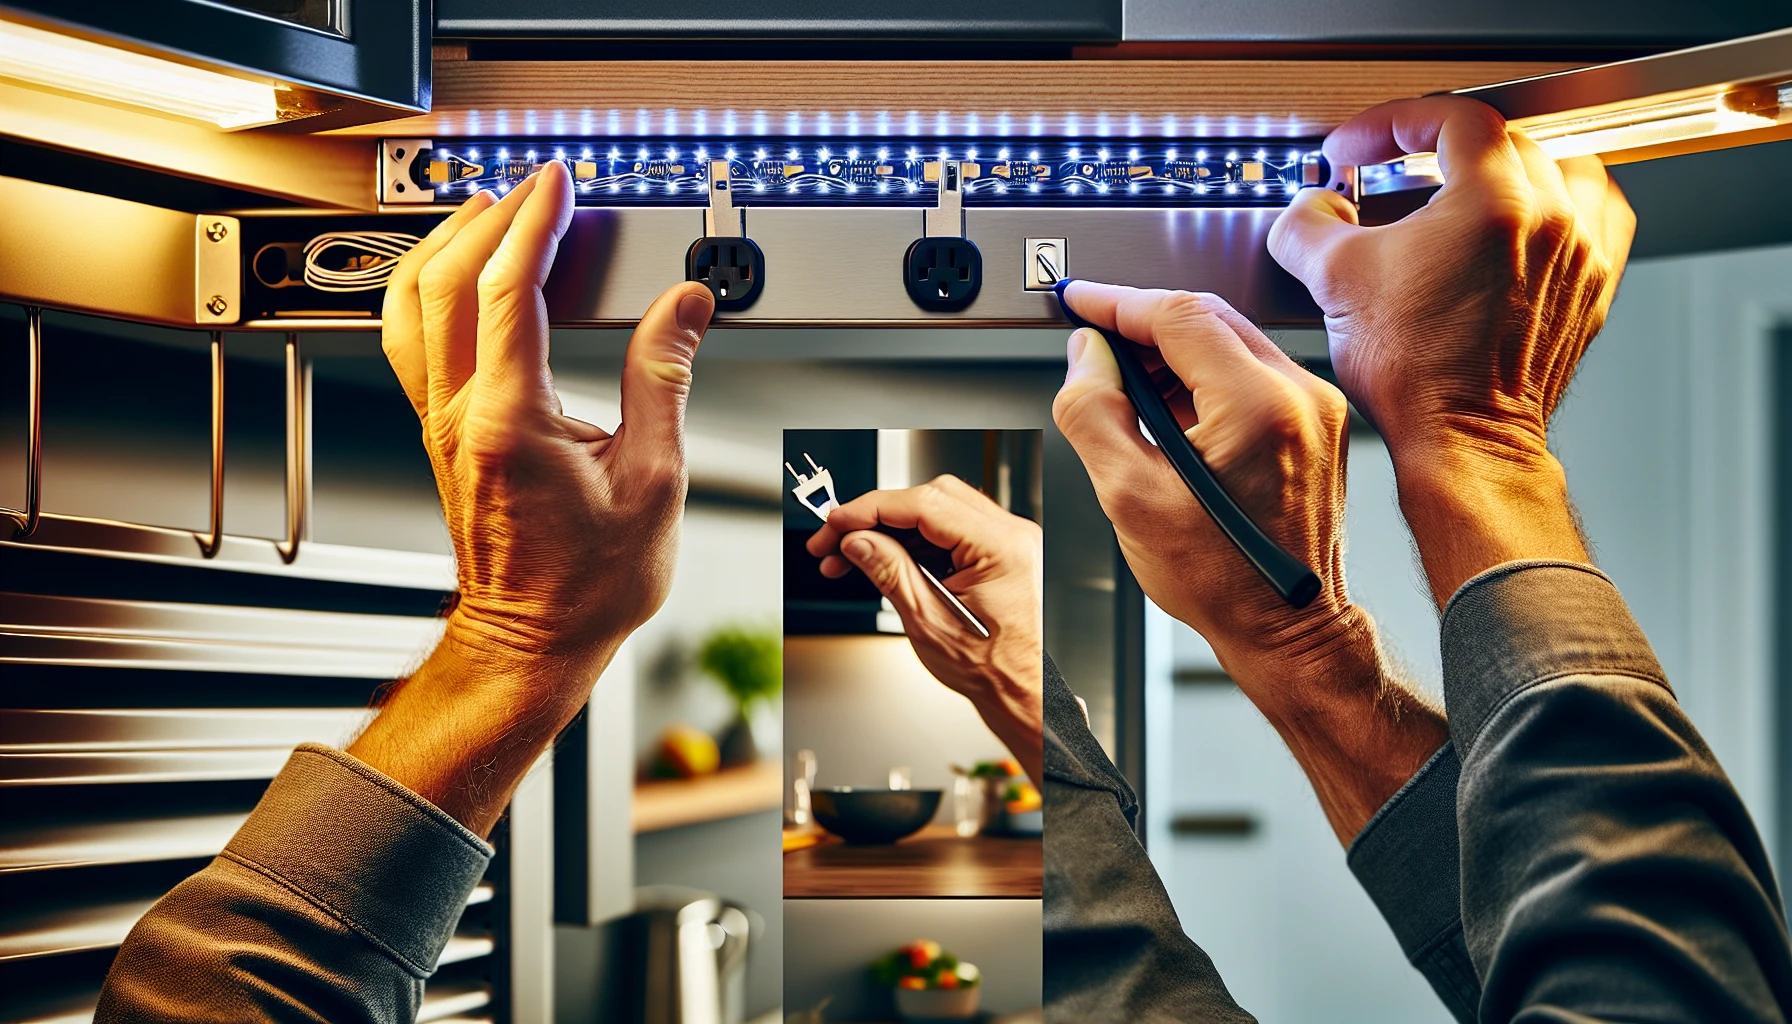
The first step when installing the plug-in under cabinet lighting is to adhere to the strip lights. Remember to cut the LED light strips accurately, right on the marking, and leave room on each end of the strip for the connector clips to fit inside the channels. To attach connectors, insert the strip into the connector and securely fasten it with pliers until a clicking sound is heard.
Next, drill holes and string cords through your cabinets. Begin at the top of the microwave cabinet and continue down through the hole in the bottom of the cabinets where the lights will be installed. Be mindful of the placement of your under cabinet lights, as it is preferable to have them nearer to the front of the cabinet doors for better task lighting.
To power the under cabinet lights, consider potential power sources such as an electrical box with a light switch containing hot, neutral, and ground wires, a junction box in the basement, or an outlet on the other side of the wall from the cabinets. If outlets are not present in the cabinets, you may need to enlist the services of an electrician to install them.
Mounting the Lights

Once the wires have been routed, it’s time to mount the under-cabinet lights. EShine lights can be affixed in two ways. They can be attached using screws, or the accompanying 3M double-sided adhesive can be used. Scotch Mount Extreme double-sided mounting strips can be employed for under-cabinet LED strip light mounting.
To ensure a secure and professional installation, carefully attach the lights to the underside of the cabinets, making sure not to overtighten the screws. Proper mounting will not only guarantee the longevity of your under cabinet lighting but also enhance the overall appearance of your kitchen.
Connecting and Hiding Wires

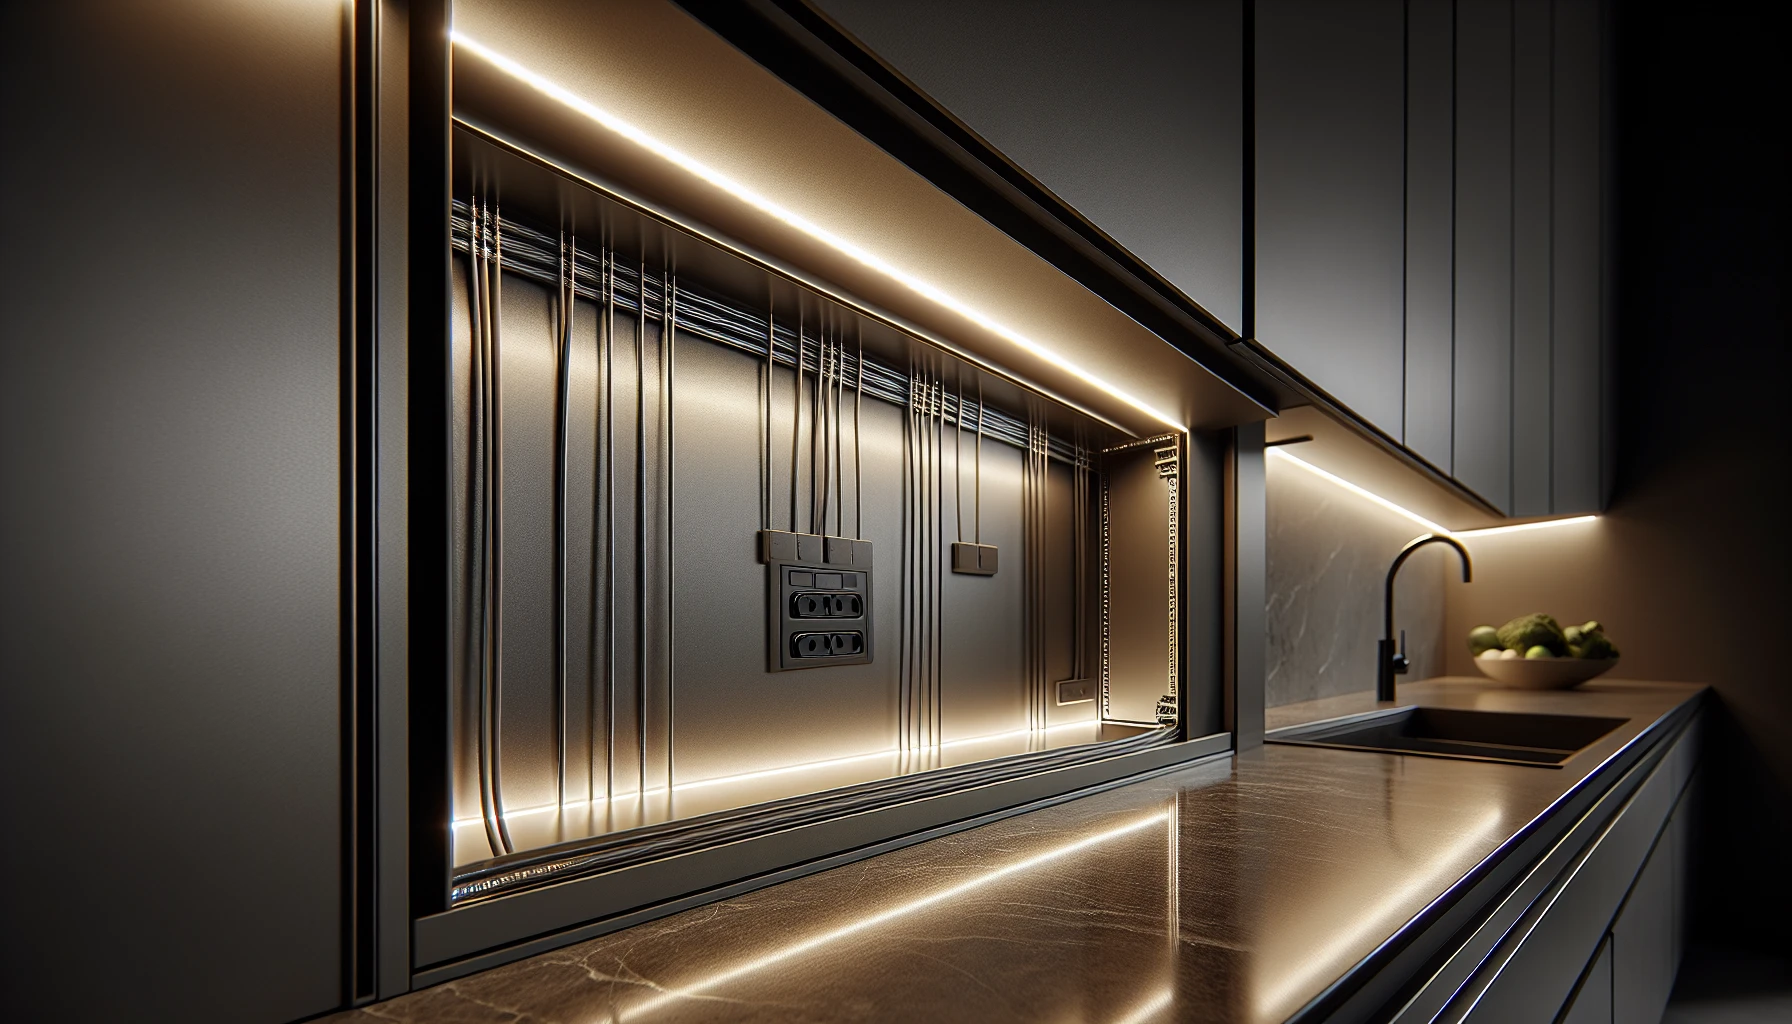
For a clean and professional appearance of your under cabinet lighting, it’s essential to connect and conceal the wires accurately. For optimal wire management, use Legrand cord hiders on the inner side of cabinets, and secure the wires to the bottom of the cabinet using wire straps, wood valance, wire clips or staples, cable protector, and tape.
When securing wire straps, you can affix a hammer, drill, or adhesive strips to the bottom of the cabinets, avoiding any wire sticking issues. By neat bundling and securing the wires, you’ll enhance the visual appeal of your under-cabinet lighting and ensure a safe and well-organized setup.
Hardwiring Under Cabinet Lighting
Hardwiring your under-cabinet lighting is an excellent option if you prefer a more permanent installation. Before beginning, make sure to disconnect the power. The initial step for hardwiring LED under cabinet lights is to place the lights. When attaching the lights to the underside of the cabinets, ensure the screws are not overtightened.
To wire a switch for hardwired under cabinet lighting, follow these steps:
- Connect the white wire and the connecting strand of the cord using a wire nut.
- Secure the black wire on the outlet to the bottom terminal of the switch.
- Attach the black wire going out to the lights to the top terminal of the switch.
- Reattach the switch to the box once the switch’s terminals are secured with electrical tape.
- Affix the switch cover.
Working with an Electrician
Although many homeowners can install under cabinet lighting themselves, it’s vital to recognize when professional help from an electrician is required. An electrician can guide you in selecting the best lights for your project, deciding on the placement of the lights, and safely handling wiring and electrical connections.
Attempting a DIY installation of under cabinet lighting can lead to complications, such as:
- Cutting wires too short
- Potential for faulty connections
- Risk of electrical shock
- Damage to walls or ceilings
- Voiding your insurance policy in case of an accident
Working with a professional electrician ensures a safe and successful installation and peace of mind.
Wiring and Switch Placement
Proper wiring and switch placement are crucial when installing under cabinet lighting. The optimal location to install a switch is generally easy installation: use a cable protector, tape the wires to the bottom or back of the cabinet, drill a small hole and run the wires through it, or use wire channels to hide and organize the wires.
The suggested height for switch placement is usually around 48 inches from the floor. By carefully planning and executing the wiring and switch placement, you’ll ensure efficient under-cabinet lighting and maintain the overall visual appeal of your kitchen.
Connecting and Testing the Lights

After the installation of your under cabinet lights, follow these steps to connect and test them using wire connectors:
- Loosen the screw on the coaxial connector.
- Insert the bare wires into the connector.
- Tighten the screw to secure the connections.
- Once all connections are secure, test the lights to ensure they function correctly.
If any issues arise during testing, double-check the connections and wiring to ensure everything is connected correctly. If necessary, consult a professional electrician for further troubleshooting and repair. By confirming the functionality of your under cabinet lighting, you can enjoy a well-lit and inviting kitchen space.
Customizing Your Under Cabinet Lighting
Under cabinet lighting can be customized to suit your personal preferences and the overall design of your kitchen. Some popular options include:
- Coverboards
- LED light bars
- LED puck lights
- Mounted strip lights
- Hard-wired lights
These setups can add a stylish touch to your kitchen while providing adequate task lighting.
The positioning of under cabinet lights can also significantly impact the overall ambiance of your kitchen. By placing the lights on the underside of the cabinets, they are concealed and provide a delicate, lighting effect, creating a cozy and inviting atmosphere. Take the time to explore various customization options and choose the one that best complements your kitchen’s design and your style.
Dimmer Switches
Installing a dimmer switch for your under cabinet lighting can offer multiple benefits, such as creating dramatic accent lighting or a night light for those late-night snacking sessions. When connecting a dimmer switch for LED under cabinet lighting, it’s essential to ensure the switch is designed specifically for LED use.
To install a dimmer switch, consult the manufacturer to determine the appropriate type of dimmer (regular dimmer, magnetic dimmer, or electronic dimmer). By incorporating a dimmer switch, you’ll gain greater control over your under-cabinet lighting, allowing you to adjust the brightness and ambiance to suit your needs and preferences.
Smart Home Integration
Consider integrating your under-cabinet lighting with smart home technology for convenience and control. Smart home integration enables you to:
- Control the lights via voice commands or smartphone apps
- Adjust brightness
- Alter color temperature
- Create schedules
- Integrate with other smart home devices
Several smart home systems that are compatible with under-cabinet lighting include:
- Lowe’s Smart Compatible Under Cabinet Lights
- PureOptics LED Smart Home Lighting Systems
- MYPLUS Smart Under Cabinet Lights
- Philips Hue White and Color Ambiance Lightstrip Plus Kit
Integrating your under-cabinet lighting with a smart home system gives you a more seamless and automated lighting experience.
Maintaining Your Under Cabinet Lighting
Regular cleaning and maintenance are essential to maintain your under-cabinet lighting. Here are some steps to follow:
- Clean the lights bi-weekly or more frequently, depending on the amount of debris accumulation.
- Use a solution of soap or mild detergent mixed with water for cleaning.
- Alternatively, you can create a DIY mixture of white distilled vinegar, warm water, and a small dish detergent.
You’ll ensure optimal performance and prolong their lifespan by routinely cleaning and maintaining your under cabinet lights. This will save you time and money on replacements or repairs while keeping your kitchen bright and inviting.
Cleaning and Maintenance
Regular cleaning and maintenance of your under cabinet lights are vital to their look and functionality. Consider options like multi-purpose cleaners or specific LED light cleaning solutions, such as Brilli Bright Antimicrobial Cabinet Fixture, when selecting a cleaning solution. It’s vital to ensure that the chosen solution is safe for the type of light and does not leave any residue.
Clean your under cabinet lights regularly with a soft, damp cloth, avoiding the use of scouring pads and abrasive cleaners that may cause damage to the finishes. Regular cleaning will help prevent dust and dirt build-up, ensuring that your under-cabinet lights continue to provide effective illumination.
Troubleshooting Common Issues
If you encounter any issues with your under cabinet lighting, knowing how to resolve common problems is beneficial. Some common issues include:
- Burnout
- Mercury content
- Wiring difficulties
- Uneven illumination
- Absence of uniformity
When your under cabinet lights do not turn on, verify the power source, examine the switch, inspect the bulbs, and assess the wiring. If none of these steps prove successful, it may be prudent to seek the assistance of a professional electrician for further troubleshooting and repair.
By addressing common issues promptly, you can ensure the longevity and efficiency of your under-cabinet lighting.
Factors to Consider
Several factors should be considered when planning and installing under-cabinet lighting. Your kitchen layout, for example, can significantly impact the installation process and the effectiveness of the lighting. Additionally, the type of lighting you choose, such as LED, halogen, or fluorescent lights, will have varying effects on your under-cabinet lighting.
When initiating your under-cabinet lighting project, consider all relevant factors, such as cost, looks,
and how it functions. By thoroughly planning and executing your under-cabinet lighting installation, you’ll create a beautiful and well-lit kitchen that you’ll enjoy for years to come.
Summary
Under cabinet lighting is a game-changer for any kitchen, providing practical task lighting and an inviting ambiance. From choosing the suitable lighting options to installing and maintaining your under cabinet lights, this guide has covered everything you need to know to transform your kitchen. Now that you have the knowledge and confidence to tackle this project, it’s time to brighten your space and create the kitchen of your dreams.
Frequently Asked Questions
How are under-cabinet lights mounted?
Under cabinet lights can be mounted either directly to the wall, using small screws or with a transformer for 12V puck fixtures. Hardwire, plug-in, or battery options are available for powering the lighting.
How long does it take to install under cabinet lighting?
Installing under-cabinet lighting generally takes about an hour, depending on the type of lighting and the complexity of the installation.
What wire do I need for under cabinet lighting?
For under cabinet lighting, you should use 12/2 NM (nonmetallic) electrical cable. Cut it to the desired length, feed it through the hole beneath the cabinet, and secure it outside the hole in the electrical box.
What are the benefits of installing under-cabinet lighting?
Installing under-cabinet lighting offers increased visibility, space optimization, straightforward installation, energy efficiency, and improved aesthetics, providing numerous advantages to any home.
What types of under-cabinet lighting are available?
Under cabinet lighting options include puck lights, strip lights, tape lights, and rope lights, providing a variety of choices for any kitchen.

