Vent Hood Installation Simplified: Your Ultimate Step-by-Step Guide
Are you ready to upgrade your kitchen with a new vent hood? Installing a vent hood improves the air quality in your kitchen and enhances its look and functionality. This ultimate step-by-step guide simplifies the vent hood installation process, making it accessible to DIY enthusiasts and those considering professional assistance.
Key Takeaways
- Vent hood installation involves setting up a range hood to remove heat, steam, odors, and grease from the kitchen environment.
- Consider factors such as power supply, lighting, venting configuration, and local regulations when installing a vent hood.
- Adhere to safety precautions and seek professional assistance if needed for the successful installation of your vent hood.
What is a Vent Hood Installation?
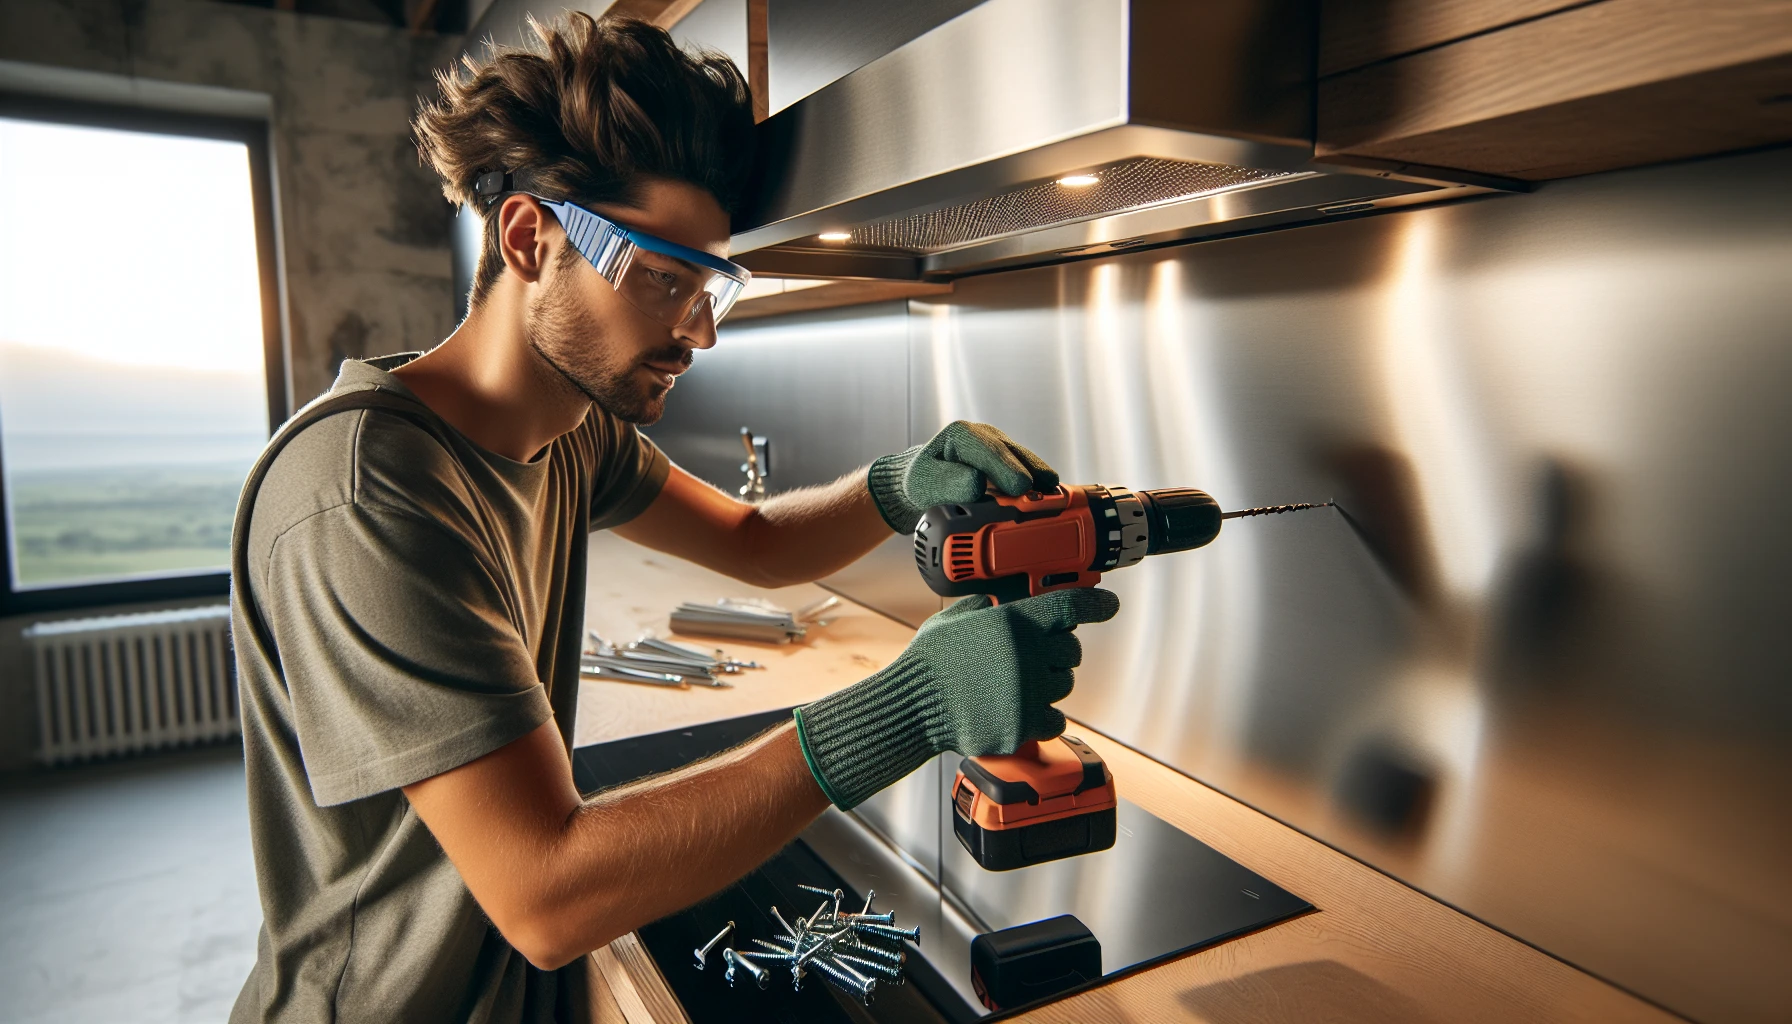
A vent hood installation involves setting up a range hood above your stove to remove heat, steam, odors, and grease from your kitchen environment. Range hoods come in various types, such as ductless or ducted, each with unique installation requirements. By following this guide, you’ll learn how to:
- Mark the venting and mounting holes
- Remove knockouts
- Prepare the venting path
- Install ductwork for vented range hoods
- Mount and secure the new vent hood
- Finalize electrical connections
- Test and troubleshoot your installation.
Professional range hood installation can cost anywhere from $400 to $1,500, with an average cost of about $750. However, this guide seeks to make the process more accessible for those contemplating a DIY approach. Whether you’re a seasoned DIY enthusiast or a first-timer, our comprehensive guide will walk you through each step, ensuring a successful vent hood installation.
Pre-Installation Considerations for Your Vent Hood
Before you begin the installation process, consider factors like:
- Power supply
- Lighting
- Venting
- Configuration
- Hood type
If you have a gas stovetop, you may require higher CFM (cubic feet per minute) for venting than an electric stove. Review local and state regulations for venting requirements and maximum vent length for optimal results.
The size of your range hood is a key determinant of its effectiveness. Ensure the size of your hood corresponds to the size of your cooking surface for both ductless and vented range hoods. Accessibility should also be considered when selecting the location to vent the new range hood, especially for vented hoods, as they require proper ductwork installation.
Gathering Tools and Materials

For a successful installation, assemble the required tools and materials:
- Drill
- Jigsaw
- Screwdriver
- Level
- Screws
These tools will help you remove the existing range hood and install the new one. Be sure to follow safety precautions when using these tools, such as wearing personal protective equipment and keeping your hands away from the blade when using a jigsaw.
Removing the Old Range Hood
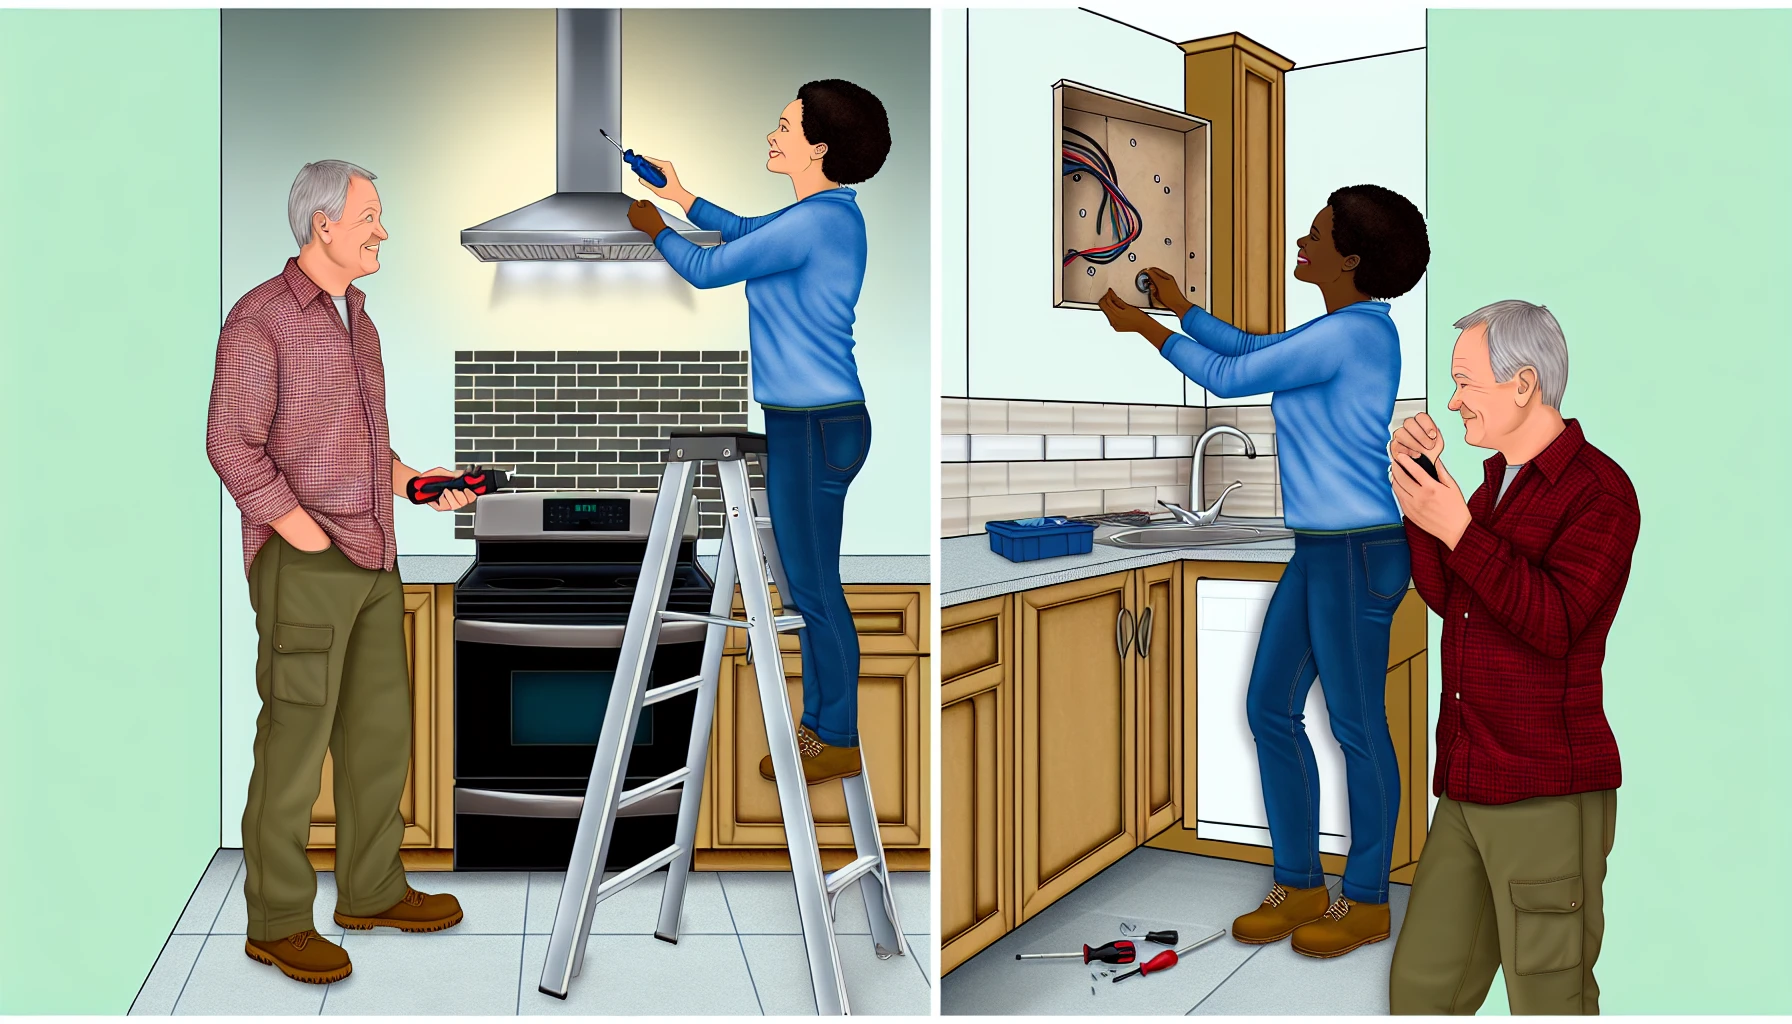
Start by turning off the power at the circuit breaker to ensure a safe working environment. Then, unscrew the wire nuts and separate the wires to disconnect the wiring. A second person can be used to support the weight of the range hood. Use a screwdriver to loosen the mounting screws. Use goggles, gloves, and a dust mask to protect yourself from flying debris and dust while removing the old range hood.
Once the old range hood is removed, relocate it to an external area, such as a shed or garage, to ensure it is not in the way while you work. Follow local regulations for appliance disposal when disposing of the old range hood.
Preparing the Venting Path
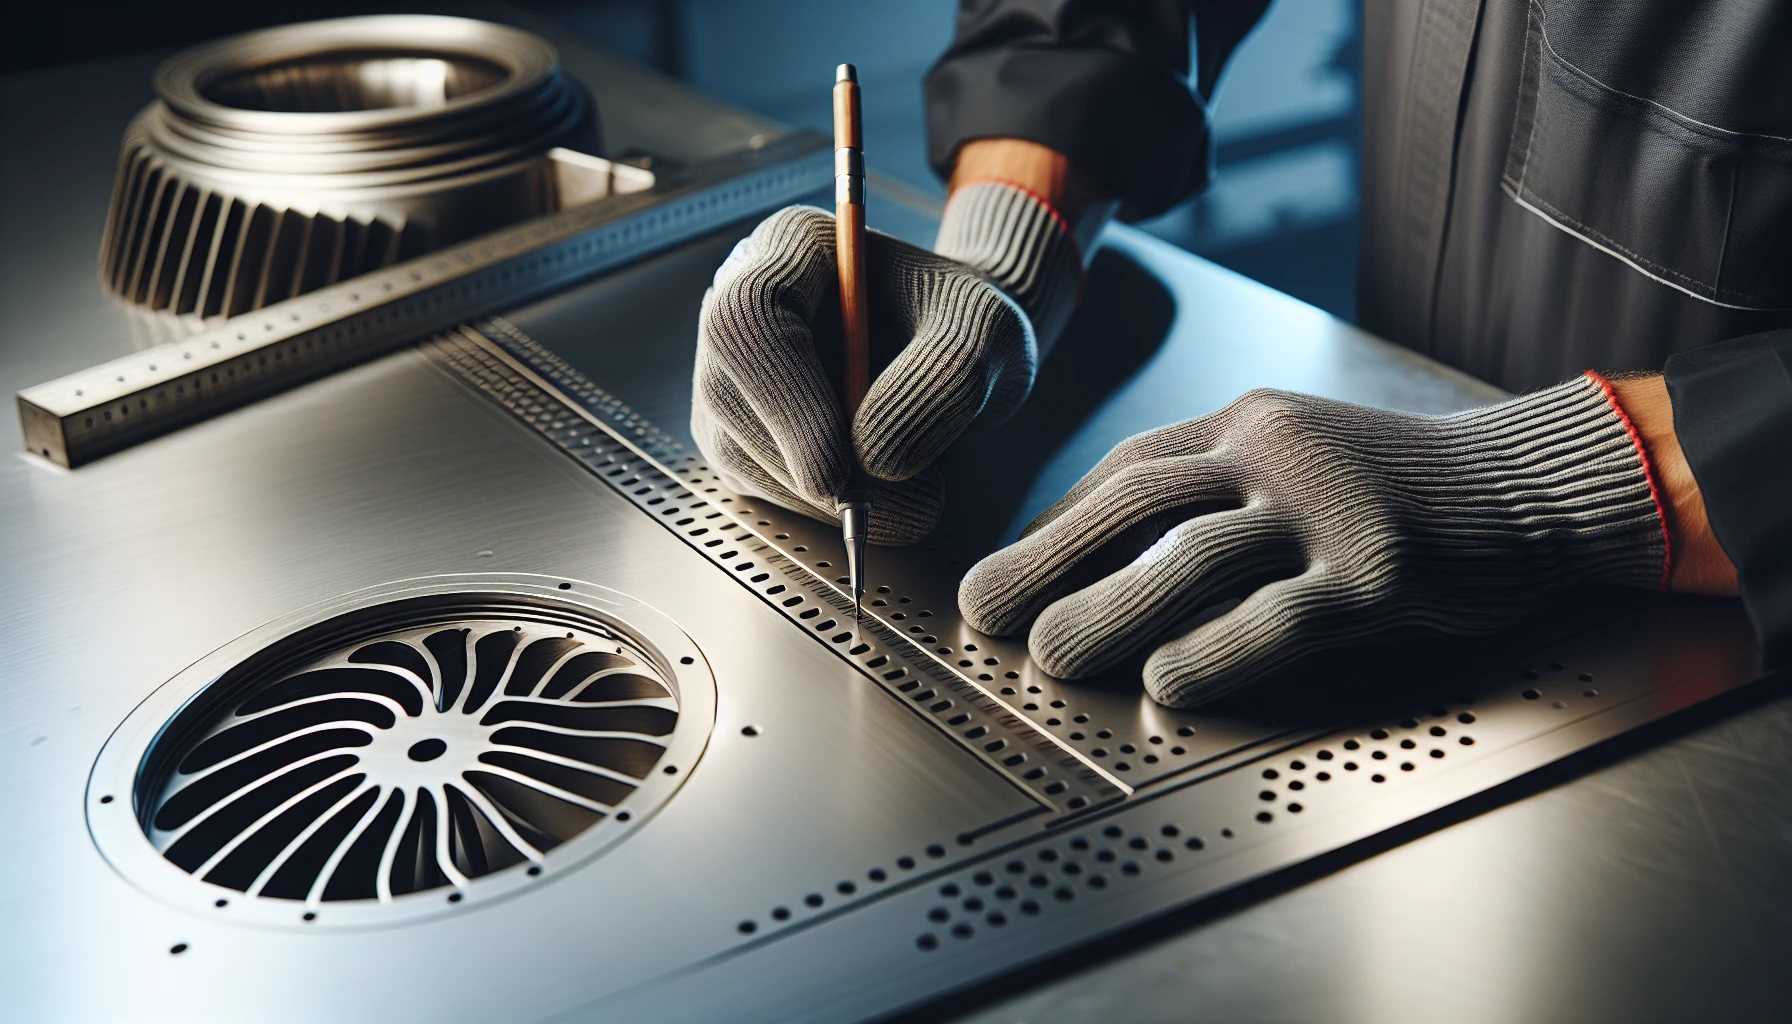
To prepare the venting path, follow these steps:
- Locate and mark the vent location on your wall or cabinet.
- Check the wall for any plumbing or electrical wiring obstructions before cutting the vent hole.
- Use locator holes as a guide to cut a vent hole in the exterior wall.
Once the exterior vent hole is complete, cut the interior vent aperture. Finish by creating the exterior vent pipe hole. This ensures a proper venting path for your new range hood.
Installing Ductwork for Vented Range Hoods
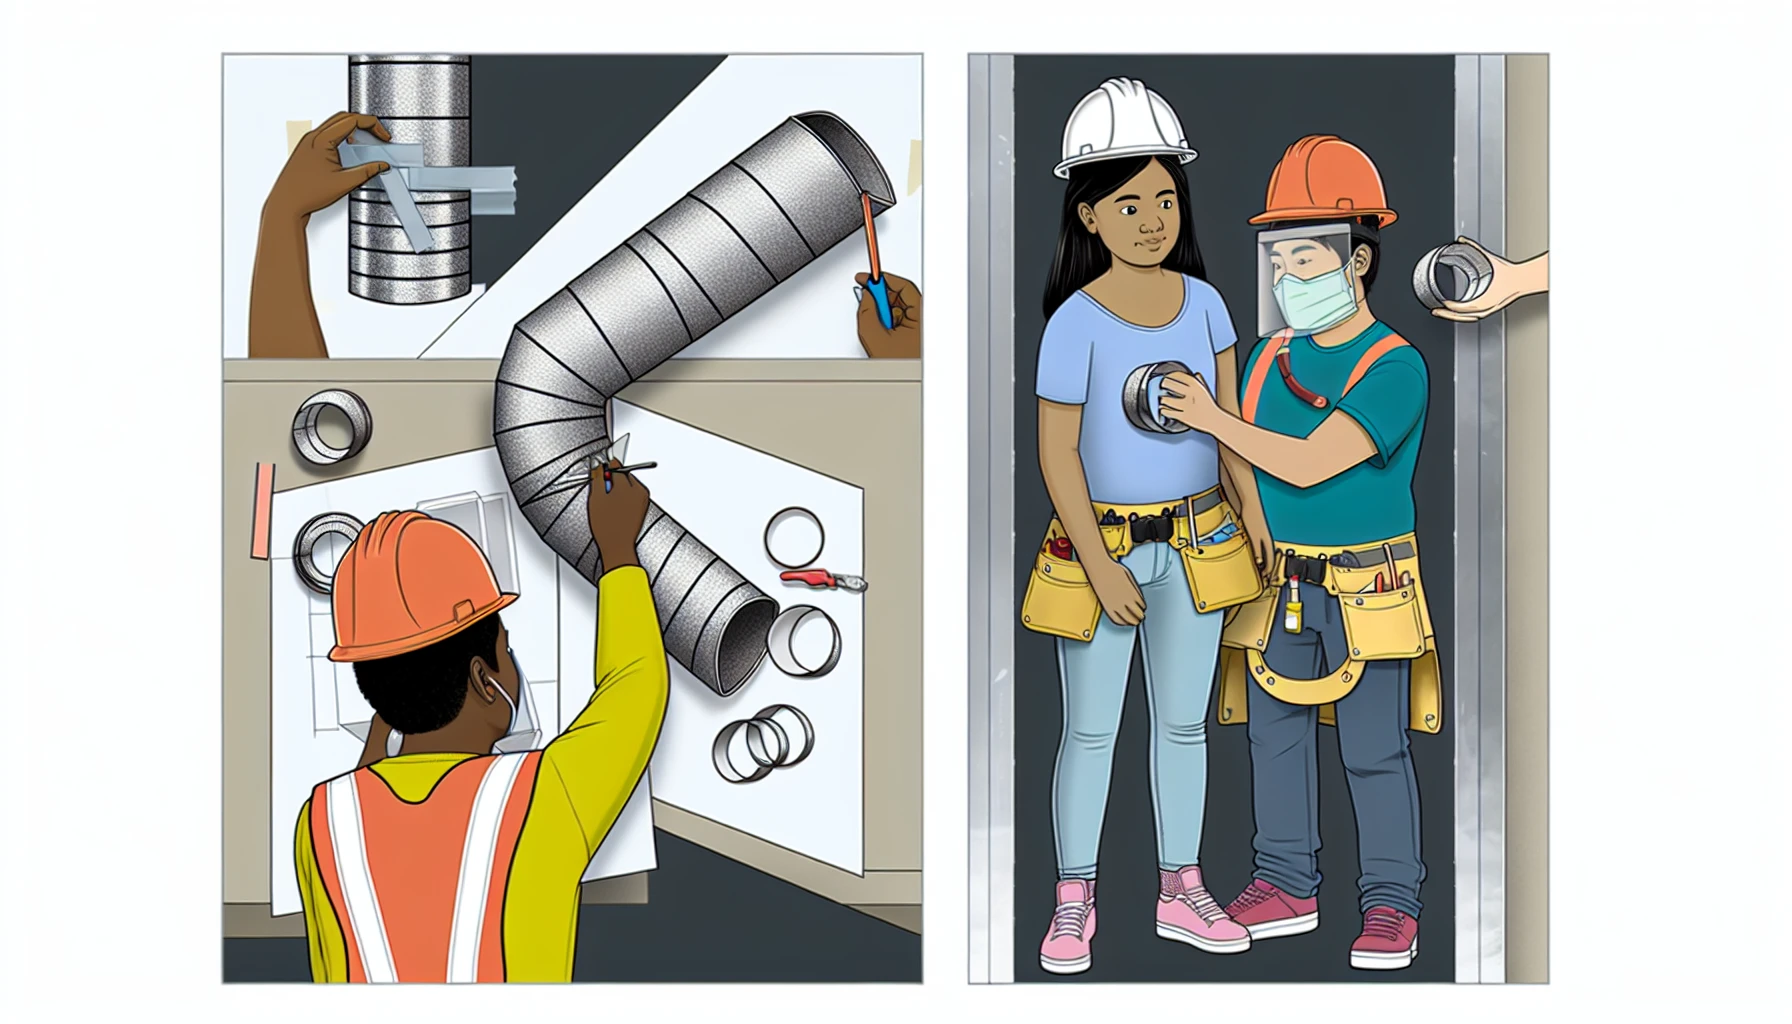
Installing ductwork for vented range hoods involves the use of the following materials:
- Galvanized steel, stainless steel, or copper ductwork
- Foil tape
- Screws
- Weatherproof caulking compound
Connect the ductwork sections using foil tape to ensure a secure and airtight connection.
Once the ductwork is securely connected, follow these steps to complete the installation of your vented range hood:
- Screw the vent cap into the exterior opening.
- Use a weatherproof caulking compound to ensure a secure seal around the vent cap.
- Apply caulk to the hole’s exterior to seal any openings and prevent pests from entering.
- Test the vented range hood to ensure proper ventilation.
Adequately installed ductwork ensures efficient venting for your vented range hood, making ducted range hoods a great choice. However, if ductwork installation is not feasible, a ductless range hood can be an alternative option.
Mounting and Securing the New Vent Hood
To install and secure the new vent hood, follow these steps:
- Insert the mounting screws into the hood’s mounting slots.
- Ensure the hood is level before tightening the upper screws, and then secure the bottom screws.
- To achieve proper alignment during installation, ensure the vent hood fits flush against the wall, with the vent piece going into the wall.
- Center the vent hood above the cooktop or range at a comfortable height.
Double-check the levelness of the vent hood by placing a level vertically against its side and making any necessary adjustments. Once the vent hood is level and properly aligned, drill pilot holes at the marked locations and secure the vent hood in place using screws or other appropriate fasteners.
Finalizing Electrical Connections
Finalize the electrical connections by stripping the wires and joining them with wire connectors. Make sure to clip any excess wiring and match the wiring colors to their corresponding connectors.
Connect the copper ground wire to the grounding wire connector. This ensures a proper and safe electrical connection for your new range hood.
Testing and Troubleshooting
Once the installation is complete, follow these steps to test the range hood:
- Turn on the power supply.
- Check if the fan is working correctly.
- Check if the light is functioning.
- Ensure that the air is venting correctly.
If any issues arise during testing, troubleshooting may be necessary to identify and resolve the problems.
You may encounter some issues during installation, such as:
- Terminating the duct in a confined space
- Dirty or blocked grease filters
- Power problems
- Incorrect blower fan installation
- Inadequate airflow
Addressing these issues promptly will ensure the proper functioning of your new range hood.
Professional vs. DIY Vent Hood Installation
In considering vent hood installation, one should weigh the advantages and disadvantages of DIY installation against hiring a professional. DIY range hood installation typically costs between $75 and $500, while professional range hood installation cost ranges from $400 to $1500. DIY installation is estimated to take two to four hours, whereas professional installation may be completed in a shorter time frame.
While DIY installation can save money, working with electrical components without experience may present a safety hazard. If you’re uncomfortable handling electrical work, hiring a professional is recommended to ensure a safe and successful installation.
Ultimately, the choice between DIY and professional installation depends on your budget, skillset, and comfort level with handling electrical work, such as dealing with an electrical box.
Maintenance Tips for Your New Range Hood
Regular maintenance of your new range hood is critical to extending its lifespan and ensuring peak performance. Regularly clean your range hood’s underside and exhaust fan filter, and use degreasing cleaners to remove built-up grease and grime.
If your range hood malfunctions, consider the following steps:
- Research suitable appliance repair services in your area.
- Read customer reviews to ensure you choose a reputable service provider.
- Obtain multiple quotes before proceeding with any repairs.
- Hire a professional to diagnose and repair the issue. Regular maintenance and prompt repairs will keep your range hood functioning at its best.
Key Considerations for Successfully Installing Your Vent Hood
For a successful vent hood installation, adhere to the step-by-step guide, follow safety precautions, and refer to the owner’s manual or seek professional assistance.
By planning and executing each step of the installation process, you’ll enjoy the benefits of improved air quality and enhanced kitchen functionality for years to come.
Summary
In conclusion, vent hood installation can be a rewarding project that improves your kitchen’s air quality and functionality. By following this step-by-step guide and considering cost, time, and expertise, you can install a vent hood that meets your needs and enhances your cooking experience. Your new range hood will serve you well for years with proper maintenance and care.
Frequently Asked Questions
How to install a range hood?
Installing a range hood requires shutting off power and disconnecting wiring, removing the old hood, marking and cutting the vent location, attaching the duct/range hood vent cap, preparing the damper, and connecting the electrical wiring. Following these steps will ensure your range hood is appropriately and securely installed.
How do you install a range hood vent through the wall?
To install a range hood vent through the wall, shut off power and disconnect any wiring, remove the old hood, mark the vent location, check the wall for any obstructions, cut the interior hole of the vent, attach the duct/range hood vent cap, prepare the damper, run the electrical line, and connect the wires.
What tools and materials are required for vent hood installation?
To install a vent hood, you will need a drill, jigsaw, screwdriver, level, and screws. Learn more about the tools required.
How do I ensure proper alignment and leveling during vent hood installation?
Ensure proper alignment and leveling during vent hood installation by using a level and centering the hood above the range at a comfortable height.
How do I maintain my new range hood?
Regular cleaning and degreasing will help maintain your new range hood. Be sure to clean the underside and exhaust fan filter regularly.

