Create & Personalize: Chic DIY Coasters for Every Occasion
Are you eager to handcraft coasters that reflect your style? Our DIY coasters guide walks you through creating bespoke pieces for your home, from rustic wood slices to elegant resin art. You’ll learn the essentials — choosing the right supplies, crafting techniques, and finishing to make your coasters stand out and last long.
Key Takeaways
- DIY coasters can be made from materials like wood slices, Scrabble tiles, comic books, or even resin for a custom, personal touch.
- There’s a coaster for every style: sequins for glam, rustic wood for a natural look, Scrabble for gamers, and comics for superhero fans, not to mention the vintage charm of embroidery or wine corks.
- It’s easy to personalize coasters with paint, paper, or fabric, and a little Mod Podge or resin makes them durable and water-resistant.
DIY Tile Coasters: A Step-by-Step Guide
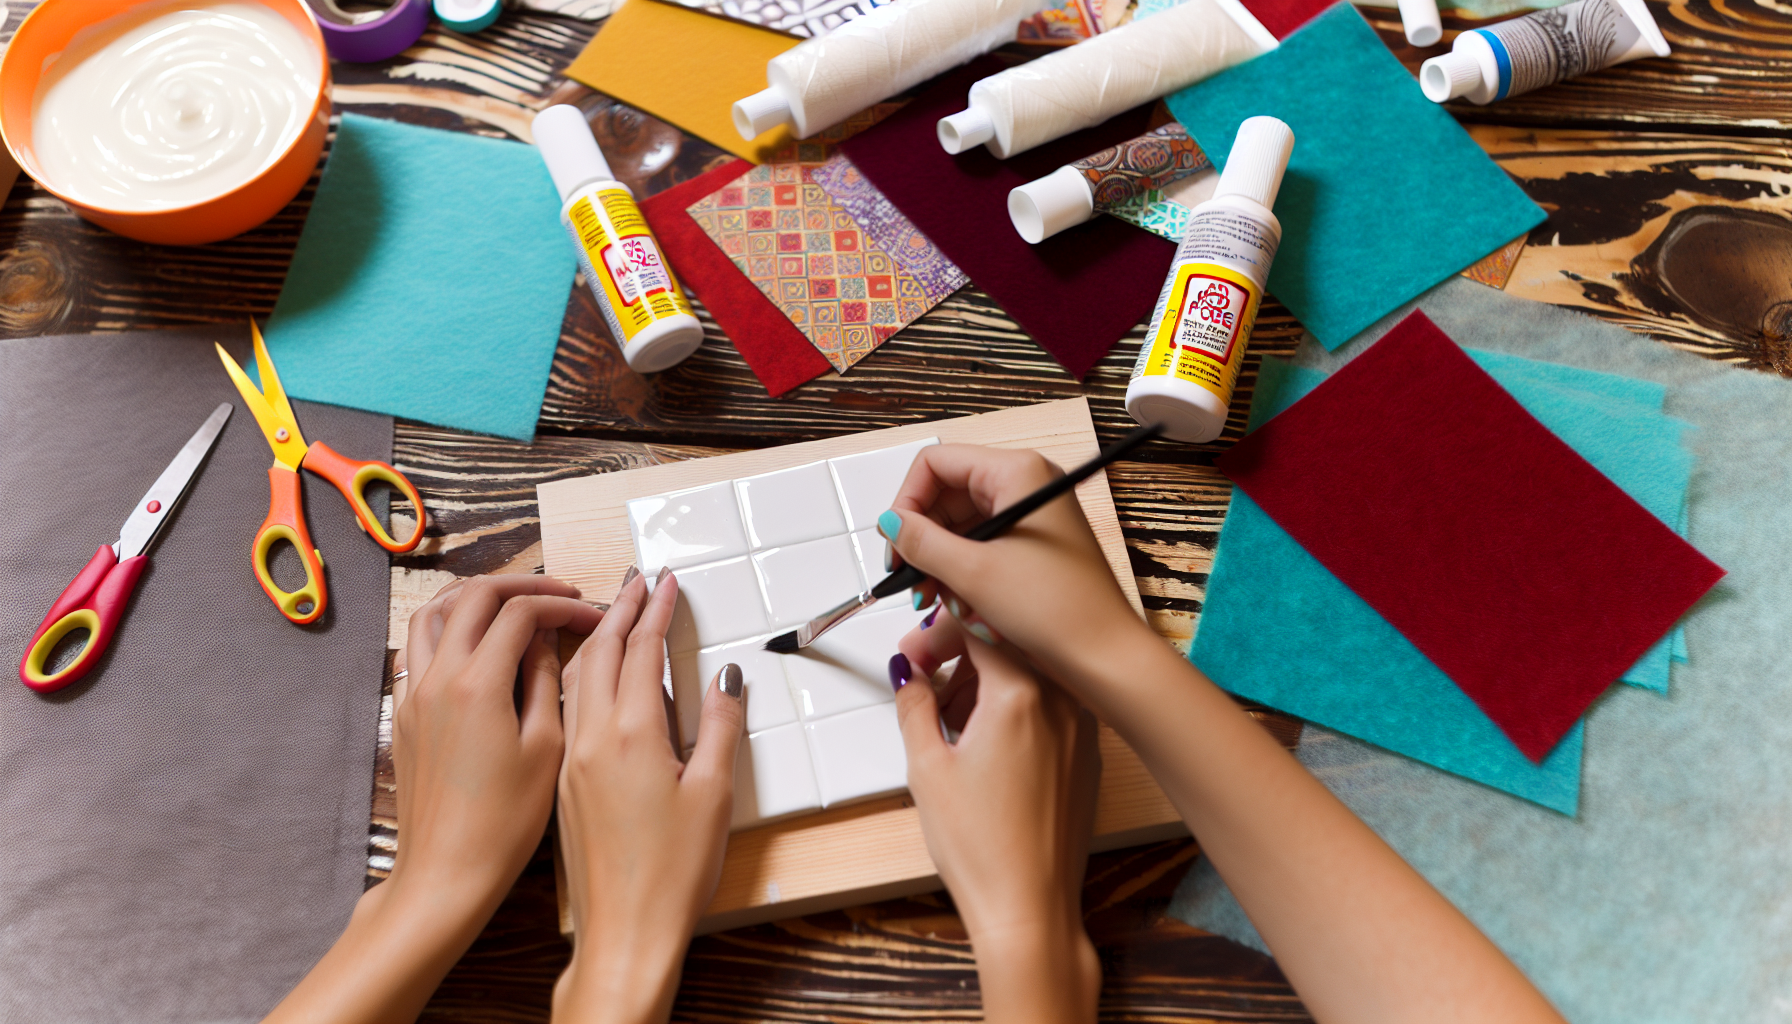
Embark on your DIY journey with confetti coasters – an easy and rewarding project for beginners using tile coasters. To get started, you’ll need:
- Ceramic tiles
- Scrapbook paper or photos
- Mod Podge
- A foam brush
- A sealer
Looking for easy and cute ideas? These supplies can be easily found at your local craft store.
When selecting your paper, consider using scrapbook paper designs. These provide various styles and can easily be cut to fit your 4” x 4” ceramic tiles.
It’s time to delve into the crafting process. Here’s how to do it:
- Cut the paper, leaving a 1/4” border for the tile.
- Apply a generous layer of Mod Podge to the tile.
- Place your paper onto the tile and let it dry.
Moving on to the final step – sealing your coaster. After the Mod Podge has dried, seal each tile with 2 – 3 coats of Mod Podge, allowing them to dry between coats. Finish it off with a coat of spray acrylic sealer to make it waterproof and tough. Follow these steps, and voila! You’ve created your own long-lasting coasters.
Wood Slice DIY Coasters: Rustic Charm for Your Home
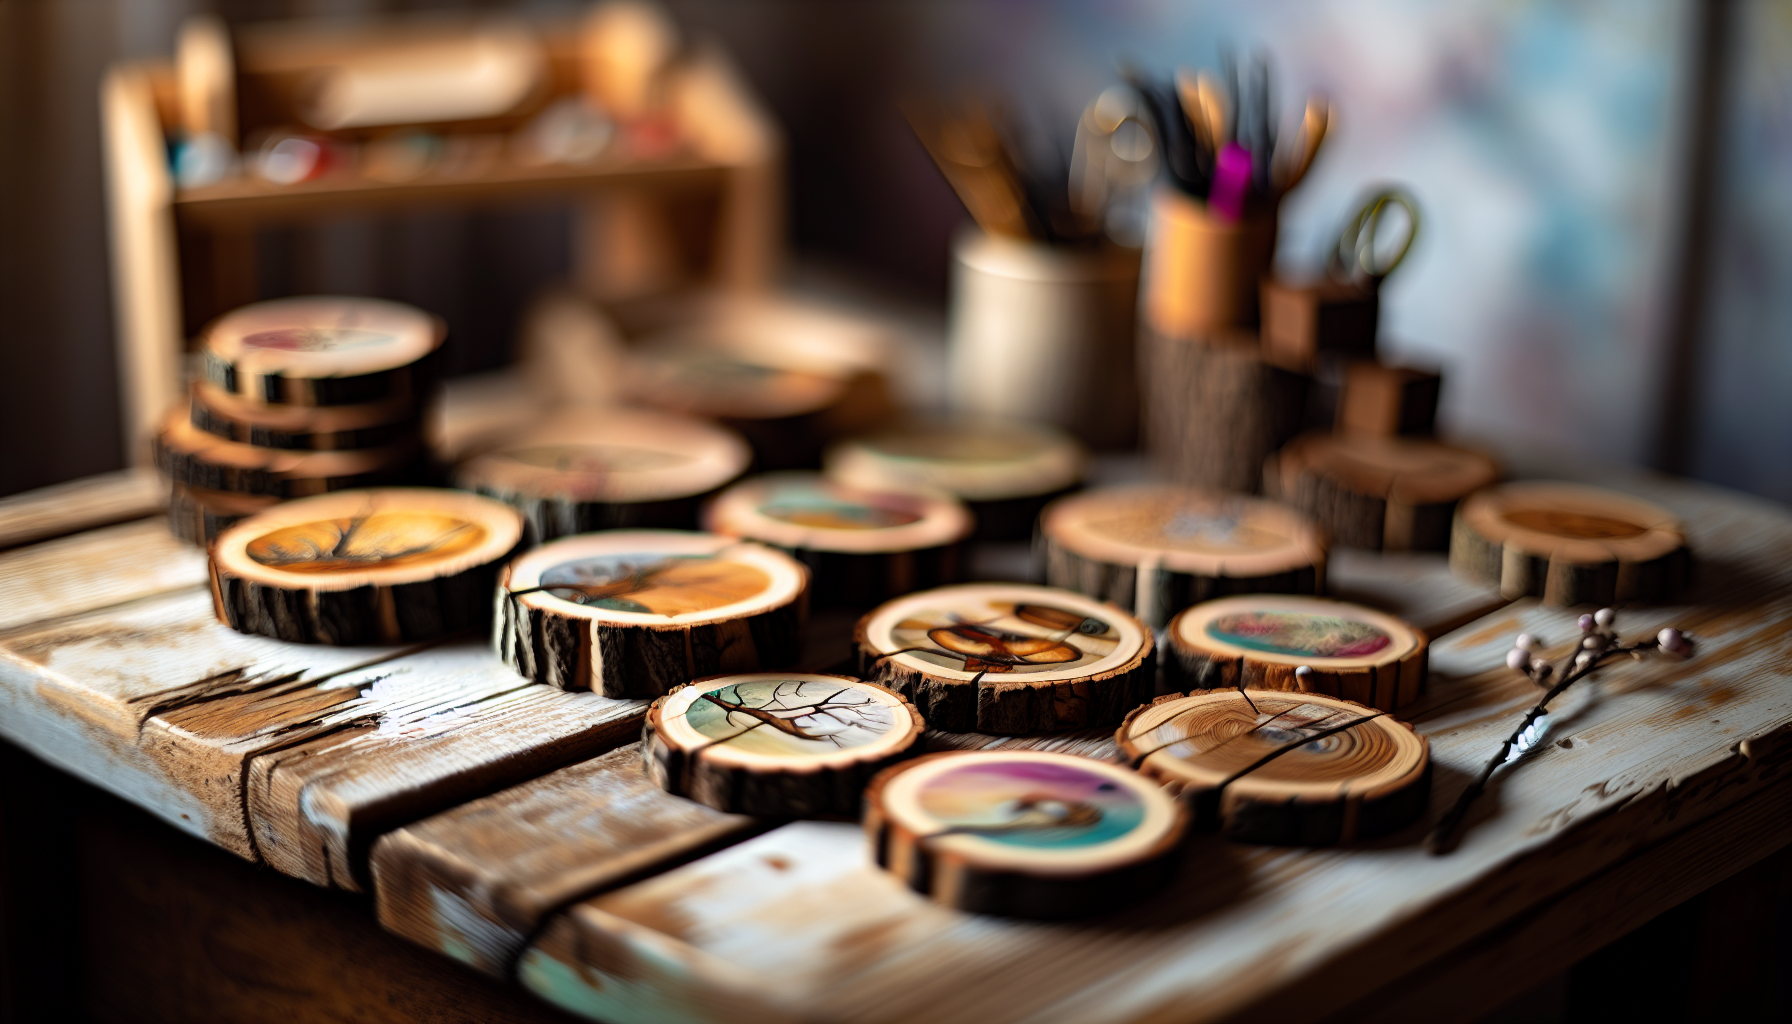
Wood slice coasters are the ideal choice if you’re looking for a touch of rustic charm. Pine logs or craft wood slices are ideal for making painted wood slice coasters. If you’re up for the challenge, they can be easily cut at home using a band saw, miter saw, or benchtop bandsaw. But remember, safety first! Protective goggles are necessary when cutting wood slices to keep debris out of your eyes. After cutting, you can soak the slices in denatured alcohol or use a wood sealer to prevent cracking.
Before you start decorating, you need to prepare your wood slices. Sand each piece using heavy grit paper and then fine grit to smooth it. Apply polyacrylic with a brush or foam roller, doing several coats to achieve an excellent finish. With your slices prepared, it’s time to let your creativity flow. Paint designs on your coasters using a small spray bottle to moisten the wood before painting, a stencil with a foam brush, and dabbing small amounts of paint to prevent bleeding.
Scrabble Tile Coasters: Wordplay Fun

Next, we’ll explore the playful world of Scrabble tile coasters! Perfect for wordplay enthusiasts, these coasters add a unique and fun touch to your decor. You’ll need Scrabble tiles, cork coasters, and a strong adhesive like Gorilla Glue’s Clear Grip, Krazy Glue’s craft glue, or E6000 glue. Arrange your 4 x 4 Scrabble word layout on the cork and stick the Scrabble tiles onto the coasters.
To ensure your Scrabble tile coasters endure the test of time, apply a few coats of polyurethane spray following the instructions on the bottle, letting it dry in between. For extra protection, add a layer of Mod Podge on top. But what words should you use, you may wonder.
Well, for word and design inspiration, look no further than Pinterest. Check out boards like Corina Ponce’s ‘Scrabble Coasters’ or Taylor Bradford’s roundup of ‘4 Letter Words for Scrabble Coasters’ for plenty of cool ideas.
Comic Book Coasters: For the Superhero Fan

Calling all superhero fans: This DIY comic book coaster project is for you! Creating comic book coasters is a fantastic way to showcase your favorite characters and comics. To start, you’ll need:
- Comic books or graphic novels
- Outdoor Mod Podge
- White paint (optional)
- Scrapbook paper (optional)
- Electric outlet covers or prefabricated coasters for the bases
With your materials ready, let’s start crafting! Here’s how to make comic book coasters:
- Cut your chosen comic book images to fit the coasters.
- Stick the image onto the coaster using Mod Podge, ensuring no air bubbles.
- To make your comic book coasters last, use Outdoor Mod Podge to protect them from moisture and wear.
Taking care of your comic book coasters is easy. Here’s what you need to do:
- Apply Mod Podge to lock in the comic book image and let it dry.
- You can add a layer of white paint if desired.
- Lastly, apply a clear acrylic sealer for extra toughness.
Embroidered DIY Coasters: Stitching Beauty
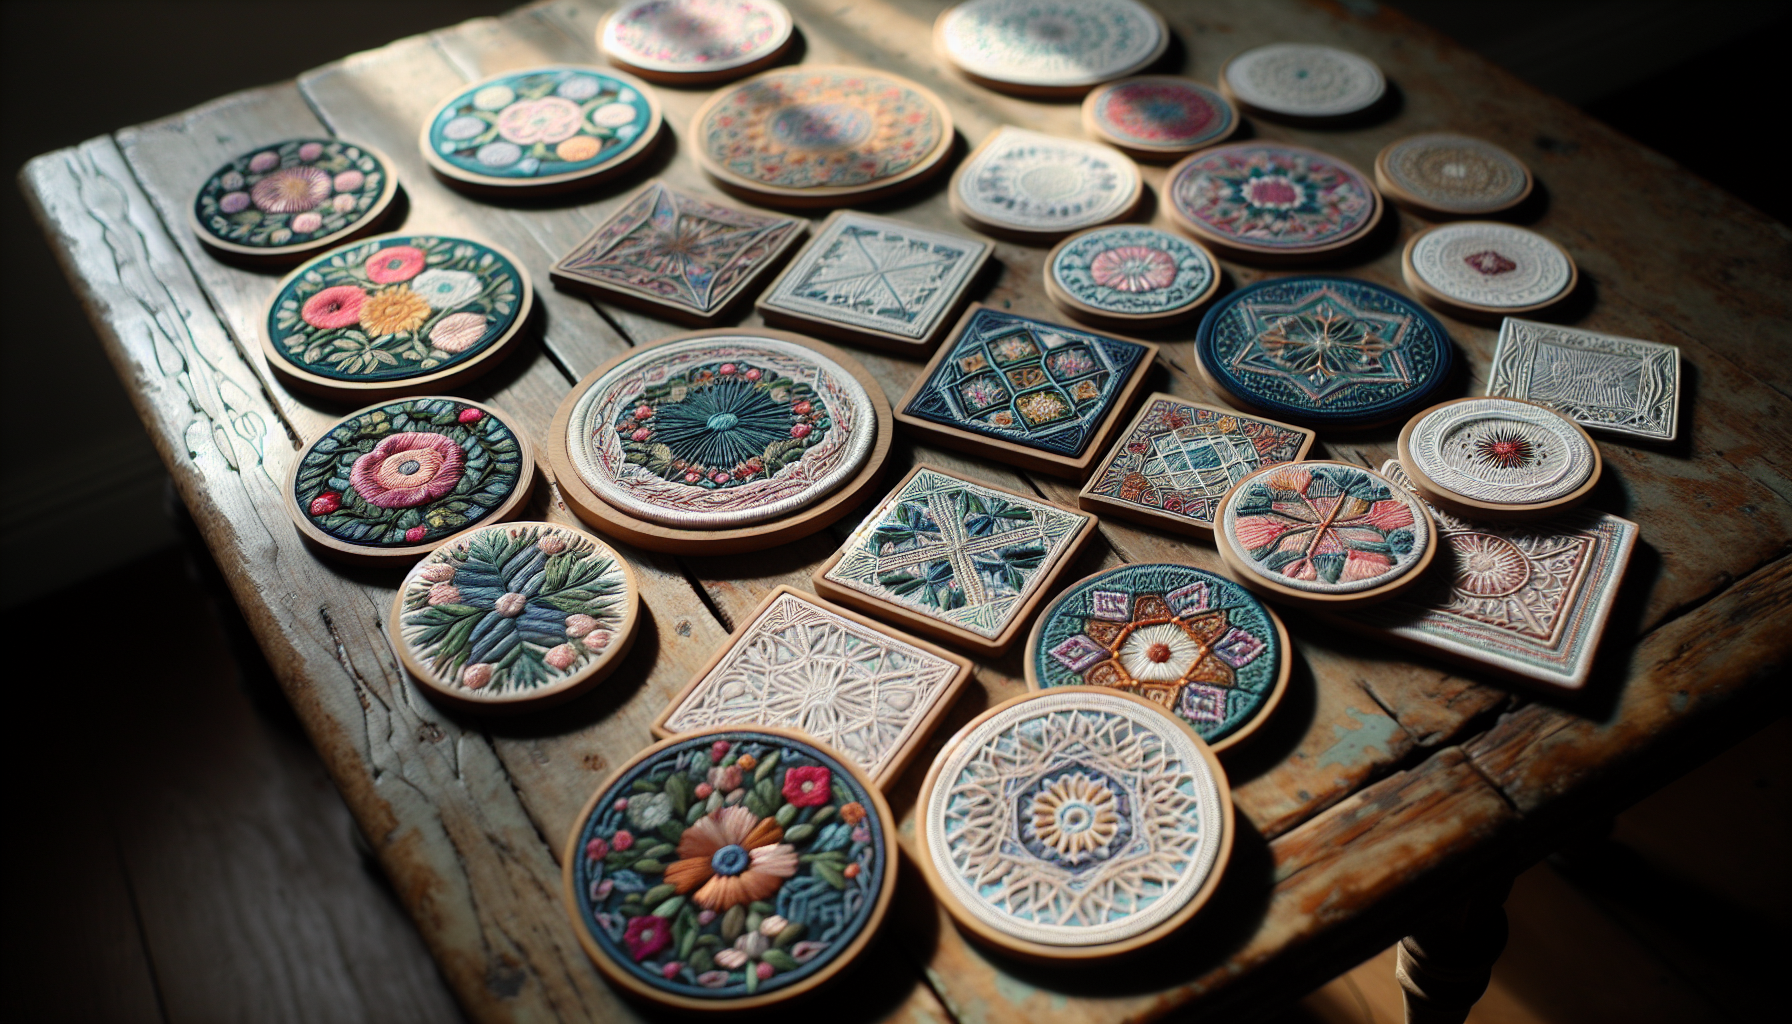
Next up, we delve into the world of embroidered coasters. These handmade coasters add a touch of beauty to your home or as a gift. You can create your embroidery patterns for coasters by stitching simple designs like:
- flowers
- snowflakes
- monograms
- other motifs that you like
Applique techniques can add more dimension to your designs.
With your design in mind, let’s create your masterpiece. Mark a 4-1/2 inch square around your design, then cut out each square. Experiment with different colors and patterns to make each coaster unique.
Keeping your embroidered coasters clean and looking good is easy. Give them a gentle hand wash with a mild detergent like wool-lite or mild dish soap to keep them in good shape.
Resin DIY Coasters: Sleek and Modern Designs
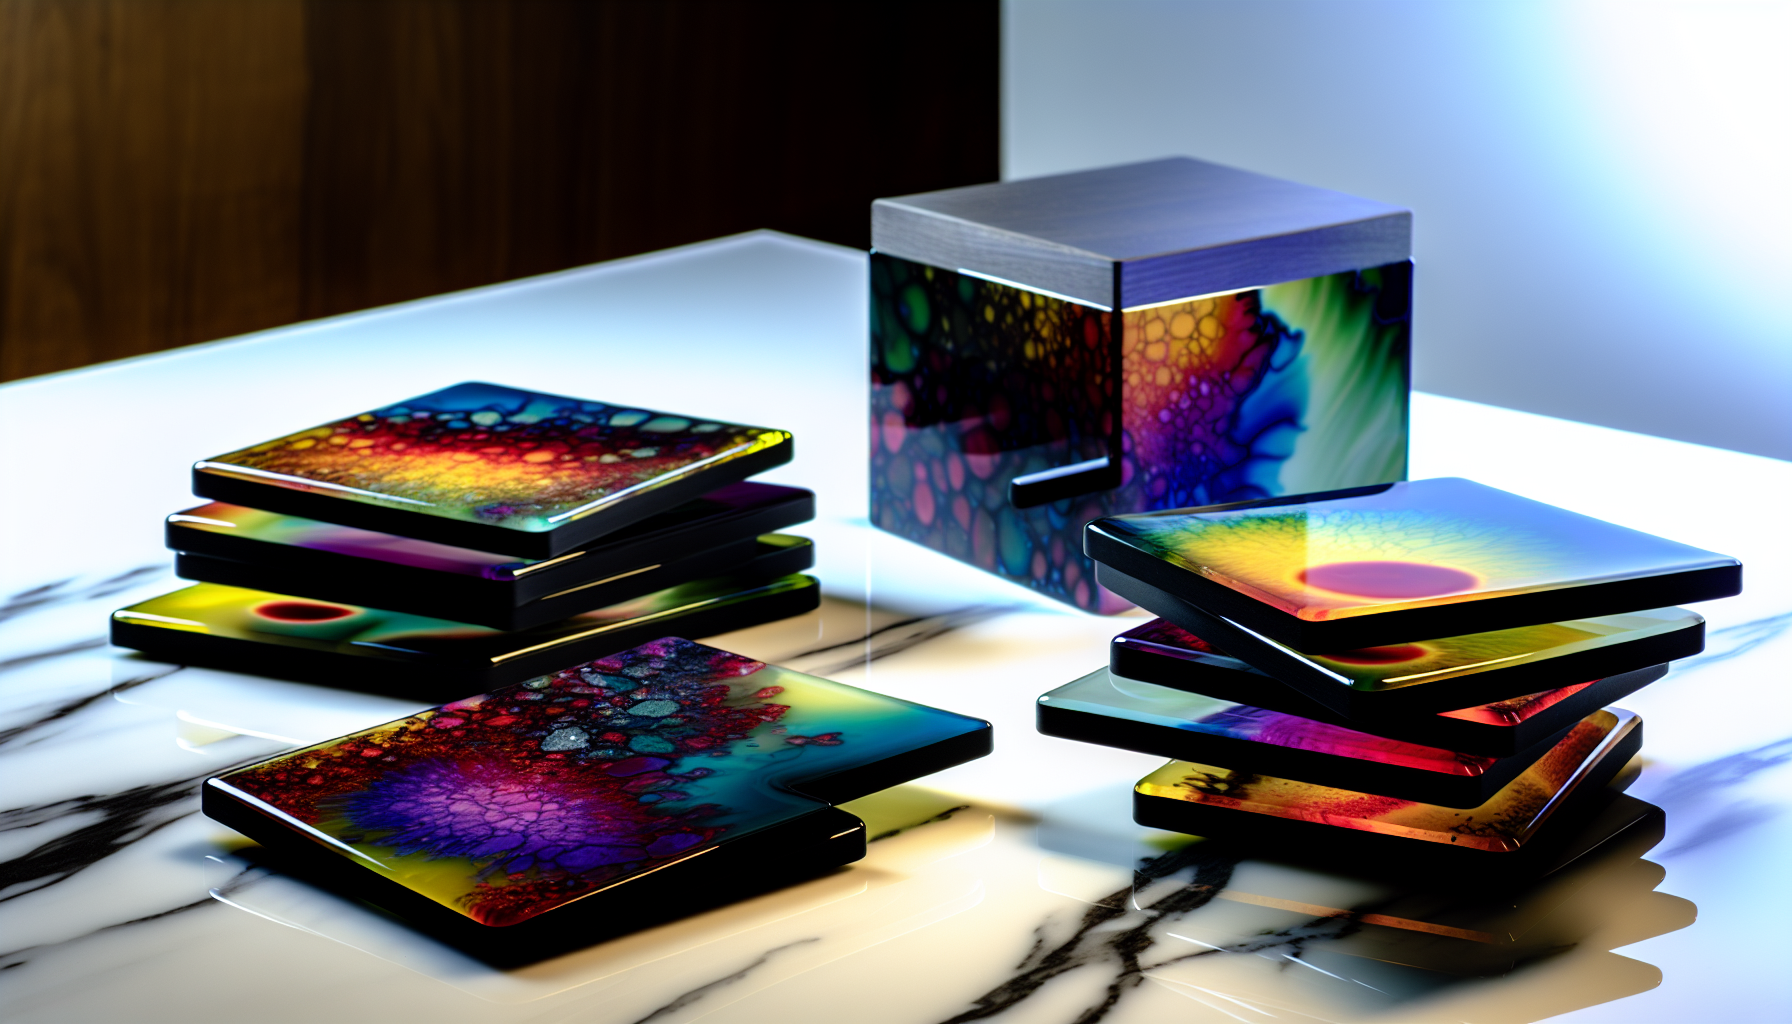
If you prefer a sleek and modern aesthetic, resin coasters could be for you. Here’s how to make them:
- Set up your workspace.
- Mix the resin according to the instructions.
- Pour the resin into molds.
- Add in any items you want, such as dried flowers or glitter.
- Let the resin cure.
- Ensure that you get rid of any bubbles that may pop up.
To add color to your resin coasters, you can use transparent or semi-transparent drop-in dyes, solid metallic mica, glow-in-the-dark, neon epoxy colorants, or a palette of pigments in various colors. You can also add designs to resin coasters by using colorful ink or alcohol ink or by embedding objects like googly eyes into the wet resin.
To make your resin coasters look modern, experiment with the resin using a heat gun and a popsicle stick, create cool marbling effects, or add items like sea glass. Be sure your workspace and materials are all set up correctly for a sleek finish.
Wine Cork Coasters: Upcycling Made Stylish

For wine enthusiasts, why not repurpose your wine corks into stylish coasters? For this project, you’ll need:
- Wine corks
- Square cork tiles
- A glue gun
- A knife
- A cutting board
- Tongs
- A pot of boiling water
When cutting the wine corks, rinse them in warm water and let them dry completely. Using a serrated knife, you can cut a circular piece with scissors or split the corks in half. Steaming the corks beforehand can make cutting easier. Use wood or tacky glue to ensure your cork coasters stay put when you assemble them.
To ensure drink spills don’t ruin your wine cork coasters, cover them with epoxy resin and use a blow dryer to help them set properly.
Painted DIY Coasters: Unleash Your Creativity
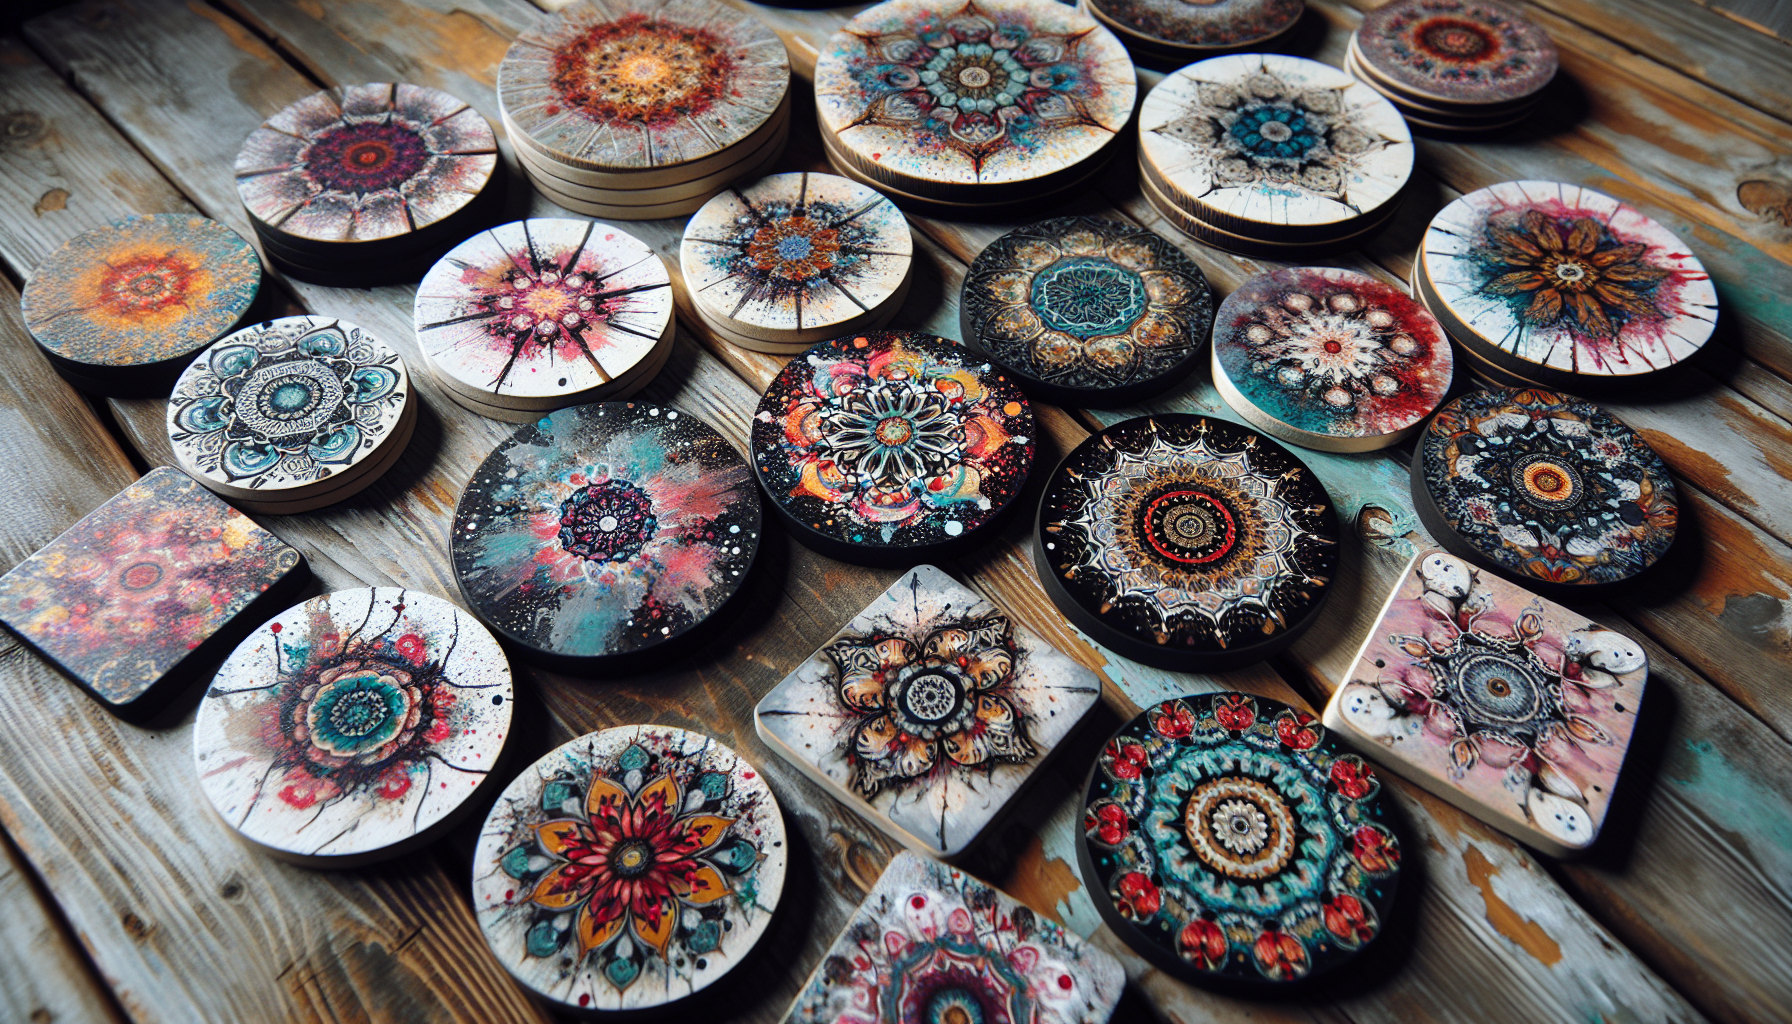
Express your creativity with painted coasters! Here’s how:
- Prepare your coasters for painting by gently twisting and turning them by the corners until the paint covers the whole tile.
- You can spray a coat of Rust-Oleum 2X Ultra Cover Gloss Clear.
- Try out a marbled effect with acrylic pouring.
The best paint for painting coasters is multi-surface acrylic paint. It works well on ceramic coasters. After painting, you can seal the coasters with a water-based poly like Minwax Polycrylic to protect the design.
Maintaining your painted coasters is straightforward. Give them a regular clean with soap and water to prevent dirt and germs from building up. Use a damp cloth with mild soap if they’re cork or have paint on them.
Fabric and Decoupage DIY Coasters: Vintage Vibes

For those seeking a touch of nostalgia, fabric and decoupage coasters are worth a try. You’ll need some adhesive like decoupage paste, Mod Podge, a mix of glue and water, some fabric, and any other decorations you want to add.
When choosing your fabric, consider heat-resistant fabrics like cotton or linen for coasters that will handle hot drinks. Pick a fabric that matches your vintage vibe if you’re focusing on the design. Once you’ve chosen your fabric, it’s time to start crafting. Apply Mod Podge on the tile, smooth non-stick paper over it to remove bubbles, then put your fabric or vintage scarf on top. Seal it with more Mod Podge, let it dry, and you’ve got your custom coasters.
After creating your vintage-style fabric and decoupage coasters, you’ll need to let the decoupage glue dry. Wait about 20 minutes between each coat and around 2 hours before adding more decorations or sealing layers.
Winter-Themed Crafts: Cozy Coasters for Cold Days

Welcome the winter season with cozy coaster crafts. Whether using simple wood coasters and a snowflake stamp to create personalized snowflake coasters or painting wood slice coasters with colorful winter-themed designs, there are many ways to add warmth to your home during cold days. For those who love winter-themed crafts, these projects are perfect for bringing winter magic indoors and creating your coasters.
Incorporating winter elements into your coaster designs can be as simple as using machine embroidery for snowflakes or pyrography to burn in natural details like holly, ivy, pinecones, and mistletoe. Make DIY photo coasters with wintery scenes or your favorite memories for a personal touch.
Summary
In summary, creating DIY coasters is a fun and rewarding way to express your style and creativity. Whether you’re crafting tile coasters, experimenting with resin, or embracing the rustic charm of wood, the possibilities are endless. No matter your taste or skill level, there’s a coaster project for you. So why wait? Start creating your unique coasters today!
Frequently Asked Questions
What is the best material to make coasters out of?
The best materials to make coasters are cork, wood, and marble, as they are sustainable and natural. If you want a classic and warm element, go for a wooden coaster.
What can I use instead of coasters?
To make DIY coasters, you can use household materials like cork, felt, or tile. There is no need to buy coasters when you can easily make your own!
What kind of wood is best for making wood slice coasters?
Pine logs or craft wood slices are perfect for making painted wood slice coasters. They provide an excellent surface for painting and decorating.
How do I make my embroidery patterns for coasters?
You can make your coaster embroidery patterns by stitching simple designs like flowers, snowflakes, monograms, or other motifs you like. Just choose a design and start stitching!
How do I cut the wine corks for making coasters?
To cut wine corks for making coasters, rinse them in warm water and let them dry completely. Then, use scissors to cut a circular piece or a serrated knife to split them in half. Enjoy crafting your coasters!

