10 Creative DIY Shelves to Enhance Your Space on a Budget
Need efficient yet stylish storage? Our no-frills guide to DIY shelves will walk you through assembling your functional shelves step by step. Perfect for anyone on a budget, these easy-to-follow instructions will have you maximizing your space in no time with shelves that seamlessly fit your home’s needs and aesthetic.
Key Takeaways
- Floating shelves are flexible, budget-friendly, and perfect for various rooms; they can be easily created with basic materials like wooden boards and brackets and tailored to suit individual spaces like kitchens, bathrooms, and living rooms.
- Repurposed crate shelves and ladder-inspired units offer creative storage options with a unique charm; vintage crates can become bookshelves, wine racks, or toy storage, while ladders can be converted into stylized bookshelves or plant stands.
- DIY shelves are not only for aesthetic upgrades; they also include practical solutions like heavy-duty garage shelving for better organization, narrow wall shelves for small spaces, and custom bookshelves to show off personal collections.
DIY Floating Shelves for Any Room
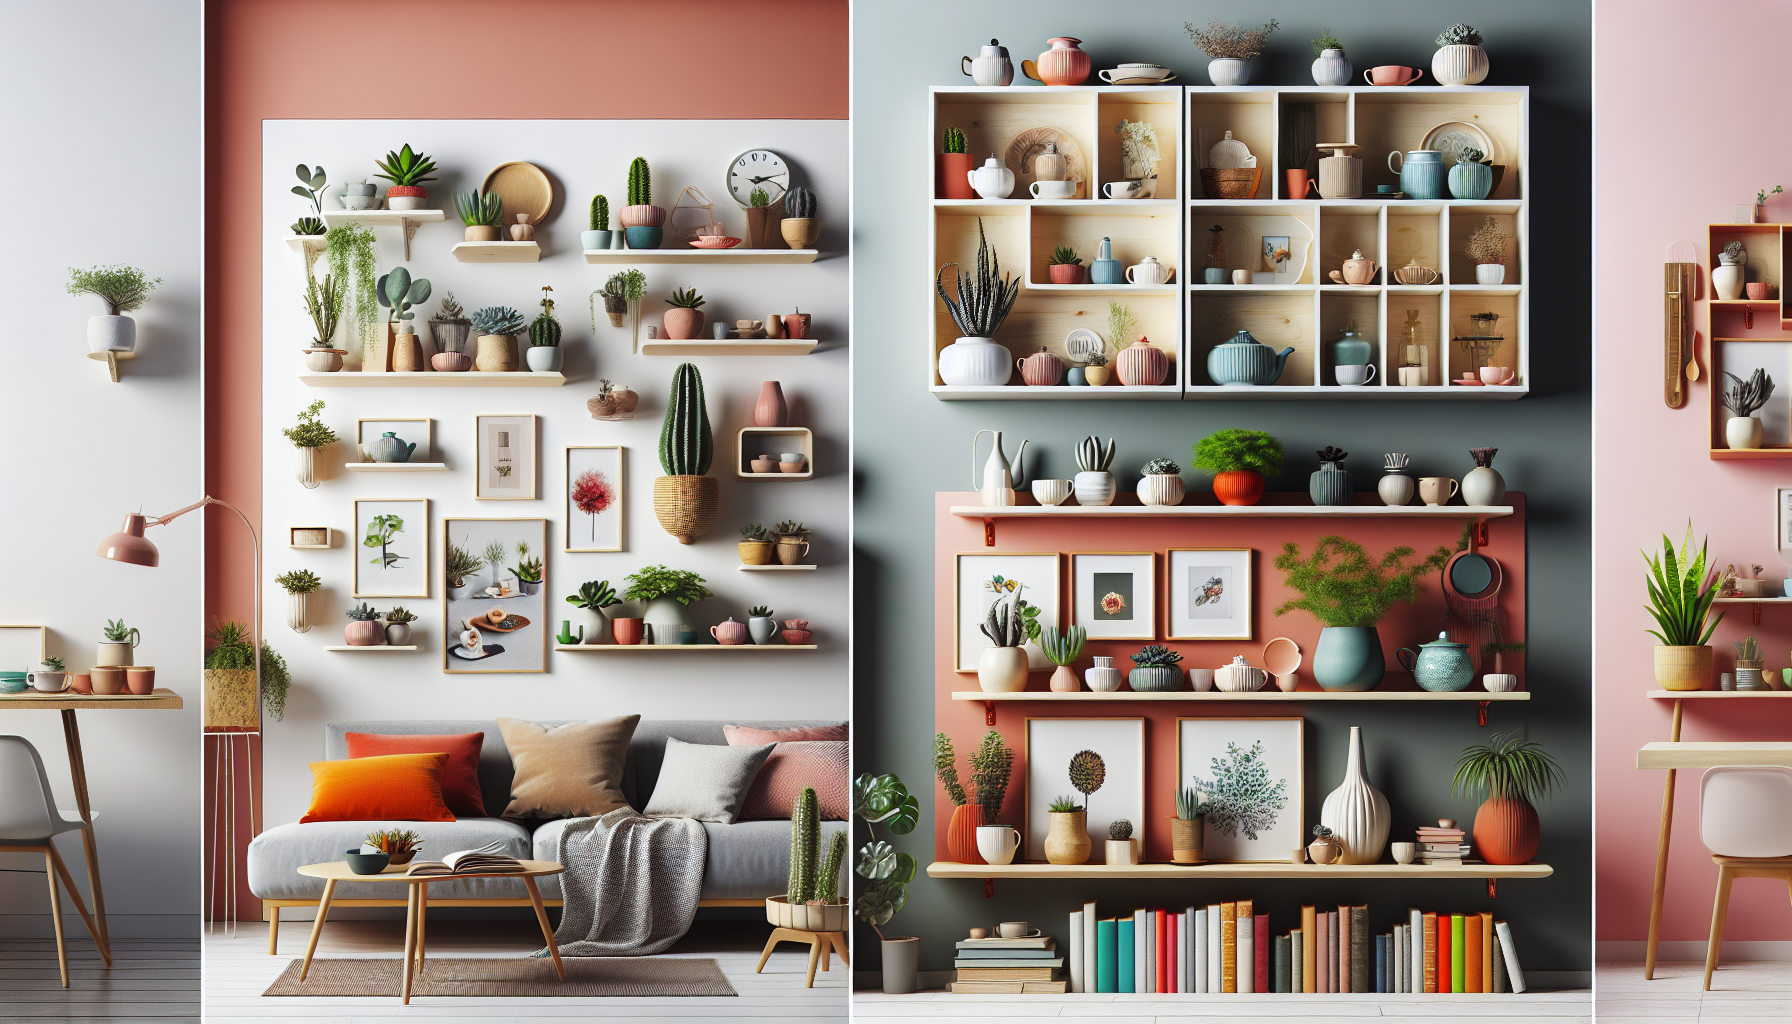
One of the most popular DIY projects is floating shelves. They are sleek, appear to “float” (hence the name), and can be adapted to any room in your house. Be it to display your favorite knick-knacks in the living room, organize your spices in the kitchen, or keep toiletries handy in the bathroom, floating shelves have you covered. Moreover, you can easily make them using a wooden board, some brackets, and a touch of creativity.
Here are some floating shelf ideas tailored to specific rooms, perfect for creating your shelves.
Living Room Display Shelves

Display shelves are an excellent way to showcase your favorite decor elements and give your living room a personal touch. You can design them to match your room’s aesthetic and even play around with symmetry to add a unique spin. To build your own, you’ll need some framing lumber, pine boards, and hardwood plywood.
Installation involves locating the wall studs, attaching the mounting brackets, and setting the shelf casing on top. Just remember to follow safety rules and not to overload them. So why not makeover your living room with these stylish floating shelves?
Bathroom Storage Shelves

Bathrooms often lack storage space, but floating shelves can be a game-changer. They can hold toiletries, towels, and even some decorative items. To build them, you can use galvanized steel for the shelf hangers and pine boards for the shelves. Installing them involves building a base using 2x3s, attaching the sides and top, and adding boards for the bottom and front of the shelf.
To maximize storage, you can add towel racks, use every inch of space, and consider adding a makeup vanity if space permits. Check out some of the other bathroom renovation ideas.
Kitchen Organization Shelves

The kitchen is the heart of the home, and organization is critical. Floating shelves can help keep your spices, cookbooks, and dishware within easy reach. You can customize them by choosing durable materials like knotty wood, heartwood, and non-wood materials.
To install them, measure and mark the wall, drill holes for the shelf pegs, pop them in, and then slide them onto them. Consider adding dividers, pull-out shelves, and clear containers to enhance organization further. So, ready to whip up a storm in your newly organized kitchen?
Repurposed Crate Shelves
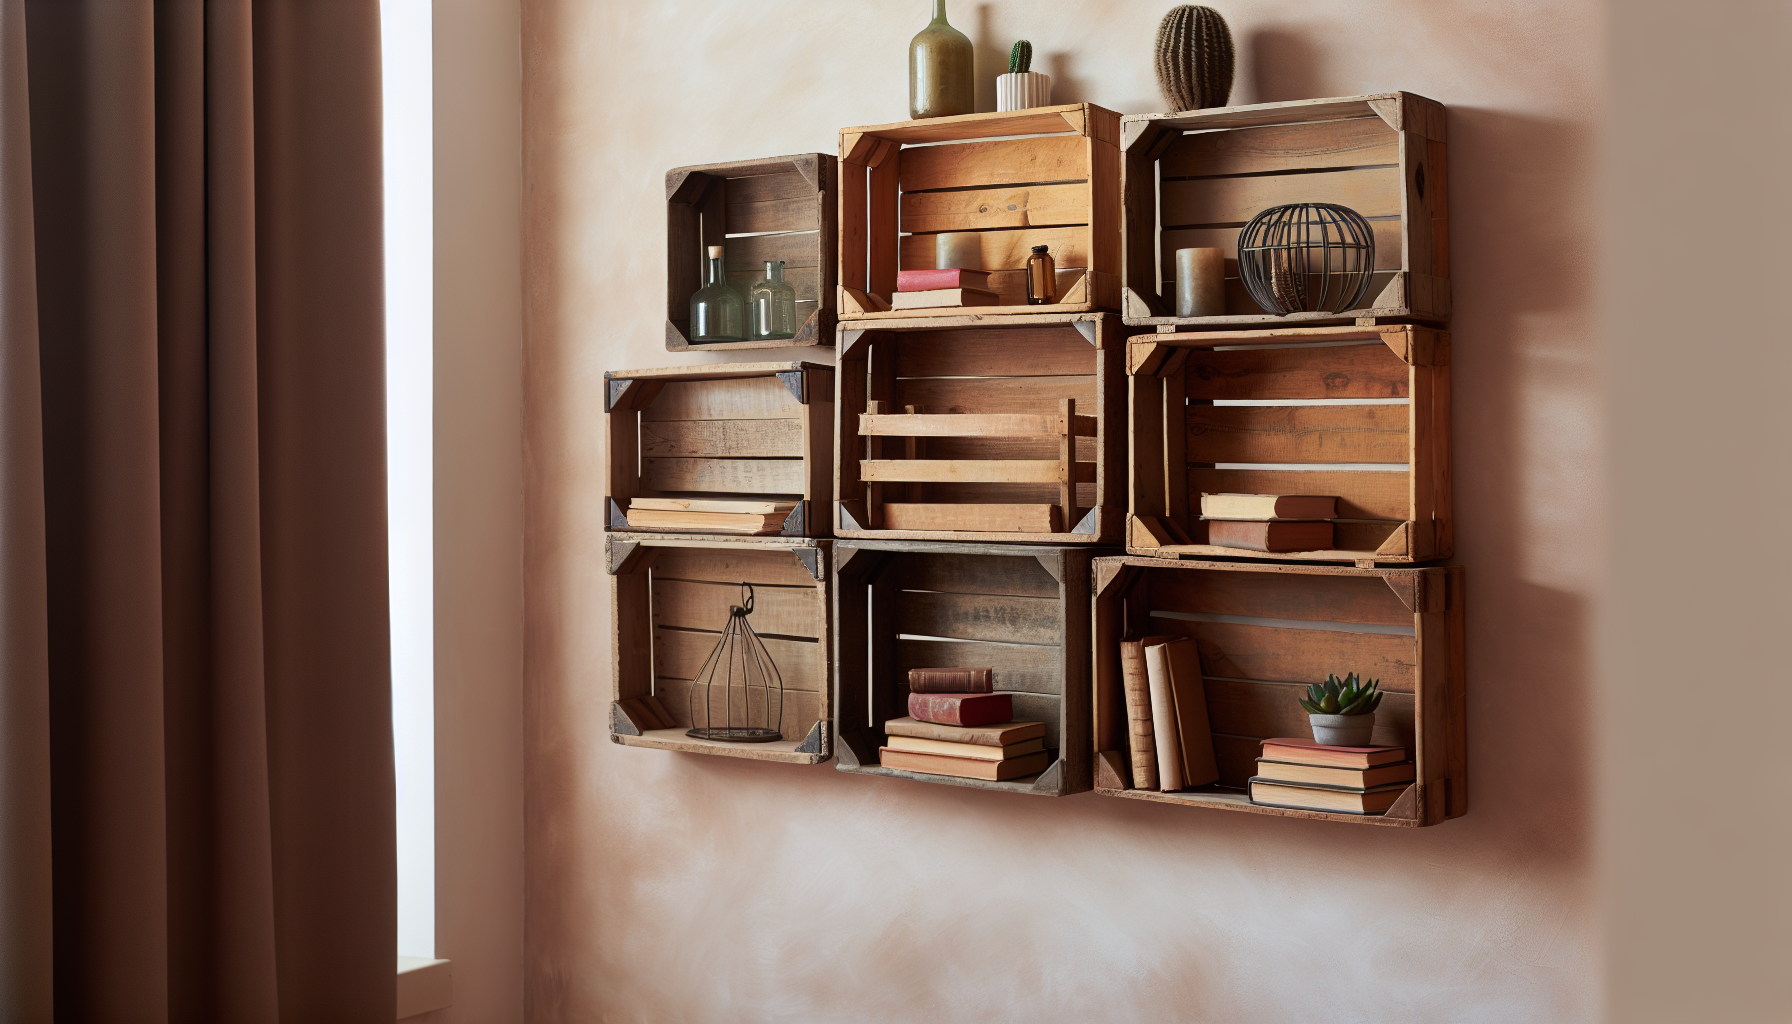
Fancy giving a second life to old crates? Repurposed crate shelves offer a unique, rustic charm and are excellent for storage. Whether you have vintage crates lying around or pick up a few from a flea market, they can be transformed into functional shelves. Depending on your needs, they can be turned into bookshelves, wine racks, or toy storage shelves.
Here are a few ideas for repurposed crate shelves.
Vintage Crate Bookshelves

Vintage crate bookshelves are a great way to add character to your room. Here’s how you can create your own:
- Sand down the crates to remove any rough edges or splinters.
- Arrange the crates in the desired configuration, such as stacking or placing them side by side.
- Give the crates a fresh coat of paint that matches your room’s decor.
- If you want a sturdy bookshelf, consider securing the crates together with screws.
- Consider decoupaging the crates with paper napkins or fabric for a unique look.
With these steps, you can create a one-of-a-kind vintage crate bookshelf that adds charm and functionality to your space.
Installation requires locating the wall studs, attaching the mounting brackets, and properly fixing the shelf casing. So, are you ready to add a touch of vintage charm to your space?
Crate Wine Rack Shelves

Creating a wine rack from wooden crates can be a fun project if you’re a wine enthusiast. It involves taking apart the crates, cutting them into pieces, and then putting them together on a wooden base with screws to make the wine rack. You can choose the type of wood that matches your decor, whether it’s pine, redwood, mahogany, or cherry.
So, are you ready to create a unique space for your favorite wines?
Toy Storage Crate Shelves

Keeping toys organized can be challenging, but crate shelves make it much more manageable. Here’s what you’ll need:
- Storage crates
- A shelf/divider piece
- Pocket holes
- An electric sander
You can customize how many crates you want, add some shelves or dividers inside, and even put some wheels on it for easy moving around.
So, why not turn clean-up time in the laundry room into a fun exercise with these toy storage crate shelves?
Ladder-Inspired Shelving Units
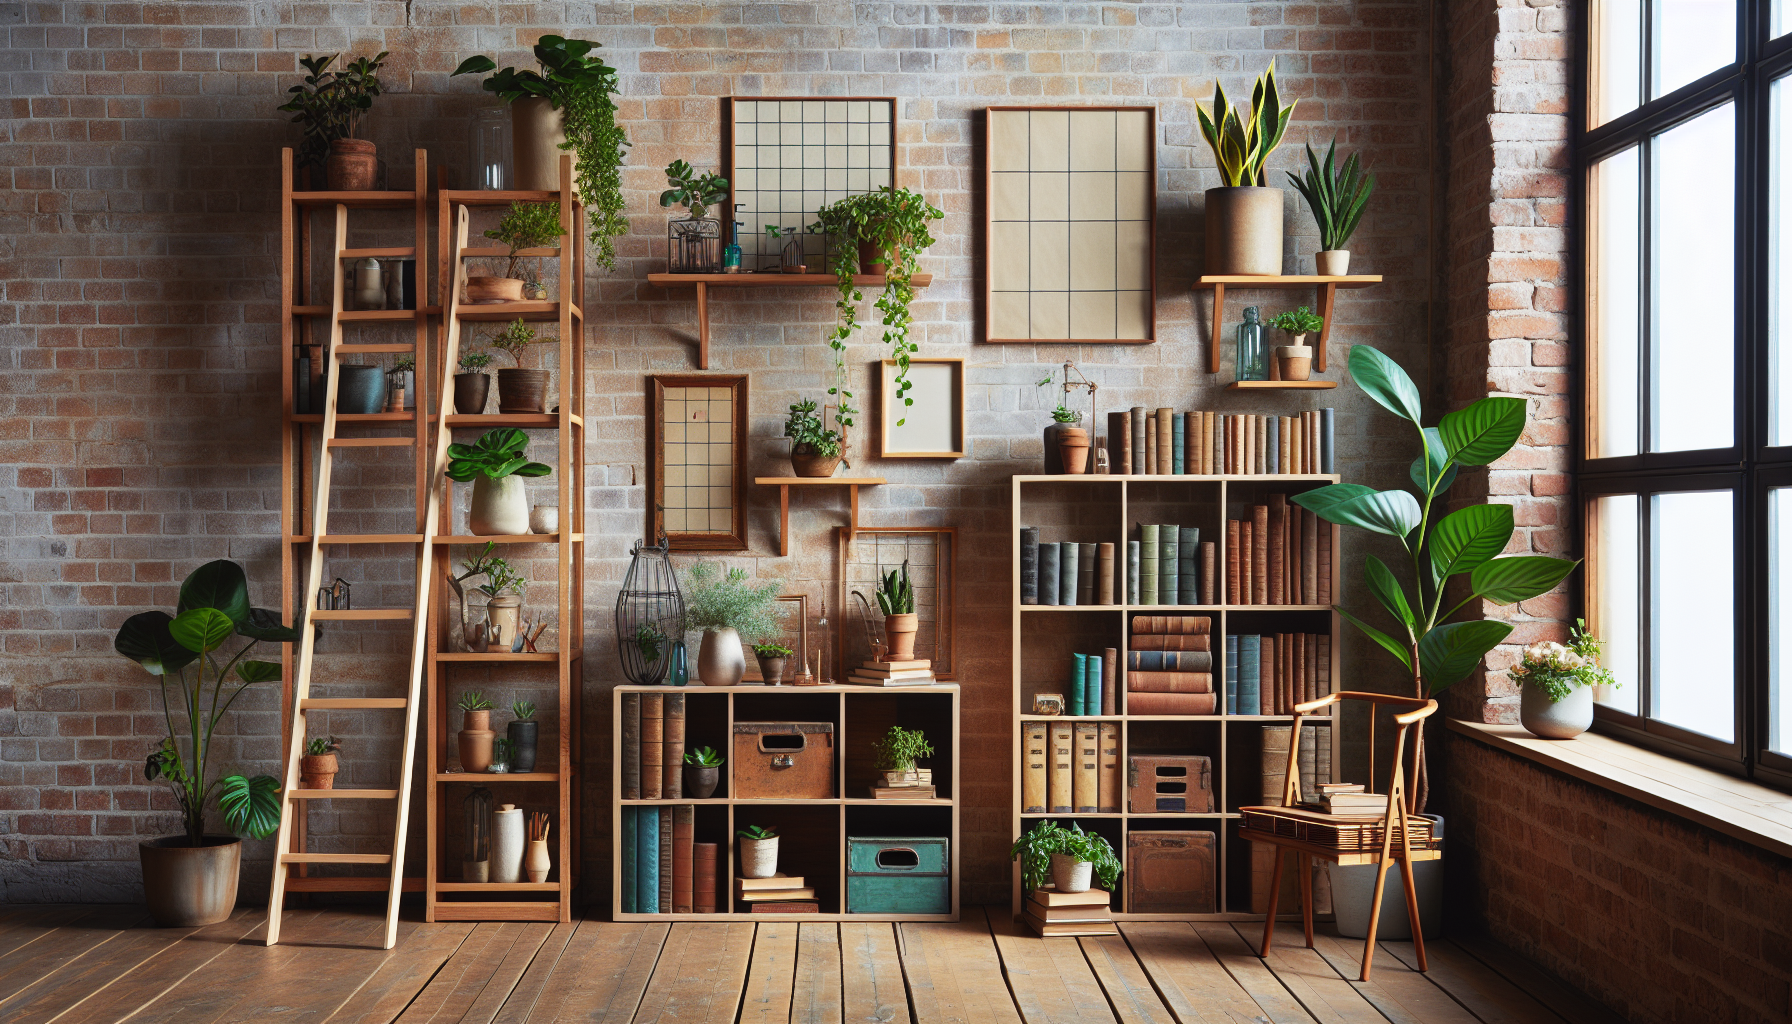
Ladders are not just for climbing – they can be repurposed into stylish shelving units. Whether you prefer a minimalist look with a leaning ladder shelf, a green corner with a step ladder plant stand, or a double ladder bookshelf, ladder-inspired shelves are versatile and aesthetically pleasing.
Ladder shelving ideas can be a great alternative to upper cabinets for those looking to maximize home storage space.
Leaning Ladder Shelf

Leaning ladder shelves are both functional and chic. They are versatile and can be used for displaying books, plants, and decorative items. The materials needed include two 1 x 4 x 6 pine boards for the sides and some extra pine boards sized 1″ x 2.5″ x 84″.
To assemble your leaning ladder shelf, follow these steps:
- Start by cutting plywood for the shelves.
- Make angled cuts at 10 degrees on both the top and bottom of the side frames.
- The perfect angle for a leaning ladder shelf against the wall is 10-11 degrees for stability and proper support.
Step Ladder Plant Stand

Step ladder plant stands are a creative way to display your favorite plants. They provide vertical storage and a second life to an old step ladder. You’ll need wood, screws, and paint to transform the step ladder into a plant stand.
Succulents and cacti are excellent choices for a step ladder plant stand as they are small and low-maintenance. To keep your step ladder plant stand in good shape, clean it with a soft-bristle brush or sponge dipped in a cleaning solution.
Double Ladder Bookshelf

Double ladder bookshelves are a great way to store and display your favorite books. They are unique and add a rustic touch to your home library. For this DIY project, you’ll need:
- Two 1 x 4 x 6 pine boards
- Long screws
- Clear wood sealer
- Medium grit sandpaper
- Two pine boards
Use a ladder rail or sawhorse brackets to ensure the ladders stay put.
When you’re ready to assemble, secure the top rung between two long side pieces and evenly position the remaining rungs between them.
Industrial Pipe Shelving
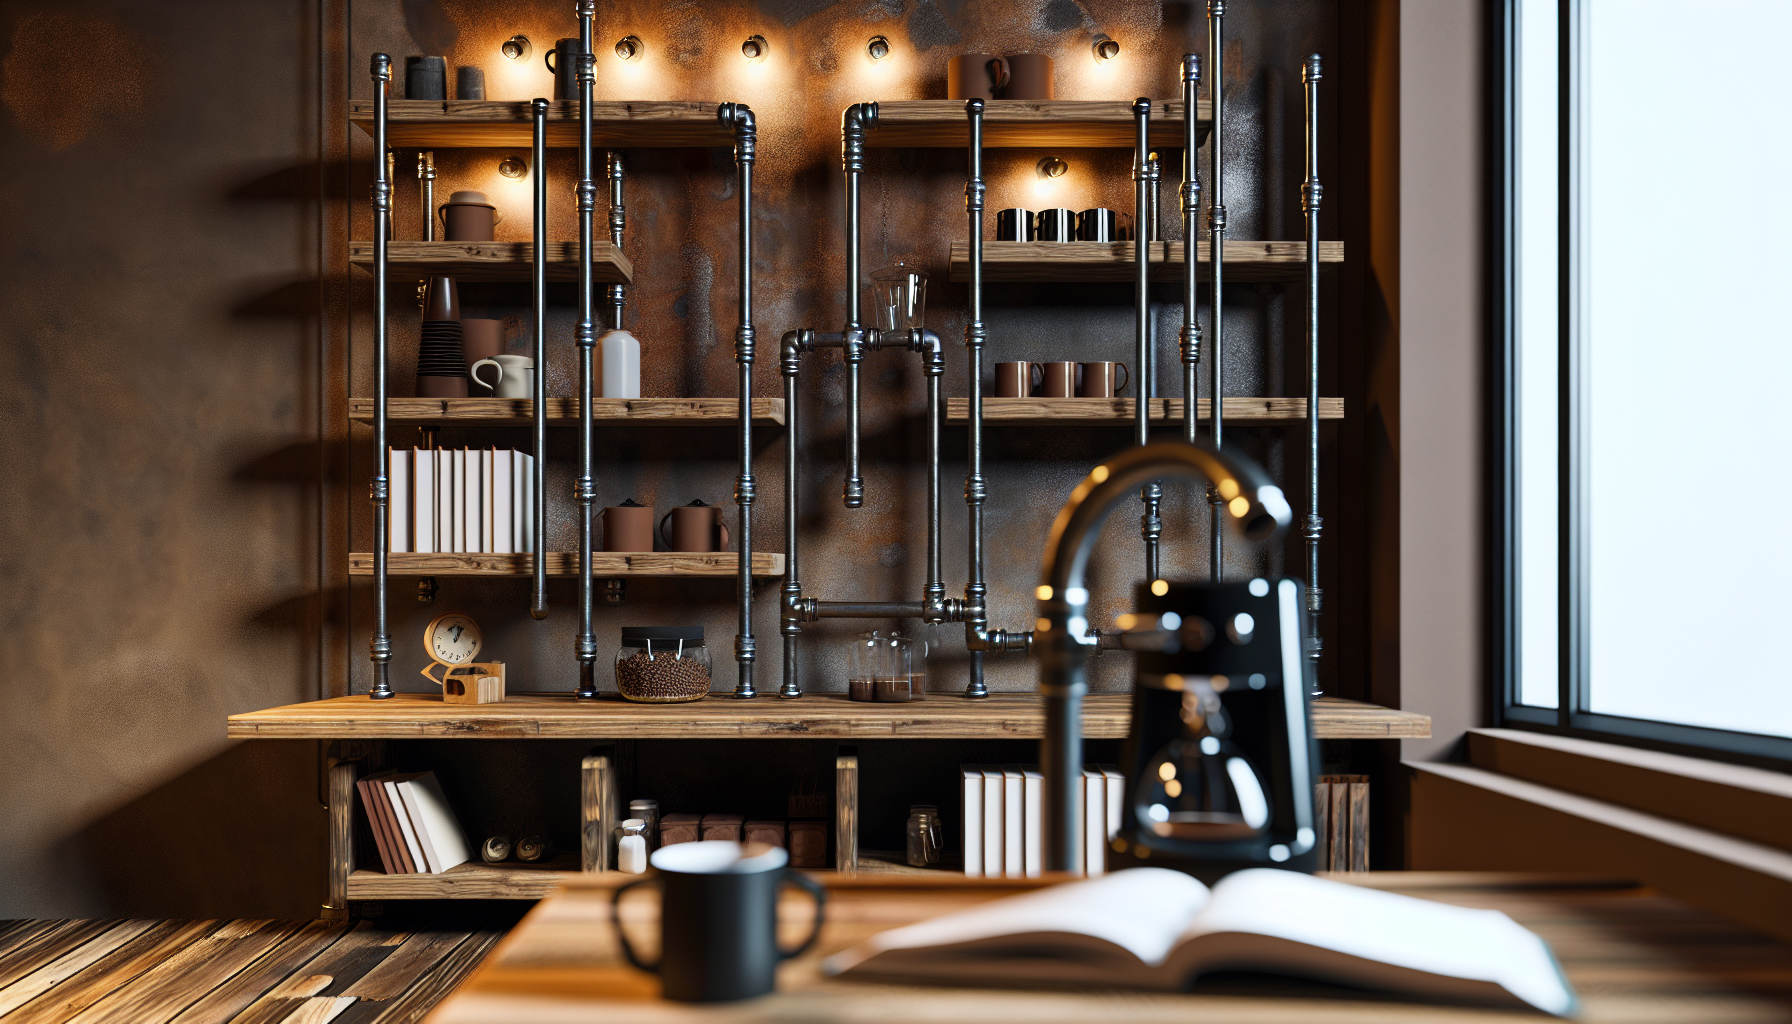
Industrial pipe shelving is a great way to add an industrial touch to your space. These shelves are not only functional but also add character to your space. For this DIY project, you’ll need 1-inch diameter iron pipes, 1-inch caps, and 1 1/2-inch galvanized floor flanges.
Whether you prefer wall-mounted pipe shelves, a freestanding pipe bookcase, or a pipe and wood coffee station, we’ve got you covered.
Wall-Mounted Pipe Shelves
Wall-mounted pipe shelves are an excellent choice for adding an industrial touch to your walls. They can be used to display books, plants, and decor. You can use different pipes like iron plumbers, industrial, and copper pipes for your DIY wall shelves.
To install the shelves, follow these steps:
- Locate the studs in the wall.
- Attach the mounting brackets to the wall, ensuring they are securely fixed.
- Set the shelf casing on top of the mounting brackets.
- Make sure the shelf is securely fixed to the brackets.
Depending on how they’re made and mounted, these shelves can handle anywhere from 33 lbs to 50 lbs per shelf.
Freestanding Pipe Bookcase
A freestanding pipe bookcase is a statement piece that combines function and style. For this, you’ll need some wood, gas pipe, felt pads, and pipe pieces or longer pieces of wood. The installation process involves measuring and marking the height and width of the wall, installing flanges with screws and anchors, cutting pipes for supports and shelves, attaching these to flanges, and placing shelves on horizontal pipes.
So, are you ready to make a statement with your bookcase?
Pipe and Wood Coffee Station
A pipe and wood coffee station is a unique and functional addition to your kitchen. The assembly requires two pipe flanges, two elbow pipes, and three straight pipes, which you secure together using wood screws. You can match your kitchen’s vibe by choosing a rustic or industrial chic look with a wooden countertop and metal pipes.
So, why not perk up your mornings with this stylish coffee station?
DIY Corner Shelves for Unused Spaces

Corner spaces are often overlooked, but they can be transformed into functional storage spaces with some creativity. DIY corner shelves are a great way to utilize these unused corners. Whether you prefer floating corner shelves, triangle corner shelves, or adjustable corner shelves with brackets, we’ve got you covered.
Floating Corner Shelves
Maximize wall space in small rooms with floating corner shelves, providing extra storage. These shelves offer storage and display options, and you can easily make them using a wooden board, some brackets, and a touch of creativity. The installation process involves sliding the shelf onto the back plate, lining up the holes, and then securing it with screws.
These shelves usually handle around 35-50 pounds, but some can even hold up to 100 pounds. So, why not utilize your corner spaces with these floating shelves?
Triangle Corner Shelves
Triangle corner shelves are modern and geometric storage solutions. They can be used to store:
- books
- photos
- decor
- and more
To build them, cut the wood into triangles with 45-degree angles and attach them to a support board or front edge piece.
The size of the shelf can be different, but for example, it could be 11 inches long and have sides of 18 inches x 18 inches x 34 inches. So, are you ready to add a geometric touch to your space?
Adjustable Corner Shelves with Brackets
Adjustable corner shelves with shelf brackets are versatile and can be adjusted to fit your specific storage needs. They are great for displaying books, photos, decor, and more. The materials needed to build these shelves include wood shelves, polyurethane or varnish to seal the shelves, a drill and drill bit, reinforcing brackets and corner plates, and raw oak for the shelves.
To install them, follow these steps:
- Use a stud finder to mark the wall for the bracket standards.
- Hold the bracket up to the wall and screw the first screw through the bracket into the wall.
- Insert the shelf bracket into the holes in the standard and tap them into place.
DIY Bookshelves for Your Home Library
Books are a treasure and deserve a special place in your home. DIY bookshelves provide a space for your books and add a personal touch to your home library. There are many options, from pallet bookshelves and A-frame bookshelves to built-in bookshelves using IKEA hacks.
Here are some DIY shelf and bookshelf ideas to consider.
Pallet Bookshelf

Pallet shelves, also known as pallet bookshelves, are rustic and budget-friendly. They can store books, photos, decor, and more. To build them, you need to clean and sand the pallets, arrange them as you like, and secure them with screws.
A-Frame Bookshelf
A-Frame bookshelves are unique and eye-catching. They can store books, photos, decor, and more. To build them, you need different lengths of wood boards, wood glue, nails, hinges, and pocket hole screws.
The process involves securing the top rung between two long side pieces and evenly positioning the remaining rungs between them.
Built-in bookshelves with IKEA Hacks
Built-in bookshelves using IKEA hacks are a budget-friendly way to create a polished and functional home library. They can store books, photos, decor, and more. To build them, you need to follow the instructions from IKEA and put them on a fixed middle shelf while leaving out the adjustable ones.
DIY Garage Shelves for Extra Storage

Garages often become a dumping ground for all things miscellaneous. But with some DIY garage shelves, you can increase storage space and keep your garage organized. Whether you prefer wall-mounted garage shelves, freestanding garage shelves, or heavy-duty garage shelves, we’ve got you covered.
Wall-Mounted Garage Shelves
Wall-mounted garage shelves are a practical choice for easy access to tools and equipment. To build them, you need plywood cut into strips, which you can screw into brackets using spax screws. To install, locate the studs in the wall, attach the mounting brackets, set the shelf casing on top, and ensure it’s securely fixed.
Depending on how they’re made and mounted, these shelves can handle anywhere from 33 lbs to 50 lbs per shelf.
Freestanding Garage Shelves
Freestanding garage shelves offer versatile and adjustable storage options. They can be used to store tools, equipment, and other items. For building them, it’s best to use plywood and 2x4s, as they won’t be affected by moisture.
To ensure they are secure, put the heavy stuff on the bottom shelves to keep them steady, and attach them to the wall studs using metal brackets for extra strength.
Heavy-Duty Garage Shelves
Heavy-duty garage shelves are designed to hold larger and heavier items securely. To build them, you can use plywood and 2×4’s. You may also want to add some chains, cables, or extra wood to the front for more stability. These shelves can hold considerable weight, with some handling up to 2500 lbs, while others are more than 800 lbs.
DIY Shelving Ideas for Small Spaces
Small spaces often call for creative storage solutions. If you’re struggling with limited space, don’t worry – we’ve covered you with some neat DIY shelving ideas. Whether you prefer narrow wall shelves or hanging rope shelves, these ideas will help you make the most of your small space.
Narrow Wall Shelves

Narrow wall shelves are a great way to maximize space in small rooms. They can be used to display books, photos, decor, and more. To build them, you need some 2×2 lumber, 1/2” plywood for the top, 1/4” plywood for the underside, and 1×3 poplar for the face.
The installation process involves sliding the shelf onto the back plate, lining up the holes, and then securing it with screws. So, why not maximize your space with these narrow wall shelves?
Hanging Rope Shelves

Hanging rope shelves are a bohemian-inspired storage solution that adds style and function to your space. They can be used to store books, photos, decor, and more. To build them, you need ropes, a wood plank, 2 equal lengths of rope, a measuring tape, a drill, 2 screw eye hooks, and a pencil.
So, why not add a boho touch to your space with these hanging rope shelves?
Summary
In this post, we’ve explored multiple DIY shelving ideas that you can try out in your own space. From floating shelves and repurposed crates to ladder-inspired shelves and industrial pipe shelves, the possibilities are endless. Not only do these DIY projects provide extra storage space, but they also add a personal touch to your home decor. Whether you have a small space, a large room, or a garage, there’s a DIY shelving idea to fit your needs.
Remember, the best part about DIY projects is the freedom to customize. You can choose the materials, the design, the size, and the color that matches your taste and your space. So, why not roll up your sleeves and start your DIY shelving project today? Happy DIYing!
Frequently Asked Questions
Is it cheaper to build your shelves?
It’s often more economical to buy prefabricated shelves and mount them yourself than to build custom ones or hire a professional. So, yes, it can be cheaper to build your own shelves. Read more about buying vs. building.
What is the best material to use to make my shelves?
It depends on the type of shelf you’re making. For floating shelves, use a wooden board; for crate shelves, use old crates; and for pipe shelves, use iron pipes. Choose the material based on your shelf design.
Can I customize the size and design of my DIY shelves?
Absolutely! DIY shelves can be customized to match your space and style preferences, allowing you to choose the materials, design, size, and color. Make sure to consider your taste and space when making these choices.
How can I ensure that my DIY shelves are safe and secure?
Securely attach the shelves to the wall studs using suitable hardware and evenly distribute weight to avoid overloading. For freestanding shelves, ensure they are stable and not prone to tipping over. Stay safe!
Can I make DIY shelves for small spaces?
Yes, you can make DIY shelves for small spaces. There are various ideas, like narrow wall shelves and hanging rope shelves, that can help you maximize your space and provide storage and display options.

