How to Use Bike Hooks for Efficient Bicycle Storage
Looking for a straightforward way to hang your bicycle? This article tackles the essentials of how to use bike hooks, focusing solely on the action you need to take for secure storage. Follow our guide to effortlessly install and use bike hooks in any space, avoiding common pitfalls and ensuring your bike hangs safely without occupying a precious floor area.
Key Takeaways
- Choosing the right bike hooks depends on the bike’s weight, wheel/tire size, and the space you have; heavier bikes need stronger hooks, while wheel size determines hook dimensions for secure storage.
- Preparation for installation requires tools like a pencil, tape measure, stud finder, drill, screwdriver, and a level; spacing is crucial for multiple bikes, typically 12-14 inches apart.
- Installation steps include locating studs for support, drilling pilot holes, securing hooks into beams or studs, and adjusting them to ensure bikes hang properly using a level.
Choosing the Right Bike Hooks for Your Space
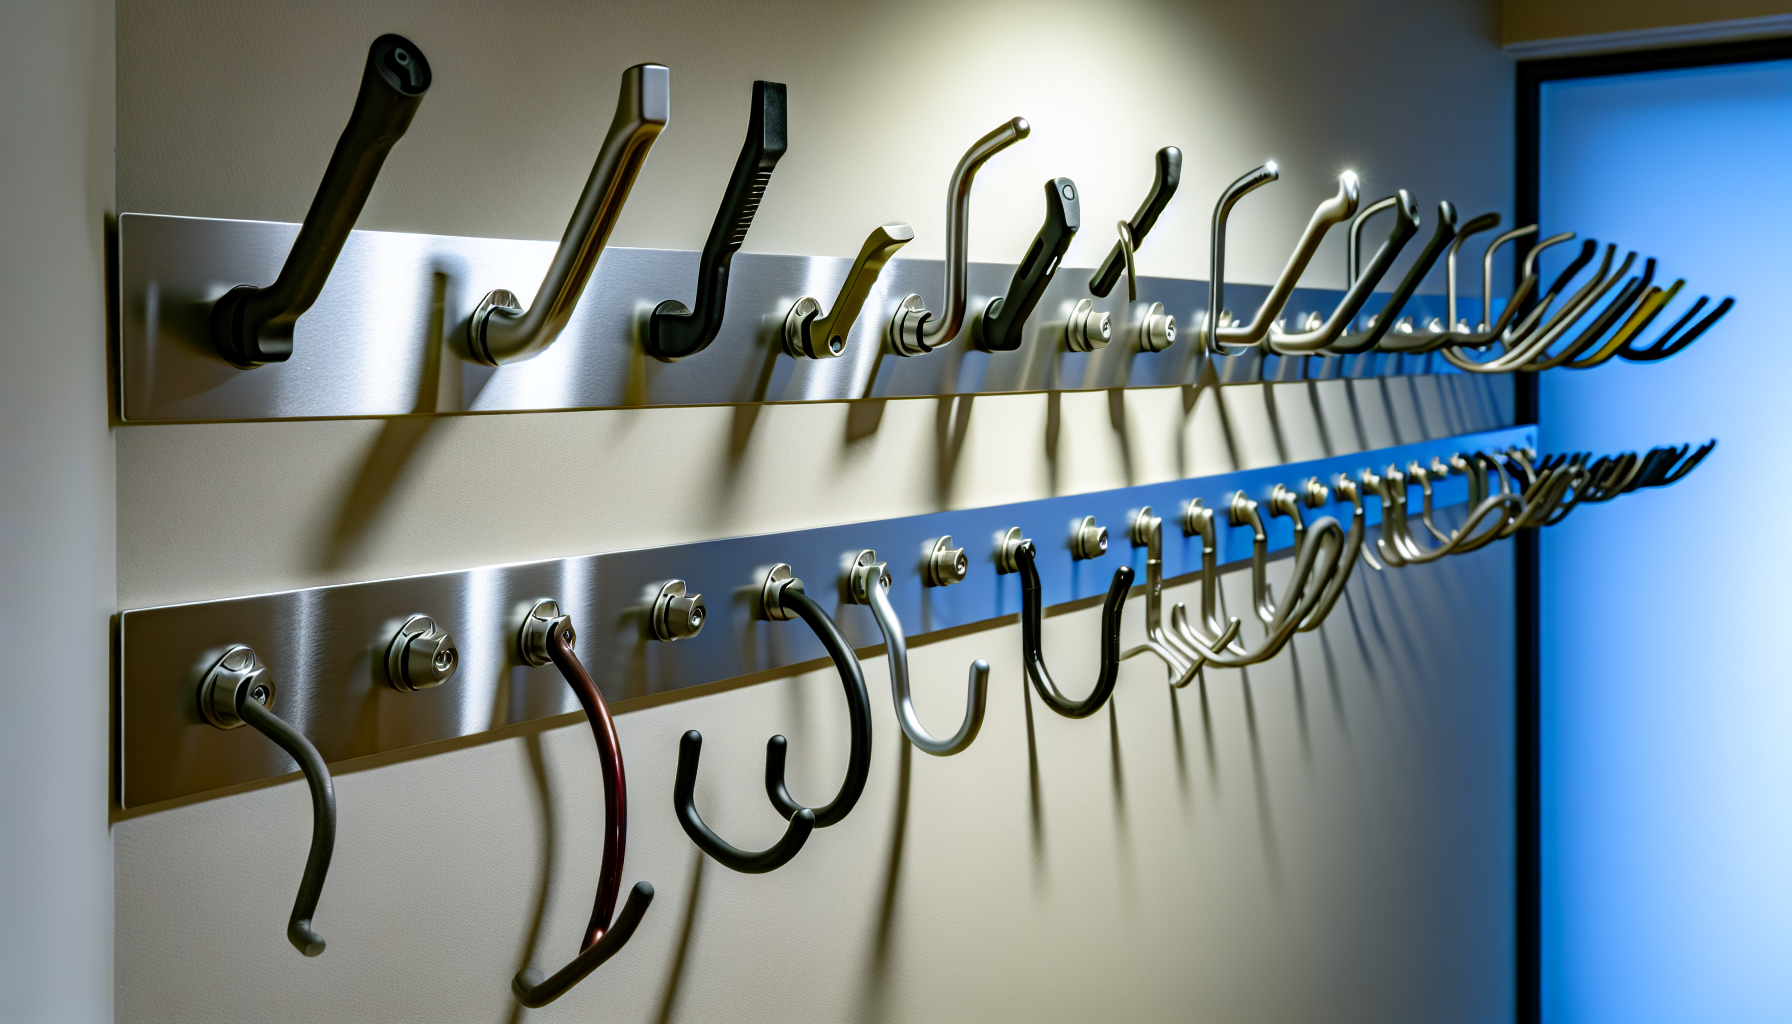
Garage hooks come in all shapes and sizes. But don’t be fooled! Not all bike hooks are created equal. Choosing the right hooks for your needs is key to efficient bike storage. Think of them as the Goldilocks of your bike storage solution – not too big or small, but just right.
This ‘just right’ boils down to three main factors: the weight of your bike, the size of your bike’s wheels and tires, and the available storage space you have. So, before you rush out and buy the first set of bike hooks you see, take a moment to assess your needs.
Assessing the Weight of the Bike
What is the first rule of Bike Hook Club? Know your bike’s weight. If you’re the proud owner of a hefty mountain bike, road bikes, or e-bike, you’ll need a hook that can handle that extra heft, especially when it comes to mountain bikes.
Select a wall hook rated to support your bicycle’s weight to guarantee a safe and secure hang. This implies opting for a hook featuring a screw end that can be thoroughly inserted and tightened firmly into the wall. Never disregard this phase as it plays a vital role in preserving the safety and integrity of your bike storage arrangement.
Matching Hook Size to Wheel and Tire Dimensions
After figuring out the weight, your focus should shift to your bike’s wheels and tires. The dimensions of your bike hooks should correspond with the specific measurements of your front and rear wheels for a secure hold.
Given that most bike hooks are intended to suspend bikes by the wheels, it’s paramount that they fit securely. Vinyl-coated bike hooks are a great choice here. They provide a gentle surface that shields your bike rims and walls from scratches upon hanging the bike.
Evaluating Your Storage Area
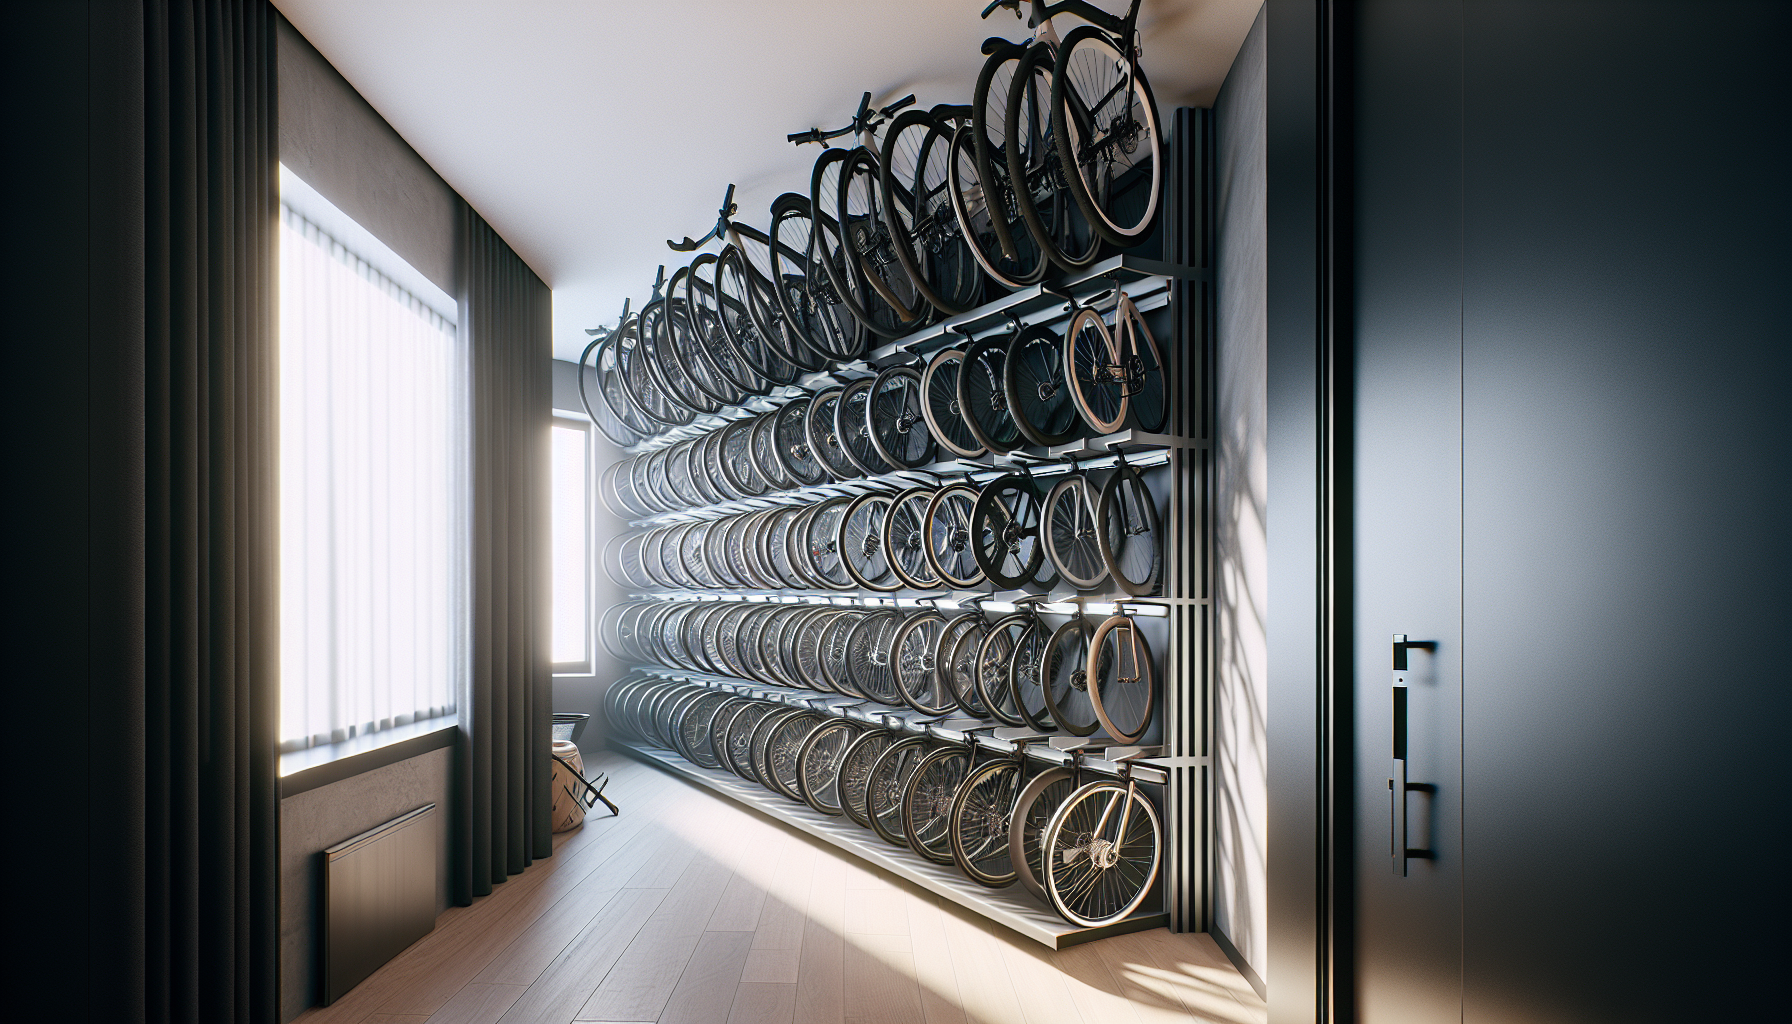
Next, we should consider your storage area. Regardless of whether your plan involves installing bike hooks in your garage, apartment, or compact closet, assessing the space available is necessary.
For example, vertical bike racks demand considerable clearance from the wall. Conversely, wall-mounted bike racks are an excellent solution for smaller residences, allowing bikes to be stored upright and off the floor. If your storage plan includes multiple bikes, you must determine the spacing between each bike and arrange the bike racks staggered for easy access.
Preparing for Installation: Tools and Measurements
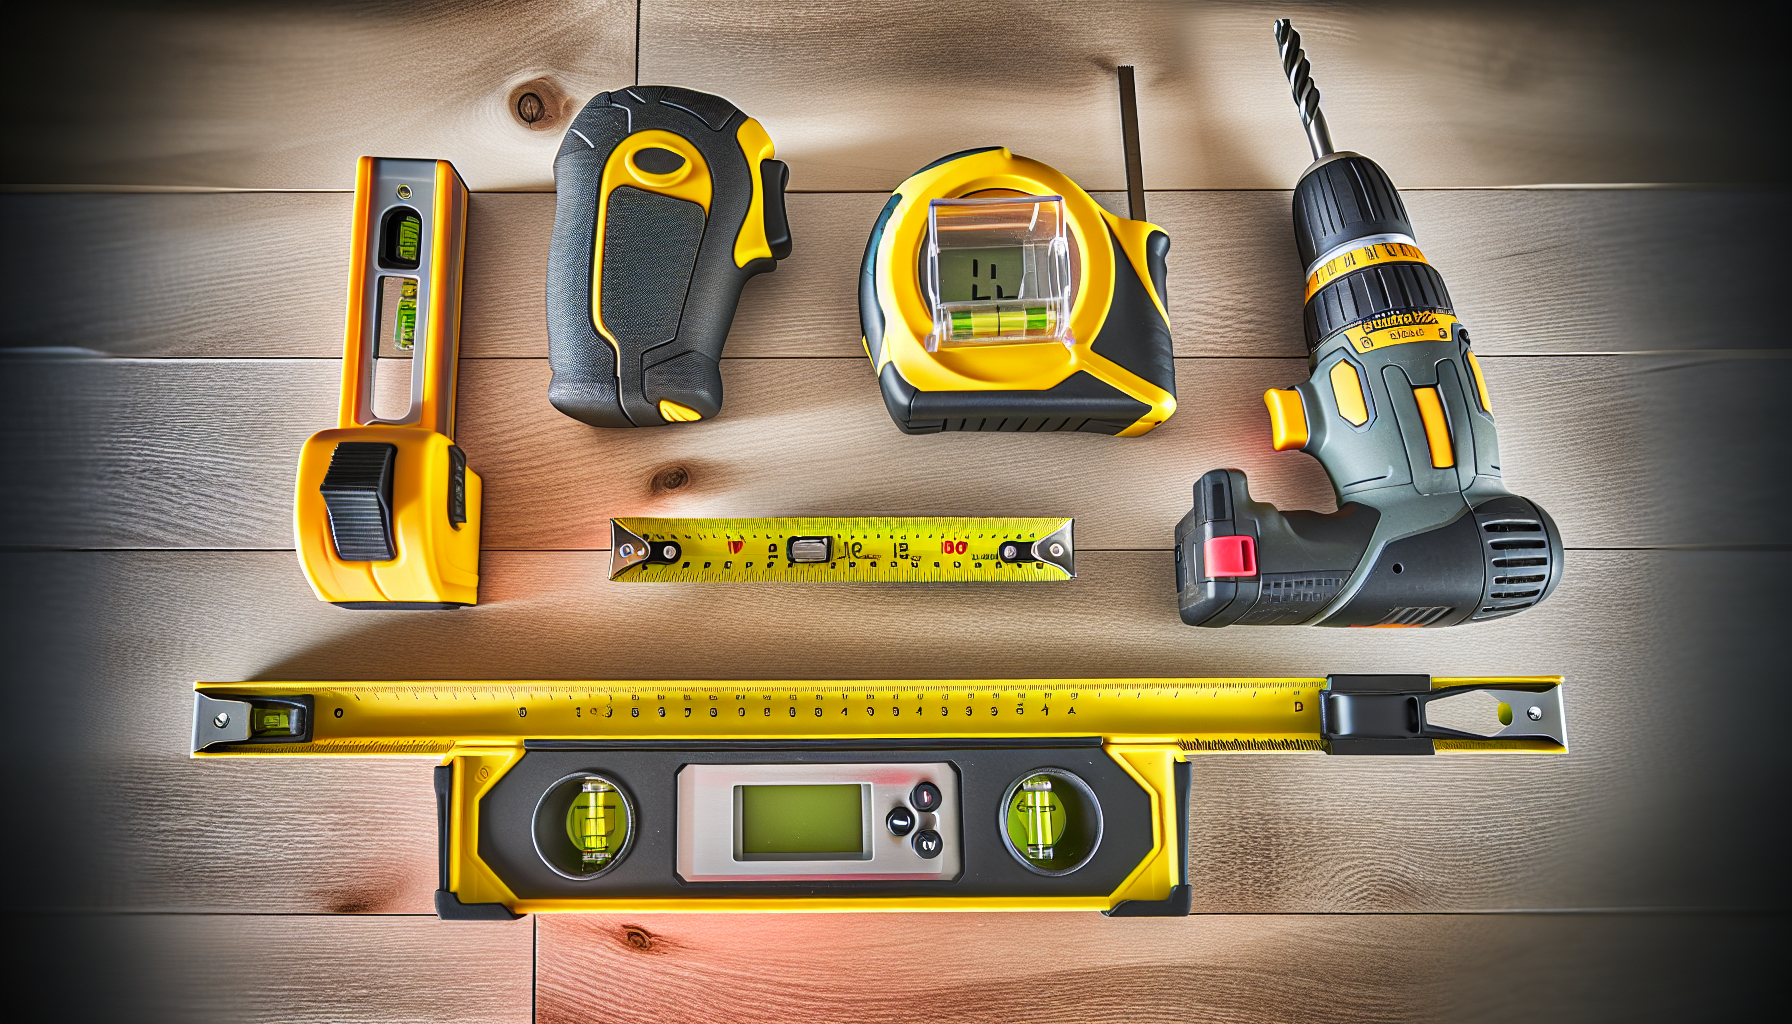
So, having selected your bike hooks, evaluated your bike, and inspected your storage area, The next step? Preparing for the installation, naturally!
You’ll need a few tools to get started:
- A pencil
- Tape measure
- Stud finder
- Drill
- Screwdriver
- Level
Also, remember to allocate about 1 foot per bike plus another foot for comfortable clearance when planning your bike storage space.
Tools You’ll Need
Let’s now discuss the tools that will be required. Most of these are basic household tools that you might already have in your toolbox. If not, you can easily pick them up at your local hardware store.
A tape measure will be required to determine the spacing between the hooks, a stud finder to locate the studs in your wall, a drill with the appropriate bit for creating pilot holes, a screwdriver for securing the hooks, a pencil for marking your measurements, and a level to ensure everything is straight and even.
Finding and Marking Studs
Locating and marking the studs in your wall is a critical phase in the installation process. The studs provide the support needed for hanging bikes, so you’ll want to make sure you’re screwing the hooks into a stud and not just the drywall.
Start by running the stud finder horizontally across the wall. When it locates a stud, mark the edges with a pencil. Remember, you’ll want to screw the hook into the center of the stud for maximum hold. Once you’ve marked the studs, you can accurately mark the spot where the bike hook will be installed.
Calculating Spacing for Multiple Bikes
If your plan involves hanging multiple bikes, it’s necessary to determine the proper spacing between each hook. This will prevent any bike-on-bike collisions or handlebar entanglements. Typically, hooks should be spaced about 12 to 14 inches apart. If you’re using a vertical bike rack, staggering the height of each rack can reduce the required horizontal spacing, allowing you to fit more bikes on the wall. Measure the distance between the center axles of your bike wheels to ensure you install the hooks at the correct distance apart.
Installing the Bike Hooks Step-by-step
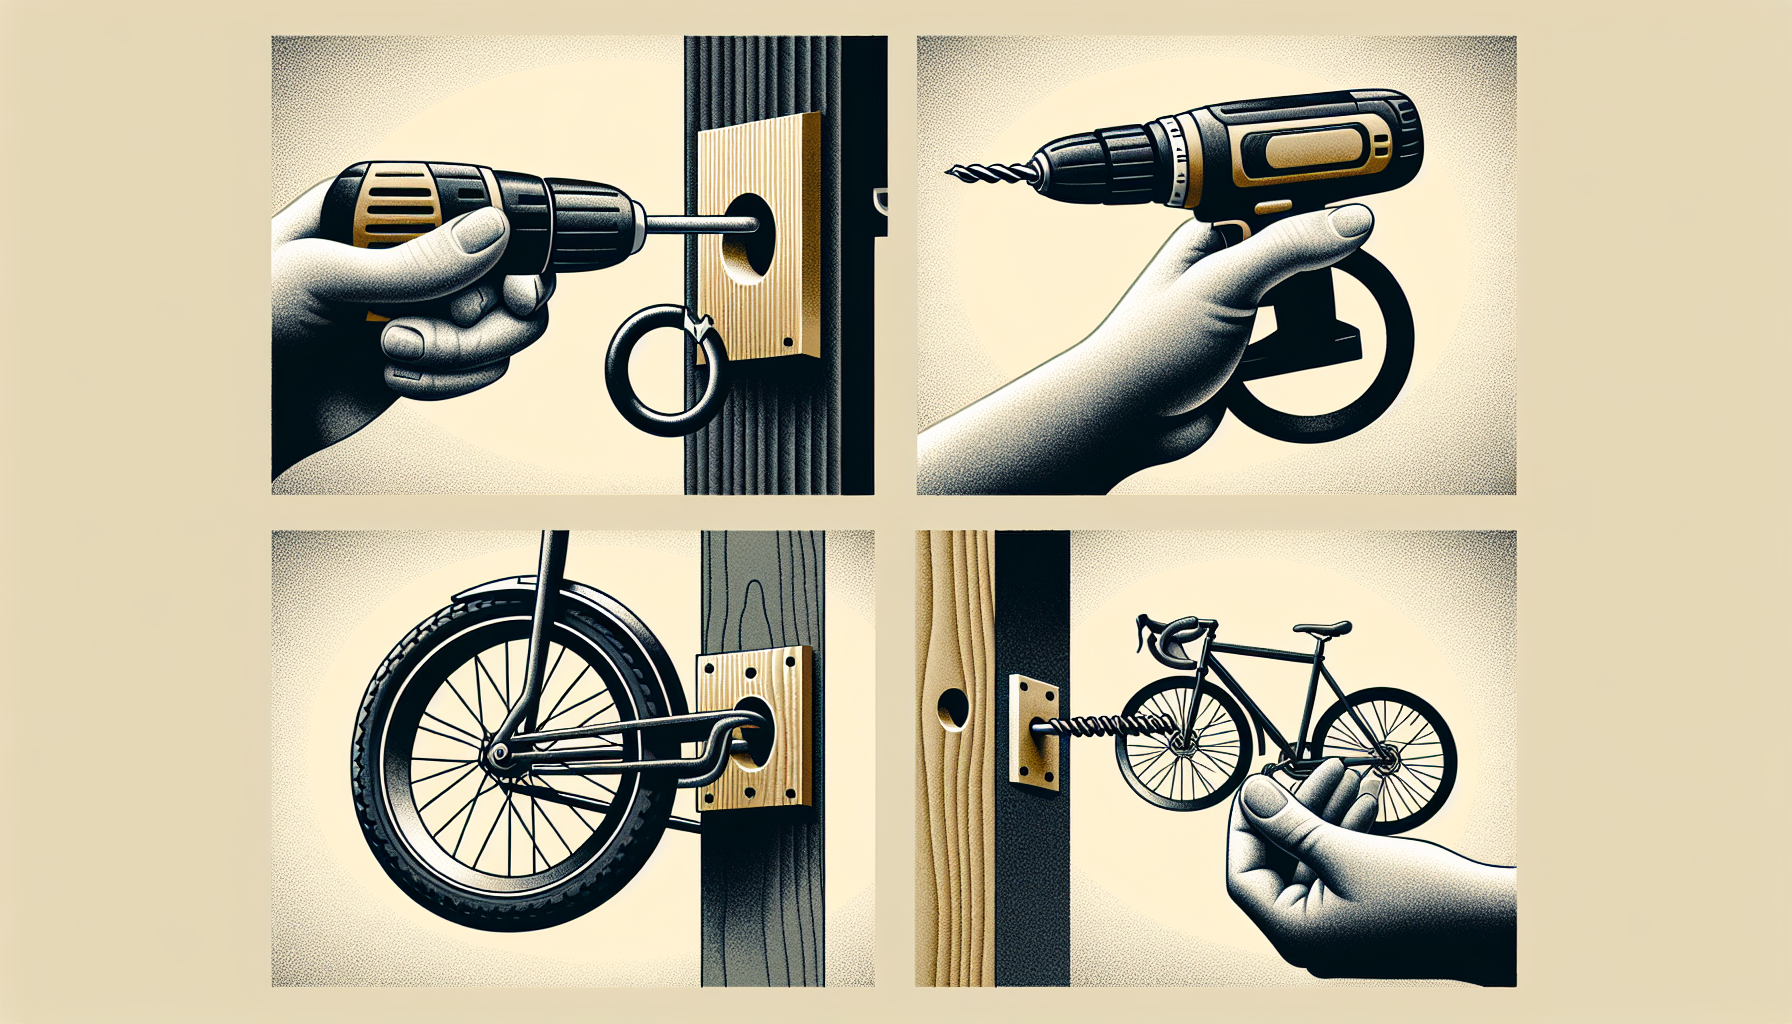
With your bike hooks, tools, and measurements ready, it’s time to roll up your sleeves and begin the installation process. This process involves drilling pilot holes, securing the hooks, and making final adjustments to ensure your bikes hang straight and do not touch each other. Sounds daunting? Don’t fret! We’ve broken it down into simple, manageable steps for you.
Drilling Pilot Holes
Begin by drilling pilot holes in the marked spots on your wall or ceiling. These holes should be slightly smaller than the screw end of the hook to ensure a tight fit.
Choose a drill bit that’s about ⅔ the width of the screw end of the hook. This will ensure the hook is installed firmly. Drill the pilot hole using the full length of the drill bit to reach into a solid beam or stud, providing the necessary stability for the hook.
Securing the Hooks
Once the pilot holes are drilled, it’s time to secure the hooks. These should be installed parallel to the floor and screwed firmly into the wall or ceiling.
Begin by pushing and twisting the hook clockwise into the pilot hole using your hands. If you encounter any resistance, you can use a screwdriver for additional leverage by inserting it horizontally through the hook’s curved portion.
Final Adjustments
After securing the hooks, it’s time to make the final adjustments. This step ensures that your bikes hang straight and do not touch each other.
Use a level to confirm that the hooks are perfectly horizontal for wall installations or vertical for ceiling installations. If the hooks are uneven, make the necessary adjustments to correct the alignment.
How to Hang Your Bike Properly
With the hooks installed, you are now ready to hang your bike. But before lifting your bike onto the hook, let’s review a few essential details.
Hang your bike by the front tire when using a vertical bike rack and by the front or rear wheel for wall hooks. This ensures that your bike is stable and secure. Also, remember to add a protective layer, such as plastic tubing or an old innertube, to the hook to prevent scratches.
Hanging Bikes by the Wheels
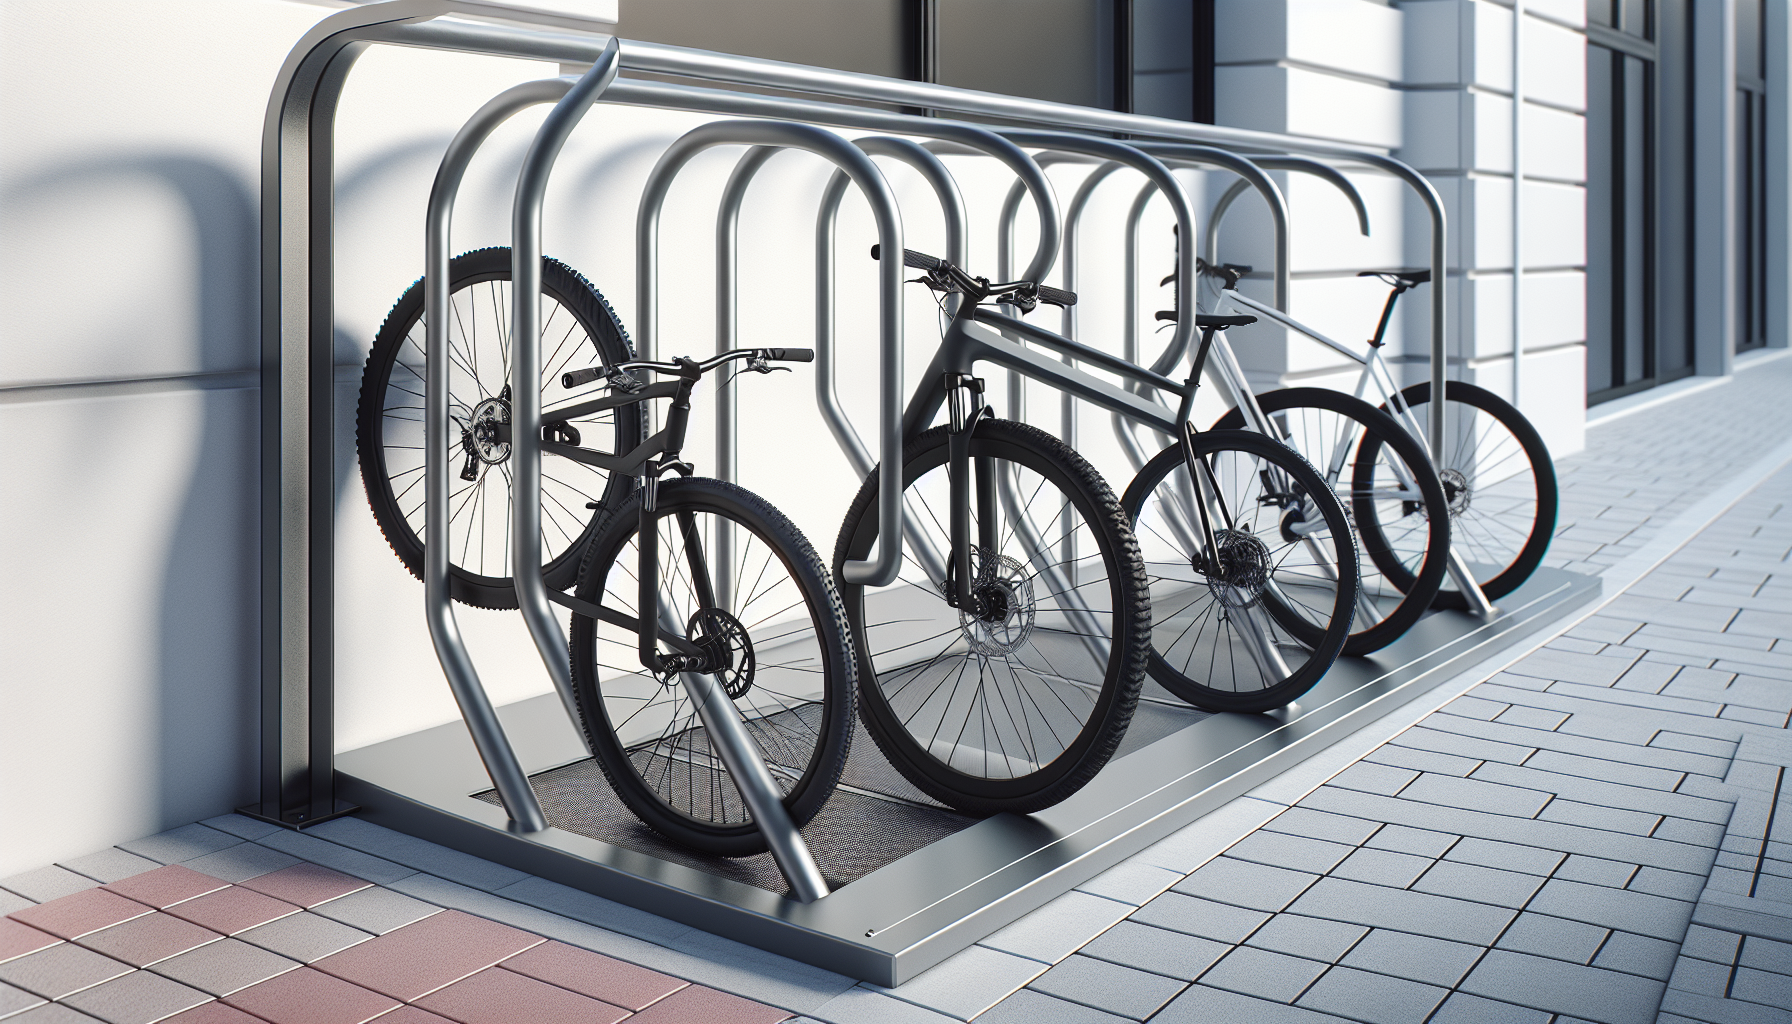
Suspending bikes by the wheels, a common method of bikes hanging, can safeguard your bike while optimizing storage space. However, not every bike hook is compatible with all wheel types.
Take into account the dimensions and material of your bike’s wheels. For instance, the Koova 2 Bike Wall Mount Rack can accommodate a range of tire sizes, up to those slightly wider than 3 inches. Moreover, if your bike has delicate carbon rims or carbon wheels, opt for a bike rack designed to prevent rim damage, like the SteadyRack.
Vertical Bike Rack Alternatives
If you find lifting your bike to hang it by the wheel a bit challenging, don’t worry. There are plenty of alternative vertical bike rack options that make vertical storage a breeze.
Models like the Steadyrack Classic or the Delta Cycle Leonardo Da Vinci Single Bike Wall Mount offer an easier approach to vertical bike storage. They support a variety of bike sizes and allow bikes to balance on the back wheel, eliminating the need to lift the bike entirely.
Maximizing Bicycle Storage with Additional Tips
Having covered the basics, let’s explore ways to enhance your bike storage. Here are some additional tips to help you maximize your bicycle storage.
From non-permanent storage solutions to wall space utilization and regular maintenance, these tips will ensure that you make the most out of your available storage space and keep your bikes in tip-top condition.
Using Wall Space Wisely
An effective way to augment your bike storage is through the strategic use of wall space. This entails setting up an all-inclusive bike storage station and employing adjustable track systems.
A comprehensive bike storage station allows for efficient organization of bike gear, providing a dedicated spot for each item. Some features of a bike storage station include:
- Adjustable track systems, which can turn entire walls into versatile storage areas
- Structured floor-to-ceiling design
- Bike mounting options
- Storage for biking accessories
Utilizing a bike storage station can help store bikes, keeping your bike gear organized and easily accessible, especially when you hang bikes properly.
Protecting Your Bike and Wall
It’s equally important to protect both your bike and your wall from potential damage during the hanging process. The last thing you want is to scratch your precious bike’s rims or scuff your pristine wall.
Contemplate using rubber or vinyl-coated hooks to safeguard your bike’s rims. To protect your wall, you can add a protective layer where the bike wheels make contact, or choose a bike rack with an integrated backing plate to prevent tire marks and scratches.
Regular Maintenance for Longevity
Lastly, maintenance shouldn’t be overlooked. Conducting regular checks and cleanings of your bike storage system is essential for its prolonged usability. Here are some maintenance tasks to keep in mind:
- Inspect the condition of hooks and racks
- Check for any damage or missing parts
- Clean regularly to prevent dirt accumulation
- Lubricate all moving parts to keep them functional and prevent rust
By following these maintenance tips, you can ensure that your bike storage system remains in good condition.
Summary
So there you have it – a comprehensive guide to using bike hooks for efficient bicycle storage. From choosing the right bike hooks and preparing for installation to hanging your bike properly and maximizing your storage space, we’ve covered it all.
But remember, the key to efficient bike storage is not just about the hooks, the tools, or the space. It’s about taking the time to assess your specific needs, planning accordingly, and maintaining your setup. So go ahead, declutter your space, hang up those bikes, and enjoy the peace of mind that comes with efficient bike storage.
Frequently Asked Questions
How do you use bike wall hooks?
To use bike wall hooks, experiment with one hook to find the best height for you, mark that height on the wall, drill holes for the hooks at the stud locations, and screw them in. Space the hooks 16 inches apart and invert every other bike to hang them.
Is it safe to hang a bike from a hook?
Yes, it is safe to hang a bike from a wall-mounted hook, which is designed to store the bike and prolong its life efficiently.
Do bike hooks need a stud?
Bike hooks must be anchored to wall studs for secure and stable mounting. Use a stud finder to locate the studs behind the wall and mark their positions with a pencil. Consider using a heavy-duty wall anchor system if your wall is made of drywall and does not have studs. Link here if you would like to learn more.
What height should bike hooks be mounted?
Mount the bike hooks about 70 inches above the floor to ensure the wheel hanging down doesn’t touch the ground and it’s not difficult to hang the bike.
How do I choose the right bike hooks for my bike?
When choosing bike hooks, consider your bike’s weight, wheel size, tire size, and available storage space. These factors will help you find the right hooks for your bike.

