How to Program Garage Door Opener
Need to program your garage door opener? Our quick guide provides the essential steps to sync your remote and get your garage door moving smoothly. With straightforward instructions and tips for various brands, you’ll achieve a hassle-free setup without the fluff. Dive in to learn how to program garage door opener and address any programming concerns.
Key Takeaways
- Understanding the learn button, indicator light, and remote compatibility is crucial before programming a garage door opener.
- Programming a garage door opener involves pressing the learn button, initiating program mode, and syncing the remote or keypad with the opener.
- Potential programming issues may include unresponsiveness due to outdated equipment or LED bulb interference, which can often be resolved through troubleshooting or a system reset.
Understanding Your Garage Door Opener’s Programming Features
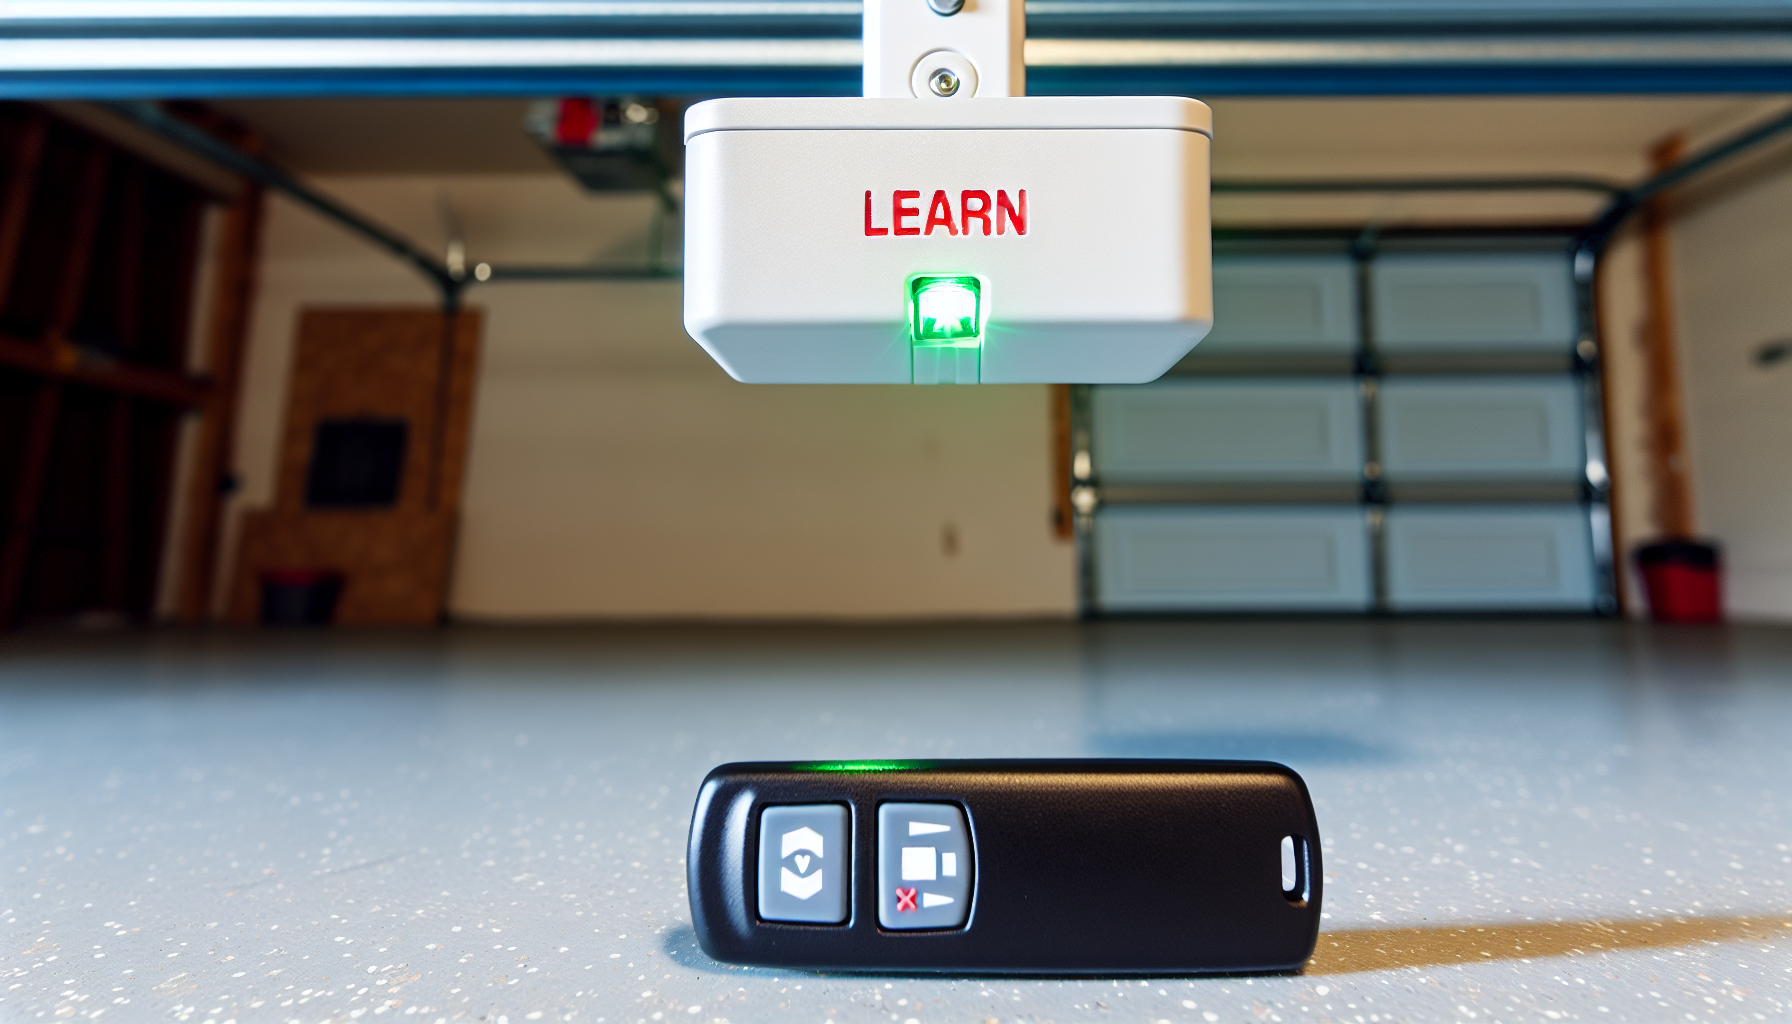
Before embarking on the programming process, grasp a clear understanding of your garage door opener’s features. These features, such as the learn button, the indicator light, and the compatibility of the remote, play a vital role in programming your door opener. Becoming acquainted with these components will facilitate a smoother and more efficient programming journey.
For example, the learn button serves as a significant component in the programming process for most garage door openers. Locating and pressing the ‘learn’ button on the garage door opener power unit is the first step in programming most remote controls for garage doors. Now, we’ll explore these features in greater depth.
The Role of the Learn Button
The learn button on your garage door opener is pivotal in the reprogramming or erasure of previously linked remotes. Typically located near the bottom of the opener, near the antenna, this button initiates reprogramming mode when pressed and released. The light above the button turns on for approximately 30 seconds, signaling the opener is ready for the new remote button to be pushed.
Take note, the learn button isn’t solely for programming new remotes. To reset modern garage door openers, you press and hold the learn button for about five seconds or until the LED light begins to blink. This erases all programmed remotes, allowing you to start afresh. Also, depending on the model, the learn button’s color and shape can vary, and it may appear:
- green
- purple
- orange
- red
- yellow
Deciphering the Indicator Light
The indicator light, typically an LED adjacent to the learn button, serves a significant role throughout the programming process. It communicates the status of the programming mode, ensuring you’re on the right track. When you press and hold the learn button, the LED light initiates a flashing signal, indicating that the garage door opener is entering programming mode.
After the initial press of the learn button, the LED light will become a steady glow to signal that the opener is ready to program. Once the opener’s light bulb blinks, indicating programming success, any further button presses should be avoided to prevent exiting programming mode unnecessarily. Deciphering these light signals can be the difference between a successful programming and a frustrating do-over.
Synchronizing the Remote Control
Remote compatibility is the final key feature to comprehend before programming your garage door opener. Not all remotes work with all garage door openers. The compatibility of a remote control with a garage door opener is often determined by the manufacture date of the opener and the model number of both the opener and the remote.
Manufacturers often provide compatibility charts to help you determine which remote models work with specific opener models and manufacture dates. Ensuring this compatibility is crucial, as a mismatch between the remote and the opener can lead to unsuccessful programming.
Step-By-Step Guide to Programming Your Garage Door Opener
Having covered the vital features of your garage door opener, let’s proceed to the step-by-step programming process. This guide, with its step by step instructions, will help you whether you’re programming a single remote or multiple devices, including keypads and Homelink systems in vehicles. Following these steps will ensure a smooth programming process, saving you time and potential frustration.
To initiate programming a garage door opener, press the opener’s learn button, then hold the remote’s button until the opener’s lights flash or the LED light blinks. However, note that the programming process may slightly differ depending on the model of your garage door opener. For instance, some openers with a Smart Control Panel require navigating to the PROGRAM menu, selecting REMOTE, and pressing the desired remote control button to program it.
Accessing the Garage Door Opener
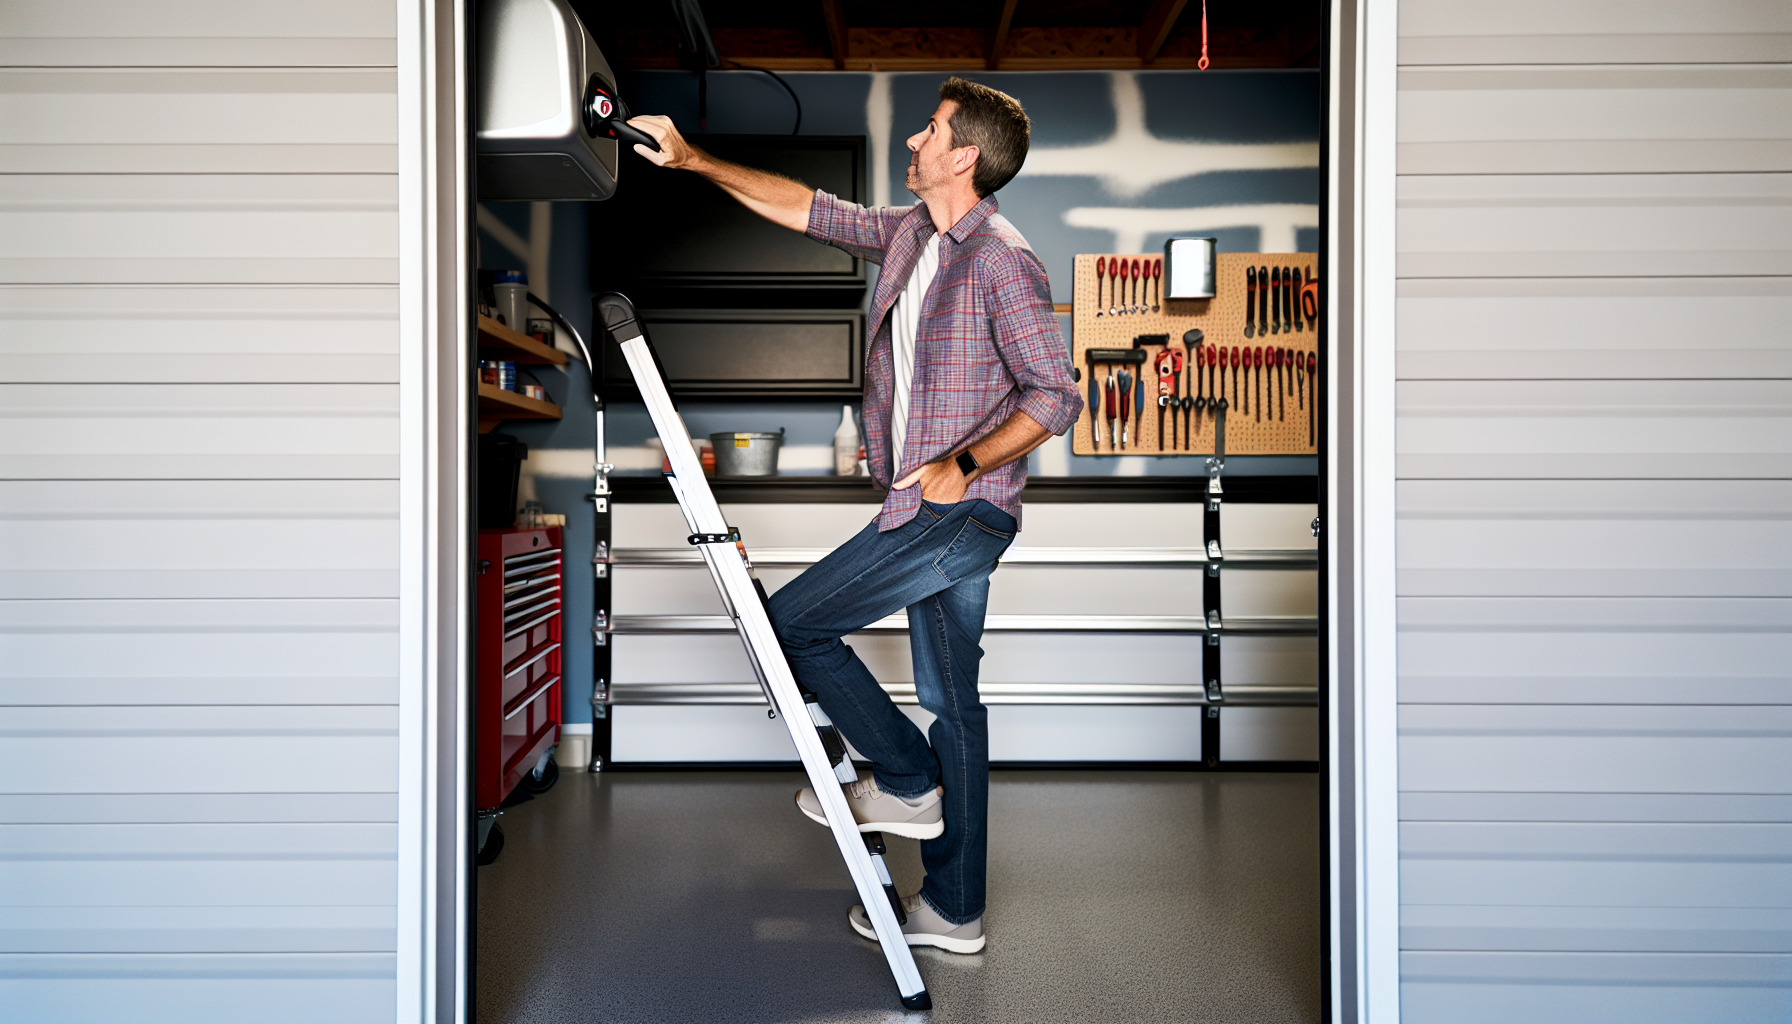
The initial step in programming your garage door opener involves accessing the unit. For safety, it’s recommended to use a 6 ft (1.8 m) ladder, although a more minor step ladder may suffice in some cases. Before climbing the ladder, ensure all locking mechanisms are engaged and the ladder’s feet are spread to the full open position for a stable base.
While ascending and descending the ladder, always face it and avoid overreaching. If you need to reach a different area, move the ladder instead of stretching beyond your balance point. Moreover, wear safety gear such as safety glasses and gloves while using the ladder to protect against potential hazards from the garage door opener.
Initiating Program Mode
Once the garage door opener is safely accessed, the following step involves initiating the program mode. The garage door opener’s LEARN button is crucial for this step. Once the LEARN button is found, press and immediately release it to start the programming process.
Remember that the programming steps may vary based on the garage door opener’s learn button or DIP switches. Regardless of these variations, initiating the program mode is essential in programming your garage door opener.
Syncing the Remote to the Opener
Upon entering the program mode, the subsequent step synchronizes the remote with the opener. After the garage door opener light starts flashing, you have 30 seconds to press the intended button on your remote to establish a link. Successful programming is indicated when the garage door opener’s light bulb flashes or turns off, or two clicks are heard after pressing the remote button.
If the expected blinking or sound confirmation is not witnessed, it’s advisable to test the remote by pressing its button to see if the garage door responds, as some openers have different forms of confirmation. This step is crucial as it ensures that the remote and the opener are perfectly synced.
Programming Multiple Remotes and Devices
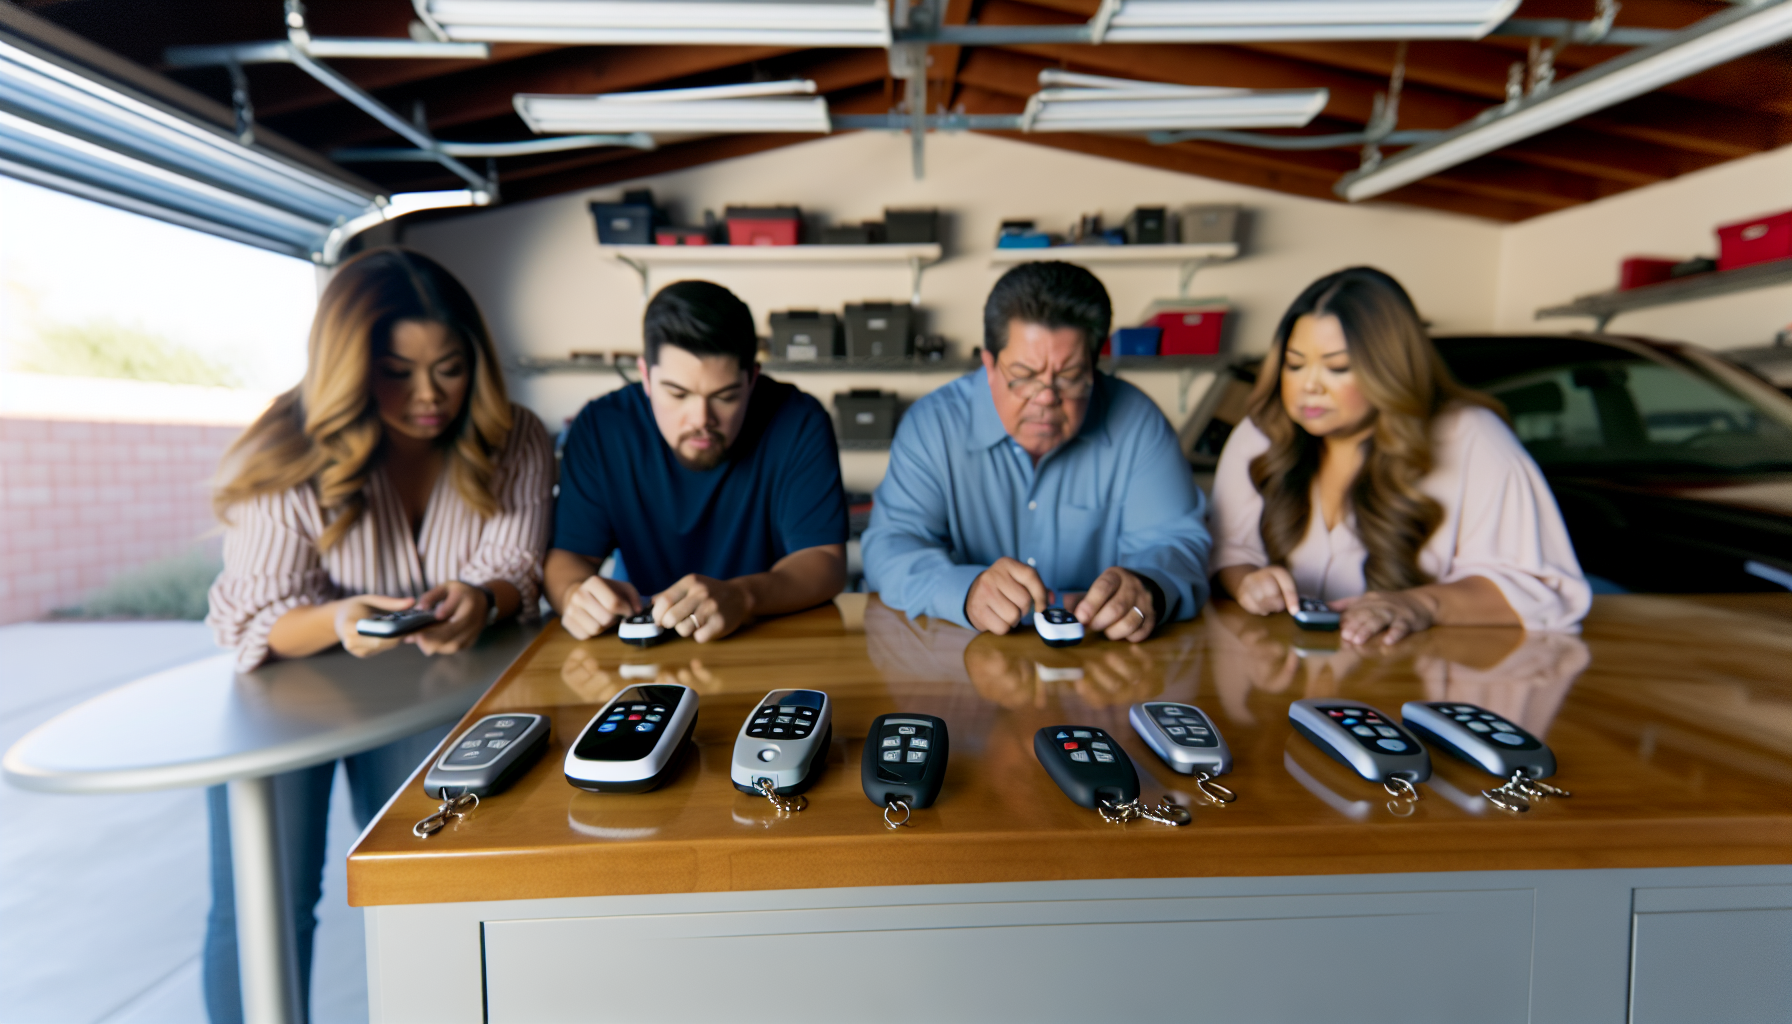
Upon successfully programming a single remote to your garage door opener, the question arises – is it possible to program additional remotes or devices? The answer is a resounding yes! Many households have multiple vehicles, each requiring a remote, not to mention keypads for easy access without a remote.
Garage door openers from brands like LiftMaster and Chamberlain use color-coded learn buttons for programming that correspond with specific remote models. You can program multiple remotes to your garage door opener with the correct remote model. Furthermore, technology like Homelink allows garage doors, gates, home lighting, and even security systems to be operated from your vehicle.
Adding Extra Remotes
The procedure for adding extra garage door opener remote controls, including a garage door remote, to your garage door opener closely mirrors the process used for programming the initial one. However, universal remote controls may require additional programming steps to match the specific frequency of the garage door opener, so always refer to the remote’s manual for detailed instructions.
To reset the garage door opener for synchronization with a new remote, press the ‘learn’ or ‘home’ button on the opener until the light starts to flash. Once the garage door opener’s light is flashing, pressing the ‘open’ button on the remote will synchronize it with the opener.
Integrating Keypads
Beyond multiple remotes, integrating a garage door keypad into your garage door opener system might also be desirable. This is especially handy when you find yourself without a remote but still need to access your garage.
To integrate a keypad, follow these steps:
- Locate the Learn button on the garage door opener unit or the wall control, if available.
- Press and release the Learn button on the opener, or twice if it is a MyQ Control Panel, to begin keypad programming.
- Enter a new four-digit code on the keypad.
- Press ENTER within 30 seconds after pressing the Learn button to set the keypad PIN.
Successful programming is indicated when the LED lights on the opener go out, or the garage door opener lights blink, meaning the garage door opener has been successfully programmed.
Setting Up Homelink in Vehicles
Homelink is another feature worth considering during the programming your garage needs. Homelink is a built-in remote system available in many vehicles that allows you to control your garage door from your car.
To program the Homelink system to a garage door opener, follow these steps:
- Identify the model of the opener and ensure it is compatible with Homelink.
- Follow specific procedures for vehicles with a three-button Homelink remote to ensure successful programming.
- Once programmed, test the Homelink button to ensure the garage door operates correctly.
Troubleshooting Common Programming Issues
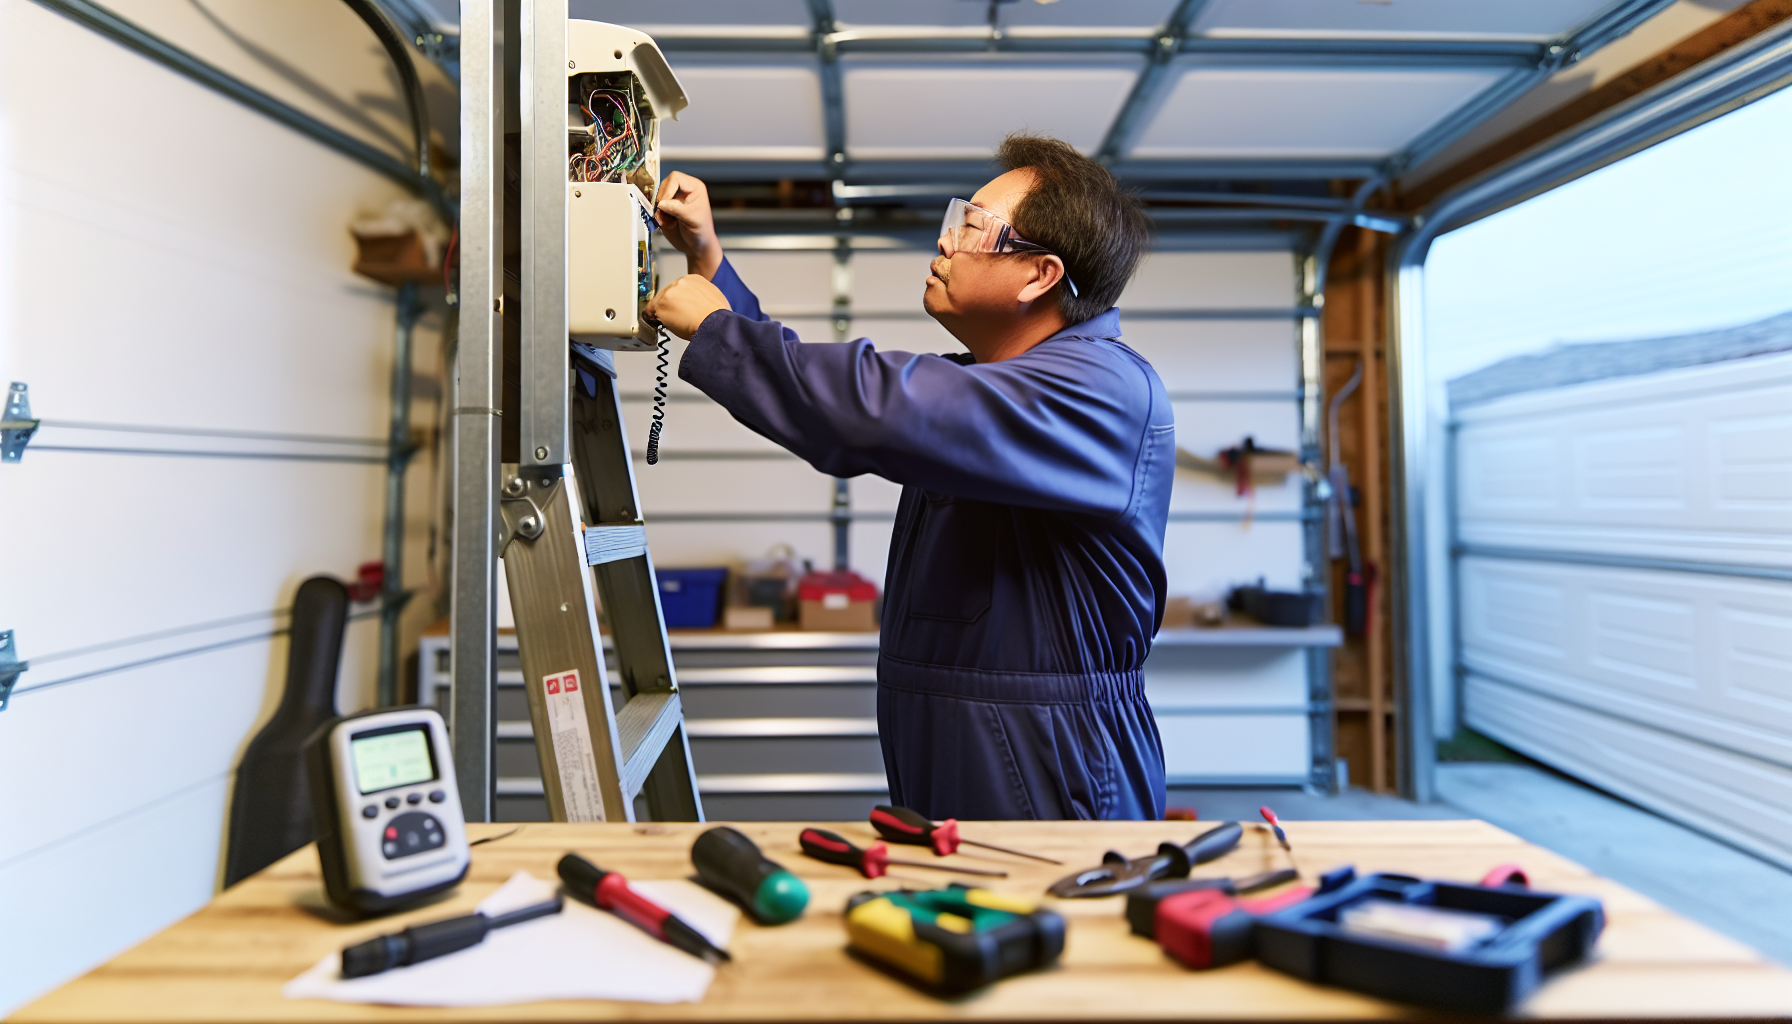
Despite diligent efforts, challenges may still arise during the programming of your garage door opener. Don’t worry – these issues are common and often easy to solve. From unresponsive openers to light bulb interference and the need to reset the opener, this section will guide you through troubleshooting common programming issues.
Understanding these common issues can save you time and frustration. Some common issues with garage door remotes include:
- Dead batteries
- Interference from other devices
- Malfunctioning remote control
- Garage door opener not receiving the signal
For example, if the remote suddenly stops working, it’s not always due to dead batteries and can indicate more complex issues. Moreover, ensuring the remote control is within range of the garage door opener can maintain a strong signal.
When the Garage Door Opener Doesn’t Respond
A frequent issue encountered during the programming process is the garage door opener’s lack of responsiveness to the remote. This can be quite frustrating, especially after you’ve carefully followed all the programming steps. However, an unresponsive remote control is not always due to dead batteries and can indicate more complex issues.
Issues like an outdated garage door opener or signal interference can cause the remote to be unresponsive. If the garage door opener does not react to remote commands, it’s beneficial to seek a professional technician’s diagnosis.
Resolving Light Bulb Interference
Interference caused by LED light bulbs is another typical challenge that you may face when programming your garage door opener. It may sound strange, but LED bulbs can emit electromagnetic interference that may disrupt the radio control signals of garage door openers, often leading to unreliable operation. To minimize this issue, consider using a light cover designed to reduce interference.
To determine if LED bulbs are causing interference, follow these steps:
- Install the bulb and observe the garage door opener’s behavior.
- Erratic function indicates interference.
- Removing LED bulbs and checking the garage door opener’s performance can be a method to verify if the bulbs are causing signal disruption.
Resetting the Opener and Starting Over
At times, the most effective programming issue resolution is to start anew from scratch. Resetting your garage door opener and starting the programming process over can often solve persistent issues and allow for successful programming on the next try.
To clear the garage door opener’s memory, follow these steps:
- Hold the learn button for six seconds until the light turns on and off, indicating disconnection from any previously paired devices.
- After resetting, reconnect the opener’s control wiring and power.
- Test functionality with the remote to confirm the reset was successful.
Maintaining Your Garage Door Opener Post-Programming
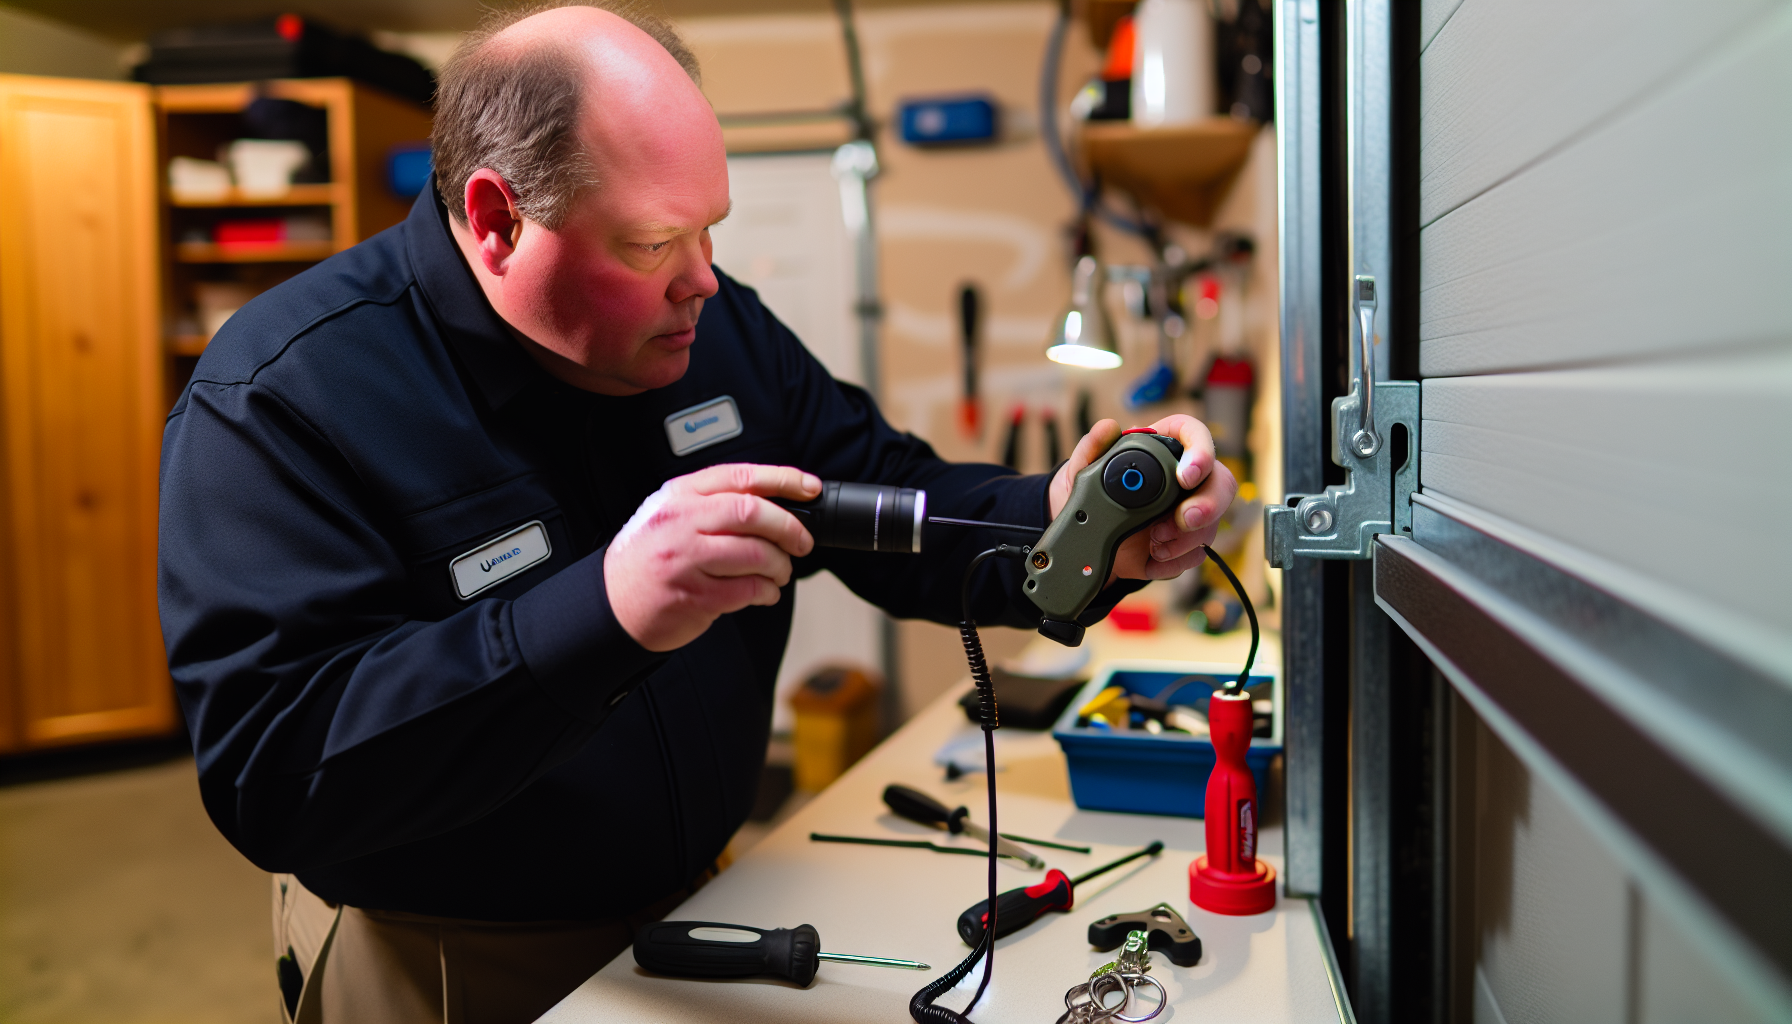
Upon successfully programming your garage door opener, it’s imperative to uphold proper maintenance for lasting functionality. Regular safety checks and inspections are crucial to keeping your garage door opener in working order.
Test the safety reverse system and the photoelectric safety reverse system regularly to ensure they operate correctly, and perform maintenance checks semi-annually for safety and efficiency. Regular visual inspections of the garage door springs are also crucial, and any signs of damage or wear should involve a professional for repair or maintenance.
Professional Help: When to Contact a Technician
Although this guide encompasses the fundamentals of how to program garage door opener, situations may arise where professional help is necessary. Garage door opener issues can be complex and warrant professional repair for safety and functionality.
If the garage door opener has electrical issues like a failed transformer or circuit board, or it shows signs of failure such as stripped gears, professional repair is necessary. Also, unusual noises such as rattling, popping, or squeaking from the garage door can signal underlying issues, making it beneficial to have a technician diagnose and fix them.
Enhancing Security with Smart Garage Door Openers
In our interconnected world, smart garage door openers provide a convenient and secure method for garage control. In addition to remote access, the smart access ecosystem provides reliable hardware and technology for enhanced security with features like setting a close timer on the garage door.
The LiftMaster MyQ app lets users remotely control their garage door opener, receive alerts, and set recurring schedules using their smartphones. Furthermore, homeowners can manage guest access through the MyQ app by inviting up to five guests to operate their garage door without sharing the main password.
Summary
In summary, programming your garage door opener doesn’t have to be daunting. With a clear understanding of the programming features, a step-by-step guide, and tips on troubleshooting and maintenance, you can easily control your garage access. So don’t let a new remote or a stubborn garage door opener intimidate you. With this guide, you’re more than equipped to tackle the programming process confidently. Here’s to seamless garage access and enhanced home security!
Frequently Asked Questions
How do I program my garage door opener remote?
To program your garage door opener remote, press and release the LEARN button on the garage door opener unit, and then follow the instructions to sync it with your remote.
How to program a liftmaster remote?
You can easily program a LiftMaster remote by locating the “Learn” button on your garage door opener, pressing and releasing it, and then following the specific button sequence within 30 seconds.
Why is my garage door opener not responding to the remote?
Your garage door opener might not be responding to the remote due to an outdated device or signal interference. Consider updating your opener or checking for any signal interferences.
How do I reset my garage door opener?
To reset your garage door opener, hold down the learn button for six seconds until the light turns on and off. This will clear the opener’s memory.
Can LED bulbs cause interference with my garage door opener?
Yes, LED bulbs can interfere with the radio signals of garage door openers due to their electromagnetic emissions. Be cautious when using LED bulbs with your garage door opener. Here’s where I did my research on LED Bulbs and their interference.

