How to Build a Workbench in 2024
Are you aiming to construct a reliable workbench? Look no further. This straightforward guide details how to build a workbench, covering everything from material selection to the final touches. We provide clear, step-by-step instructions to ensure that you’ll have a sturdy and practical workbench that suits your space and projects. Let’s get started.
Key Takeaways
- Choose the right wood and hardware for your budget – hardwoods like oak for durability, softwoods like Douglas fir for cost-effectiveness, and lots of screws and brackets for stability.
- Design your workbench to fit your space and needs – focus on size, shape, and storage, ensuring it’s stable, comfortable to work on, and organizes your tools efficiently.
- Maintain your workbench to ensure longevity – regular cleaning, treating it with oils, and inspecting it for damages can keep your workbench safe and functional for years.
Choosing the Right Materials for Your Workbench
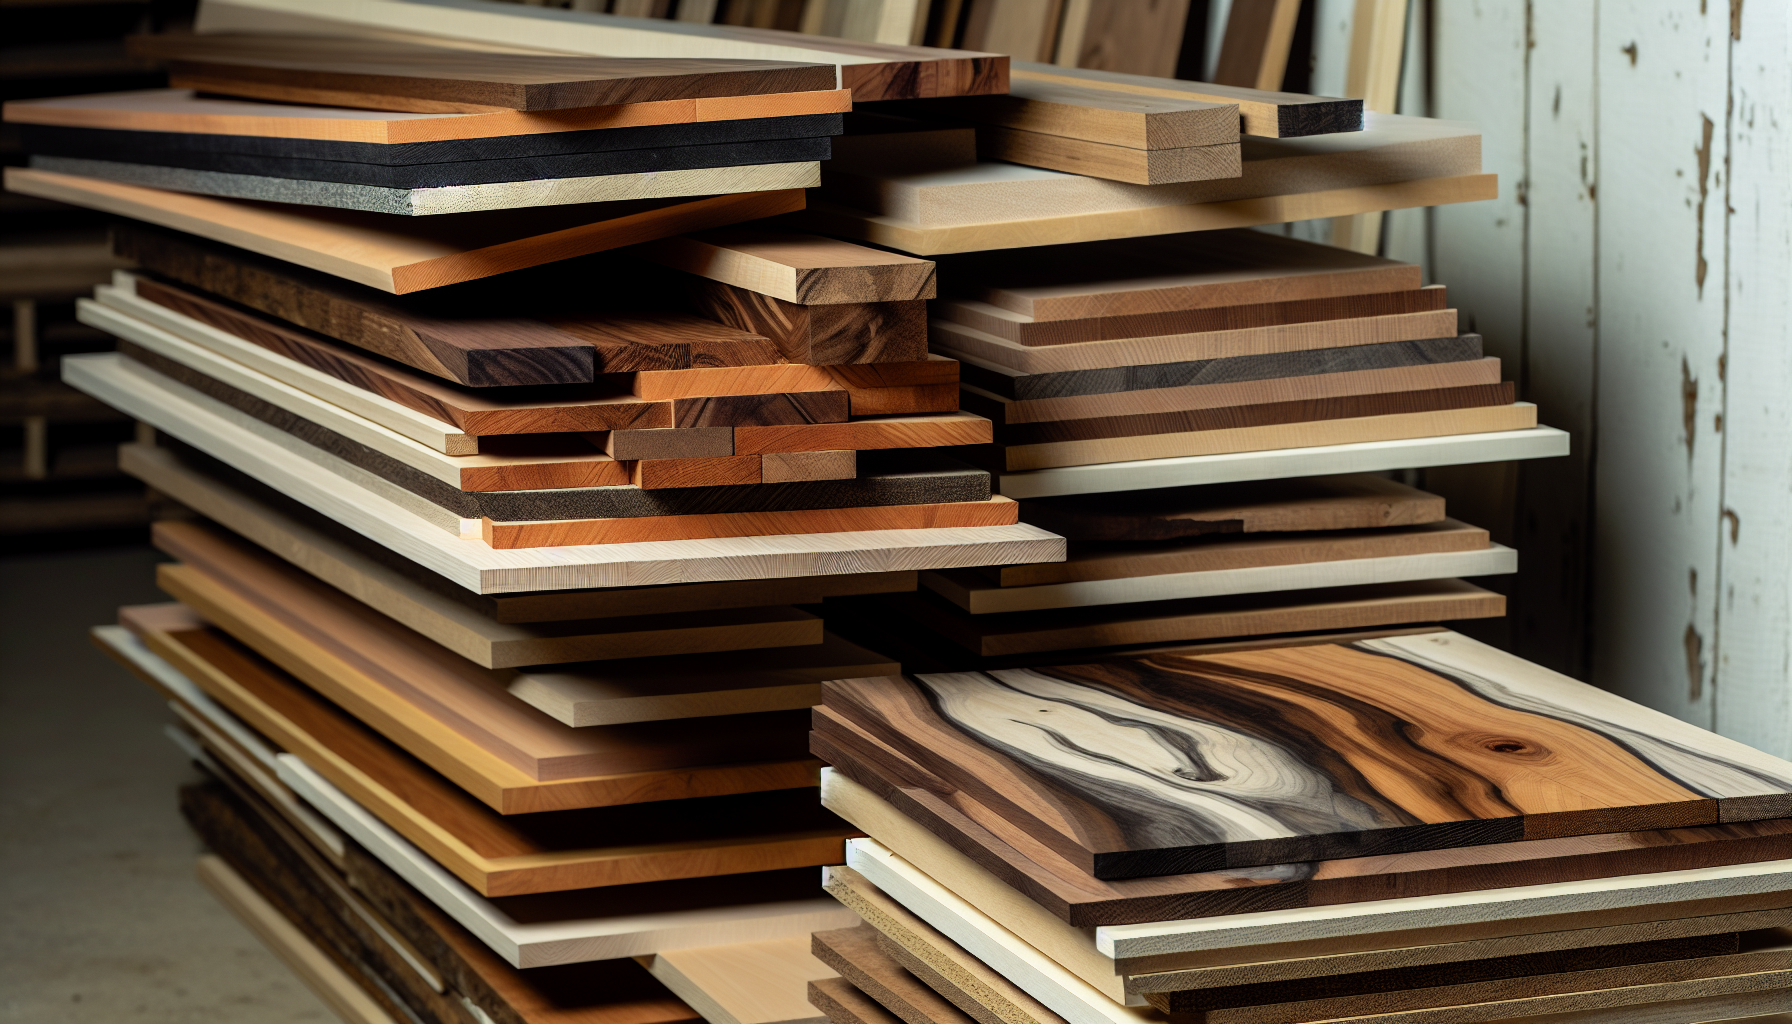
Selecting the right materials for your DIY wood workbench, much like a chef picking their ingredients, is a vital initial step. After all, we want our workbench to be sturdy, durable, and budget-friendly, right? So, which wood should you choose? And how can you find affordable hardware? Time to explore these questions!
Hardwoods like oak and maple are popular woodworking choices, especially when creating a sturdy workbench due to their strength and durability. However, if you’re on a budget, softwoods like Douglas fir or soft maple could be your best friends. These woods balance strength and cost-effectiveness, making them perfect for your desired sturdy workbench.
Selecting Wood for Strength and Budget
The type of wood you select dramatically impacts the strength and durability of your workbench. Hardwoods are usually denser and more rigid, making them incredibly durable. However, they can be pretty heavy and expensive. If you’re on a budget, softwoods are a great option. They’re lighter and more affordable than hardwoods. Some softwoods, such as Douglas fir, poplar, ash, oak, beech, hard/soft maple, and southern yellow pine, are surprisingly durable and can be a good fit for a sturdy DIY workbench.
Plywood is a solid choice for the workbench top. The cost of plywood varies depending on the quality and type, but exterior plywood is generally an excellent choice due to its toughness and ability to handle varying weather conditions. Remember, the workbench top requires at least two layers of 3/4” plywood. Also, choose plywood without gaps and with as many layers as possible to create a sturdy and reliable workbench top that doesn’t take up too much floor space.
Sourcing Affordable Hardware
Having chosen your ideal wood, let’s discuss the hardware. The nuts and bolts, the sturdy foundations of your workbench, literally! Building a rock-solid workbench involves assembling various hardware components, including:
- Bolts
- Nuts
- Drywall screws
- Washers
- Brackets
- Hinges
- Drawer slides
- Clamps
When it comes to screws, deck screws, cabinet screws, and lag screws are your go-to choices. They’re rugged and aptly suited for different parts of the construction. Also, don’t forget about the brackets while building your workbench. The right brackets not only bear the weight of your workbench but also contribute to its overall strength and stability.
When choosing brackets, consider their weight capacity, size, material, and compatibility with your workbench design.
Designing Your Workbench for Maximum Efficiency
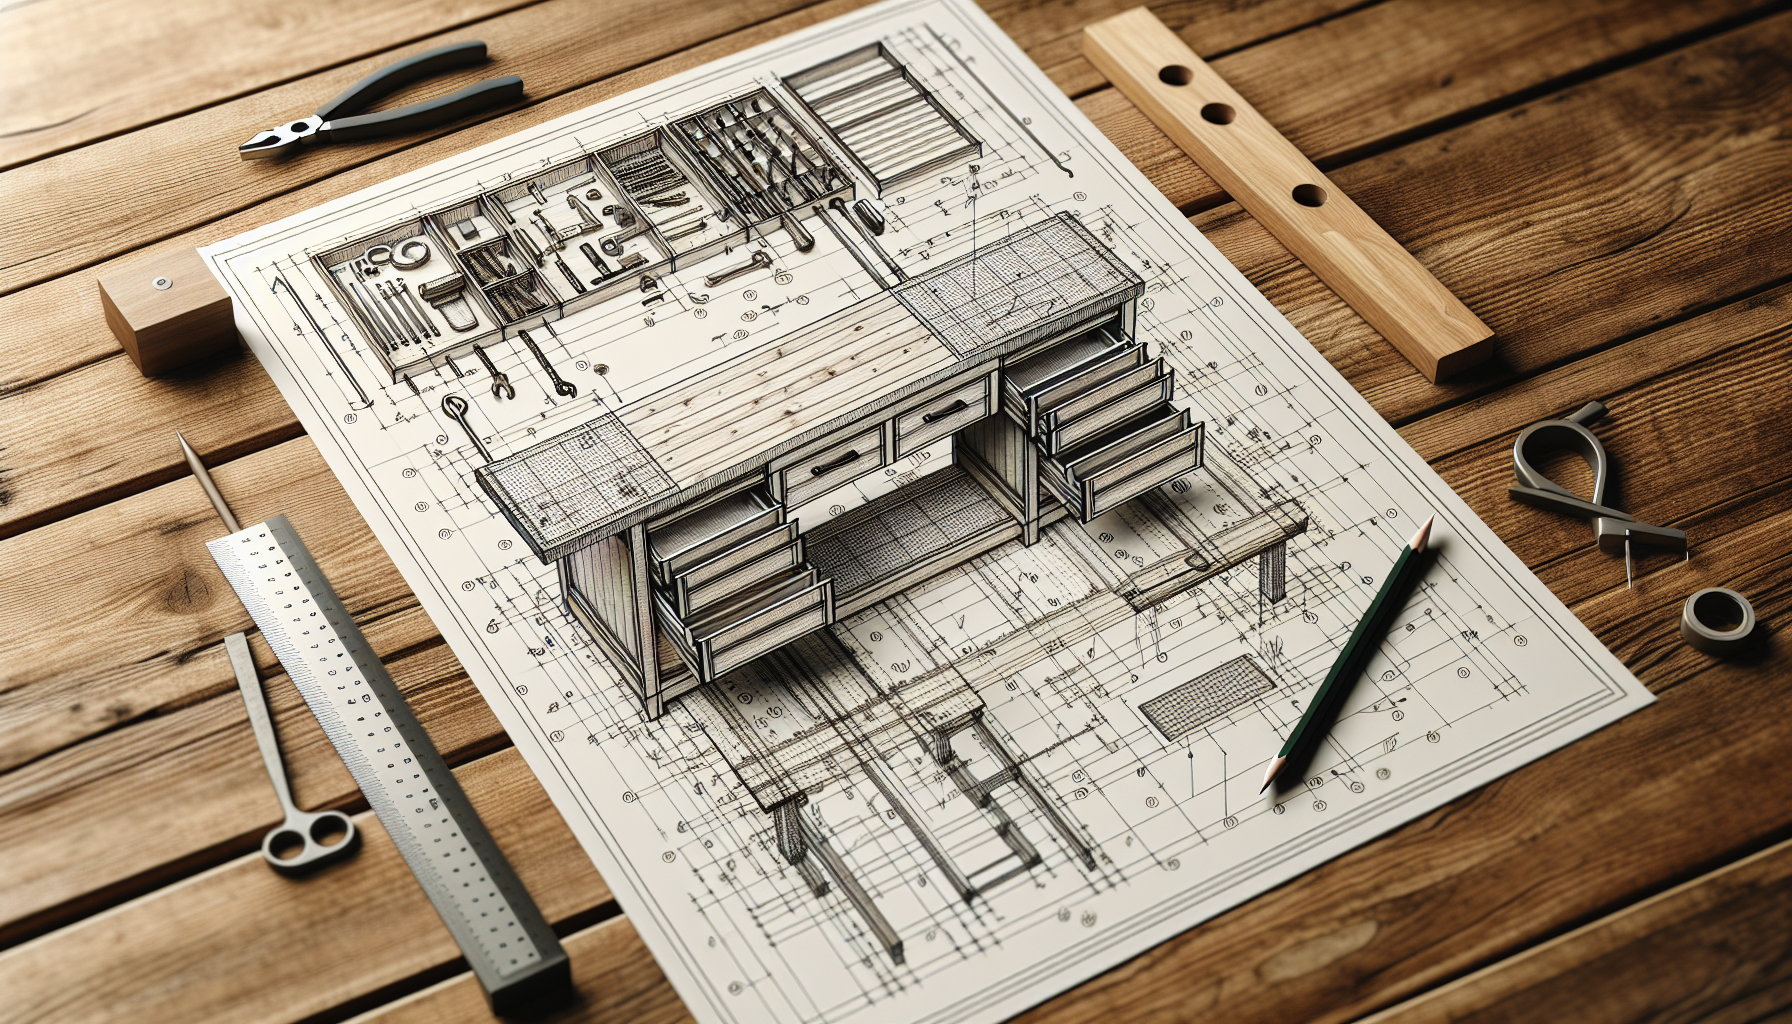
Now that your materials are lined up let’s delve into the design. Designing your workbench is where you get to tailor it to your specific needs and workspace. It’s not just about creating a flat surface to work on; it’s about planning the size, shape, and storage solutions to maximize efficiency. In the upcoming sections, we’ll delve into size, shape, and storage nuances.
When planning the size and shape of your workbench, think about how your workspace is set up, the kind of projects you’ll be taking on, and the room you have. All these factors will play a significant role in deciding the dimensions of your workbench. The design should ensure that the workbench is convenient, does not shake, can bear heavy load, and has good lighting.
Planning the Size and Shape
As we delve into the specifics of planning the size and shape of your workbench, remember that the workbench should be an extension of your workspace. For regular woodworking, a workbench about 2 feet tall, 18 inches deep, and around 6 feet long is usually sufficient.
The depth of your workbench should match the length of your arm if it’s against a wall and double that if it’s an island. This arrangement ensures ample space in front of the workbench. The workbench shape should meet the specific needs of your projects, ensuring:
- Stability
- Appropriate height
- Good lighting
- Ample storage
- Clamping options for assembly projects
Incorporating Storage Solutions
Ample storage space in your workbench helps maintain a tidy workspace and ensures your tools and materials are within easy reach. It’s all about making your workbench work for you! So, how can we incorporate these storage solutions into our workbench?
Pegboards or slat walls can be a game-changer for tool organization. You can hang your tools and small items like screws, nails, and tape on them. To further enhance your storage capacity, consider adding shelves or cabinets for more oversized
items. For smaller parts, you can utilize tin cans or glass jars. These solutions will keep your workspace organized and make it easier to find what you need while working.
Constructing the Base Frame
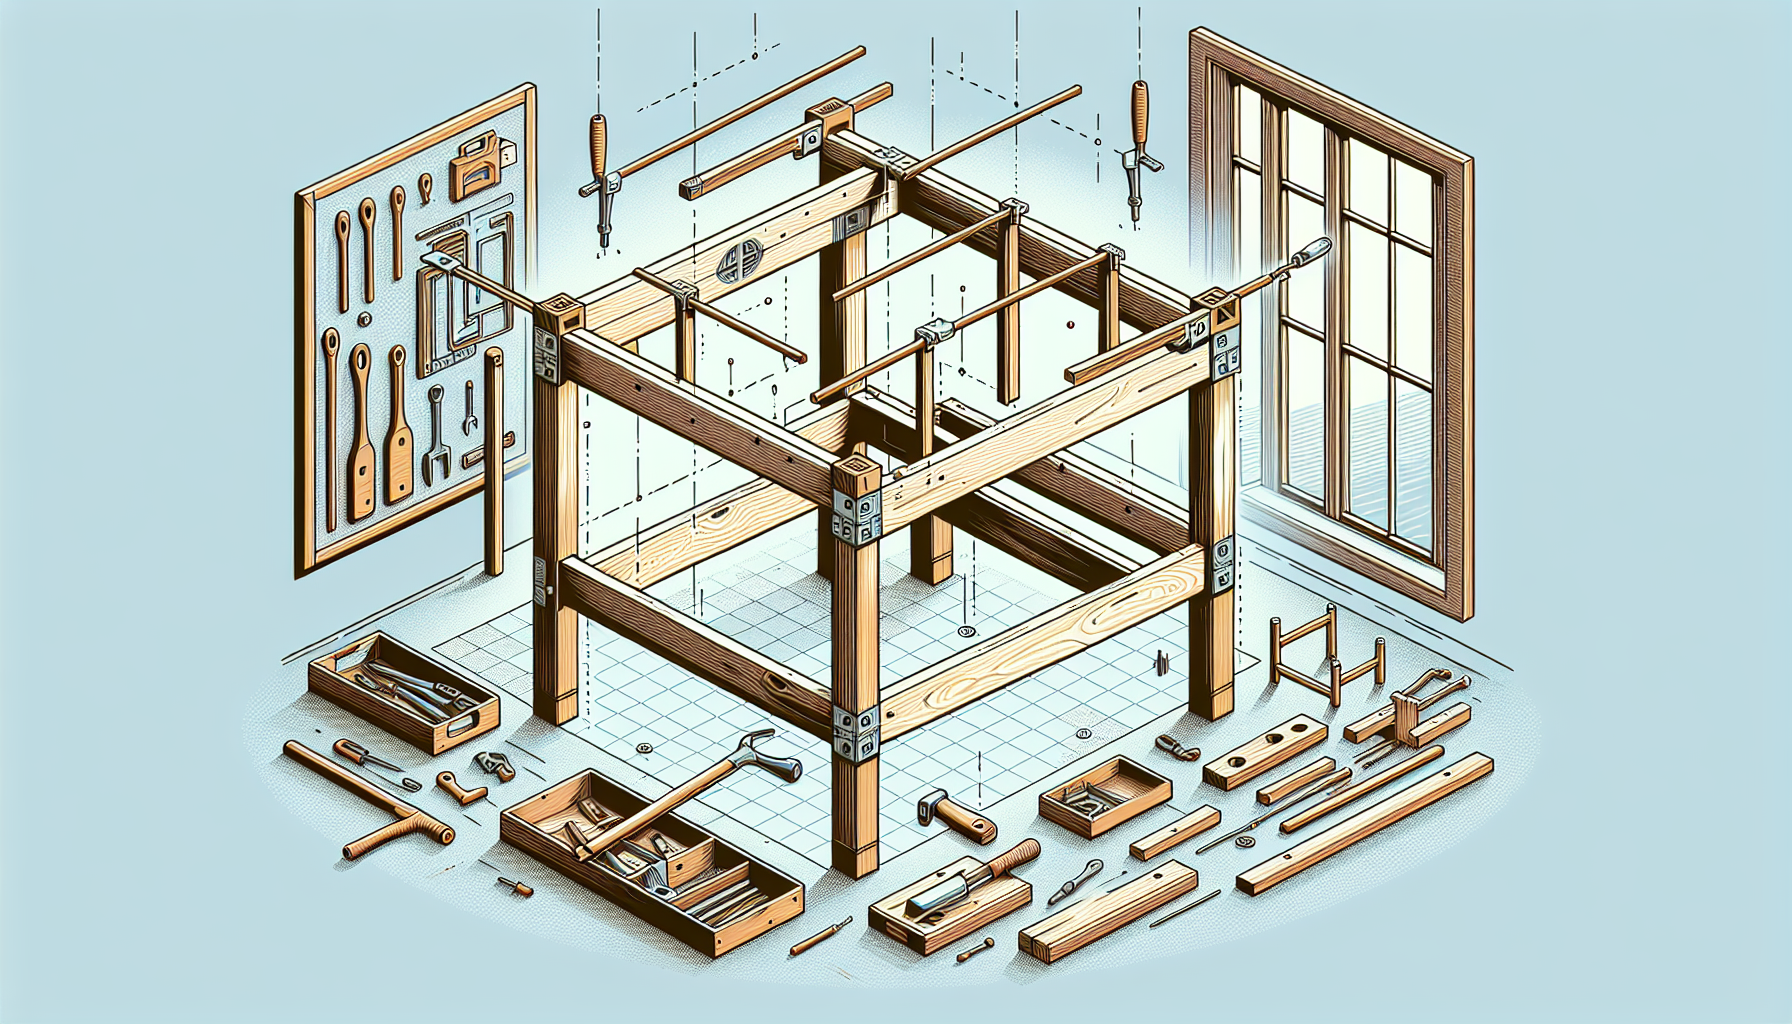
With the design finalized and materials ready, let’s bring our workbench to life! The first step in this construction process is to build a strong and stable base frame. This involves assembling the legs, lower frame, and upper frame. We’ll explore these steps more thoroughly in the upcoming sections.
Solid-core wooden doors, pine 2x4s, and plywood are some materials you can use for the base frame of your workbench. The key to a sturdy workbench is its base frame. Constructing it right ensures your workbench doesn’t wobble or tip over when you’re working, enhancing safety and reliability.
Assembling the Legs and Lower Frame
Building a sturdy base for your workbench starts with assembling the legs and lower frame. To ensure the legs are strong and level, a good trick is to screw two leg pieces together in an ‘L’ shape for each leg. This gives you a solid structure and ensures an even surface for your workbench.
Once your legs are ready, it’s time to move on to the lower frame. Measure and mark your 2x4s to the right lengths and cut them. Then, assemble them using fasteners. For this process, screws, especially two 1/2-inch self-tapping wood screws, are preferred as they give you more flexibility and a neater finish compared to nails.
Attaching the Upper Frame
Once the legs and lower frame are in place, the next step is to fasten the upper frame. This step creates a solid structure to support the workbench top. It’s crucial to secure the upper frame properly to the legs as it contributes majorly to the overall sturdiness of the workbench.
Securing the upper frame involves using screws and brackets that allow for movement. This is important because it accommodates any wood expansion or contraction, ensuring the longevity of your workbench.
Once the upper frame is securely attached, you’ll have a sturdy base ready for the workbench top.
Crafting the Perfect Workbench Top

With the base assembled, we’ll build the perfect workbench top. The workbench top is where the magic happens, so it’s critical to get it right! Not only should it be solid and durable, but it should also provide a flat, smooth surface for your projects. In the ensuing sections, we’ll guide you through creating a laminated top and fastening it to the frame.
Creating the perfect workbench top involves selecting suitable wood, laminating multiple pieces, and securing it firmly to the base frame. The type of wood chosen for the workbench top can vary based on the specific needs of your projects. Some of the top wood types for a laminated workbench top are pinewood, maple wood, hickory, and Douglas fir.
Creating a Laminated Top
A laminated workbench top provides a solid and durable surface for your projects and adds a sleek, professional look to your workbench. So, how do you create a laminated workbench top? It involves laminating multiple pieces of wood together lengthwise and using clamps to hold them together while the glue sets.
To ensure a durable and long-lasting workbench top, follow these steps:
- Apply even pressure across the width of each piece during lamination to get an even glue spread.
- Consider using sheet metal on top to enhance durability further.
- If you use thicker boards, use strong clamps to ensure proper bonding.
By following these steps, you can create a basic workbench top with sturdy workbench legs that will stand the test of time, making it a valuable addition to your shop furniture.
Securing the Top to the Frame
With your laminated top ready, the next step is to secure it to the frame. Securing the workbench top involves using screws and brackets that allow for some movement. This is important as it accommodates any wood expansion or contraction, ensuring the longevity of your workbench.
To secure the workbench top, you can use drywall or deck screws, hex head wood screws, and sometimes steel bushings and bolts. It’s best to drill pilot holes and countersink them for a secure fit. Once the workbench top is securely attached to the frame, you’ll have a stable and level surface ready for your projects.
Adding Functional Features to Your Workbench
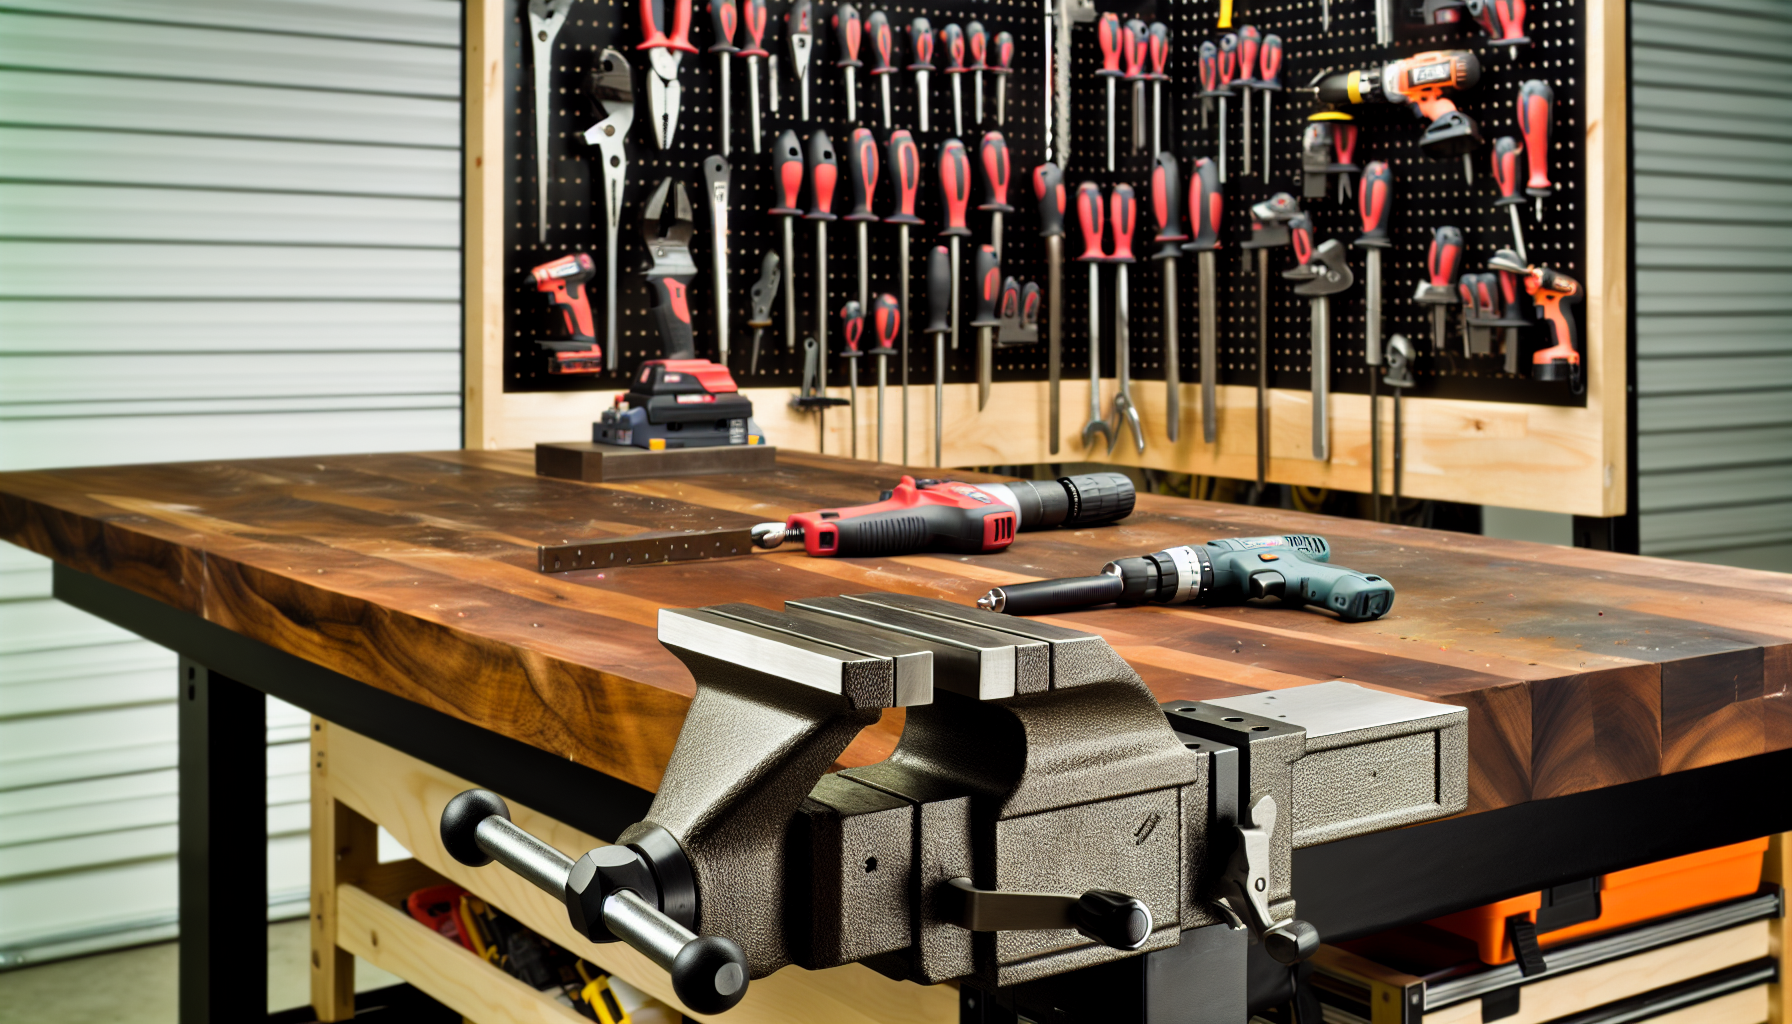
With the primary structure of the workbench prepared, let’s incorporate some functional features to boost its versatility and efficiency. Features like a bench vise, power tool access, and dog holes for clamping can significantly improve your workbench’s functionality.
Adding a bench vise makes it easy to secure pieces, giving you more freedom to work without clamps getting in the way. Power tool access ensures that all your essential tools are within reach. Dog holes provide various clamping options, increasing the flexibility of your workbench.
Installing a Bench Vise and Power Tools Access
A bench vise is a handy addition to your workbench, especially when working with hand tools. Securely holding your workpieces allows you to work with both hands freely, making your tasks quicker and more efficient.
To install a bench vise, follow these steps:
- Mark the desired location for the vise on your workbench.
- Use a drill to create pilot holes at the marked locations.
- Attach the vise to the workbench using washers and lag bolts.
With your bench vise properly installed, you’ll easily tackle a wide range of projects.
Power tool access is another feature that enhances the functionality of your workbench. You can easily accommodate all your power tools by setting up a dedicated 20A circuit and mounting a power strip. You can also use a pegboard to organize your tools, ensuring easy access and a tidy workspace.
Drilling Dog Holes for Clamping Flexibility
Dog holes are small holes drilled into the workbench top, used with bench dogs for clamping workpieces. They provide flexible clamping options, allowing you to secure workpieces of various sizes and shapes.
To drill dog holes, mark the spots on the board edge, then drill a straight hole using a 1″ bit and a square to guide you.
Personalizing Your DIY Workbench
Having constructed a robust and functional workbench, we now move to the enjoyable part – customization! This is where you can let your creativity shine and add your personal touch to your workbench. From choosing the perfect finishing touches to organizing your tools, let’s give your workbench the unique flair it deserves! This way, you can build the perfect workbench!
Finishing touches like paint, stain, or protective coatings not only enhance the appearance of your workbench but also increase its durability. Similarly, organizing your tools and accessories to suit your workflow can drastically improve your productivity and efficiency.
Selecting Finishing Touches
Choosing the right finishing touches can significantly enhance the look and durability of your workbench. Protective coatings like urethane and hard wax finishes can protect your workbench from spills, stains, dents, and scrapes, extending its lifespan.
When it comes to paints and stains, go for high-quality options that can withstand the wear and tear of regular use. Remember, your workbench is not just a tool; it’s a reflection of your craftsmanship, so take the time to make it look great.
Organizing Tools and Accessories
A well-organized workbench can make your work much more efficient and enjoyable. With a place for everything and everything in its place, you’ll spend less time searching for tools and more time honing your craft.
Some organization solutions for your tools include:
- Pegboards and magnetic strips to keep your tools within reach
- Drawer dividers to keep your tools sorted in their compartments
- Storage cabinets or bin wall racks for smaller accessories
These simple organization solutions can transform your workbench into a tidy, efficient workspace.
Ensuring Longevity and Maintenance of Your Workbench
Building a workbench requires a significant investment of time and resources, ensuring its longevity is paramount. Proper maintenance not only prolongs the life of your workbench but also keeps it safe and efficient to use. We’ll examine how to maintain your workbench optimally through regular cleaning, upkeep, and essential repairs.
Regular cleaning and upkeep can go a long way in extending the lifespan of your workbench. Here are some tips to keep it in top condition:
- Wipe it down with water and soap at least once a month or more often if it gets dirty.
- For stubborn stains, try using a mix of naphtha and diatomaceous earth.
- Treat it with boiled linseed oil or polymerized tung oil every month.
By following these steps, you can ensure that your own workbench stays in great shape for years.
Regular Cleaning and Upkeep
A clean workbench is not just aesthetically pleasing; it also ensures a safer and more efficient workspace. Regular cleaning helps prevent the accumulation of dust and debris, which can be hazardous in a workshop.
You can use mild detergents or chemical disinfectants for cleaning your wooden workbench. Stubborn stains can be tackled with a mix of naphtha and diatomaceous earth. Remember to treat the workbench with boiled linseed or polymerized tung oil every month to maintain its sheen and protect it from wear and tear.
Repair and Replace When Necessary
Despite our best efforts, wear and tear are inevitable. However, timely repairs and replacements can ensure that your workbench remains sturdy and functional. Regularly inspect your workbench for signs of damage, such as:
- Wobbling
- Water damage
- Rot
- Insect damage
- Warping
- Cracks
- Rust
- Burns
It may be time for repairs or replacements if any of these are present.
Keeping a well-maintained workbench often involves simple fixes like upgrading vises, repairing dog or holdfast holes, or addressing issues with the wood. For these tasks, ensure you have the right tools at hand. A well-maintained workbench lasts longer and ensures a safer and more efficient workspace.
Summary
We’ve journeyed together from selecting the right materials to adding personalized touches to our workbench.
Building a workbench is not just about creating a physical structure; it’s about creating a space where creativity thrives, problems are solved, and ideas come to life. So, here’s to the joy of creating, the satisfaction of crafting, and the thrill of building something with your own hands. As you embark on this exciting journey, remember that the only limit is your imagination!
Frequently Asked Questions
Is it cheaper to build a workbench or buy one?
Building a workbench can be cheaper than buying one, especially if you enjoy DIY projects. However, if you’re not handy with tools, it may be best to purchase a ready-made workbench.
How many 2x4s do I need for a workbench?
You’ll need four 33-inch and four 46-inch 2x4s to build a workbench.
What is the best wood for a workbench top?
Hardwoods like maple and oak are the best choice for a workbench top as they are strong and durable but can be expensive. They can withstand a lot of wear and tear and can be easily repaired if damaged.
What is a good depth for a workbench?
A good depth for a workbench is around 24-36 inches. This size allows plenty of room to work on larger pieces of furniture but doesn’t take up too much space.
What type of wood is best for a workbench?
Hardwoods like oak and maple are best for a workbench due to their strength and durability, but softwoods like Douglas fir or soft maple can also be good budget-friendly options.

